How to build a quiet NAS cheaper than Synology - Jonsbo N3
How I built a quiet 8-Bay NAS without vendor lock-in and with upgradability
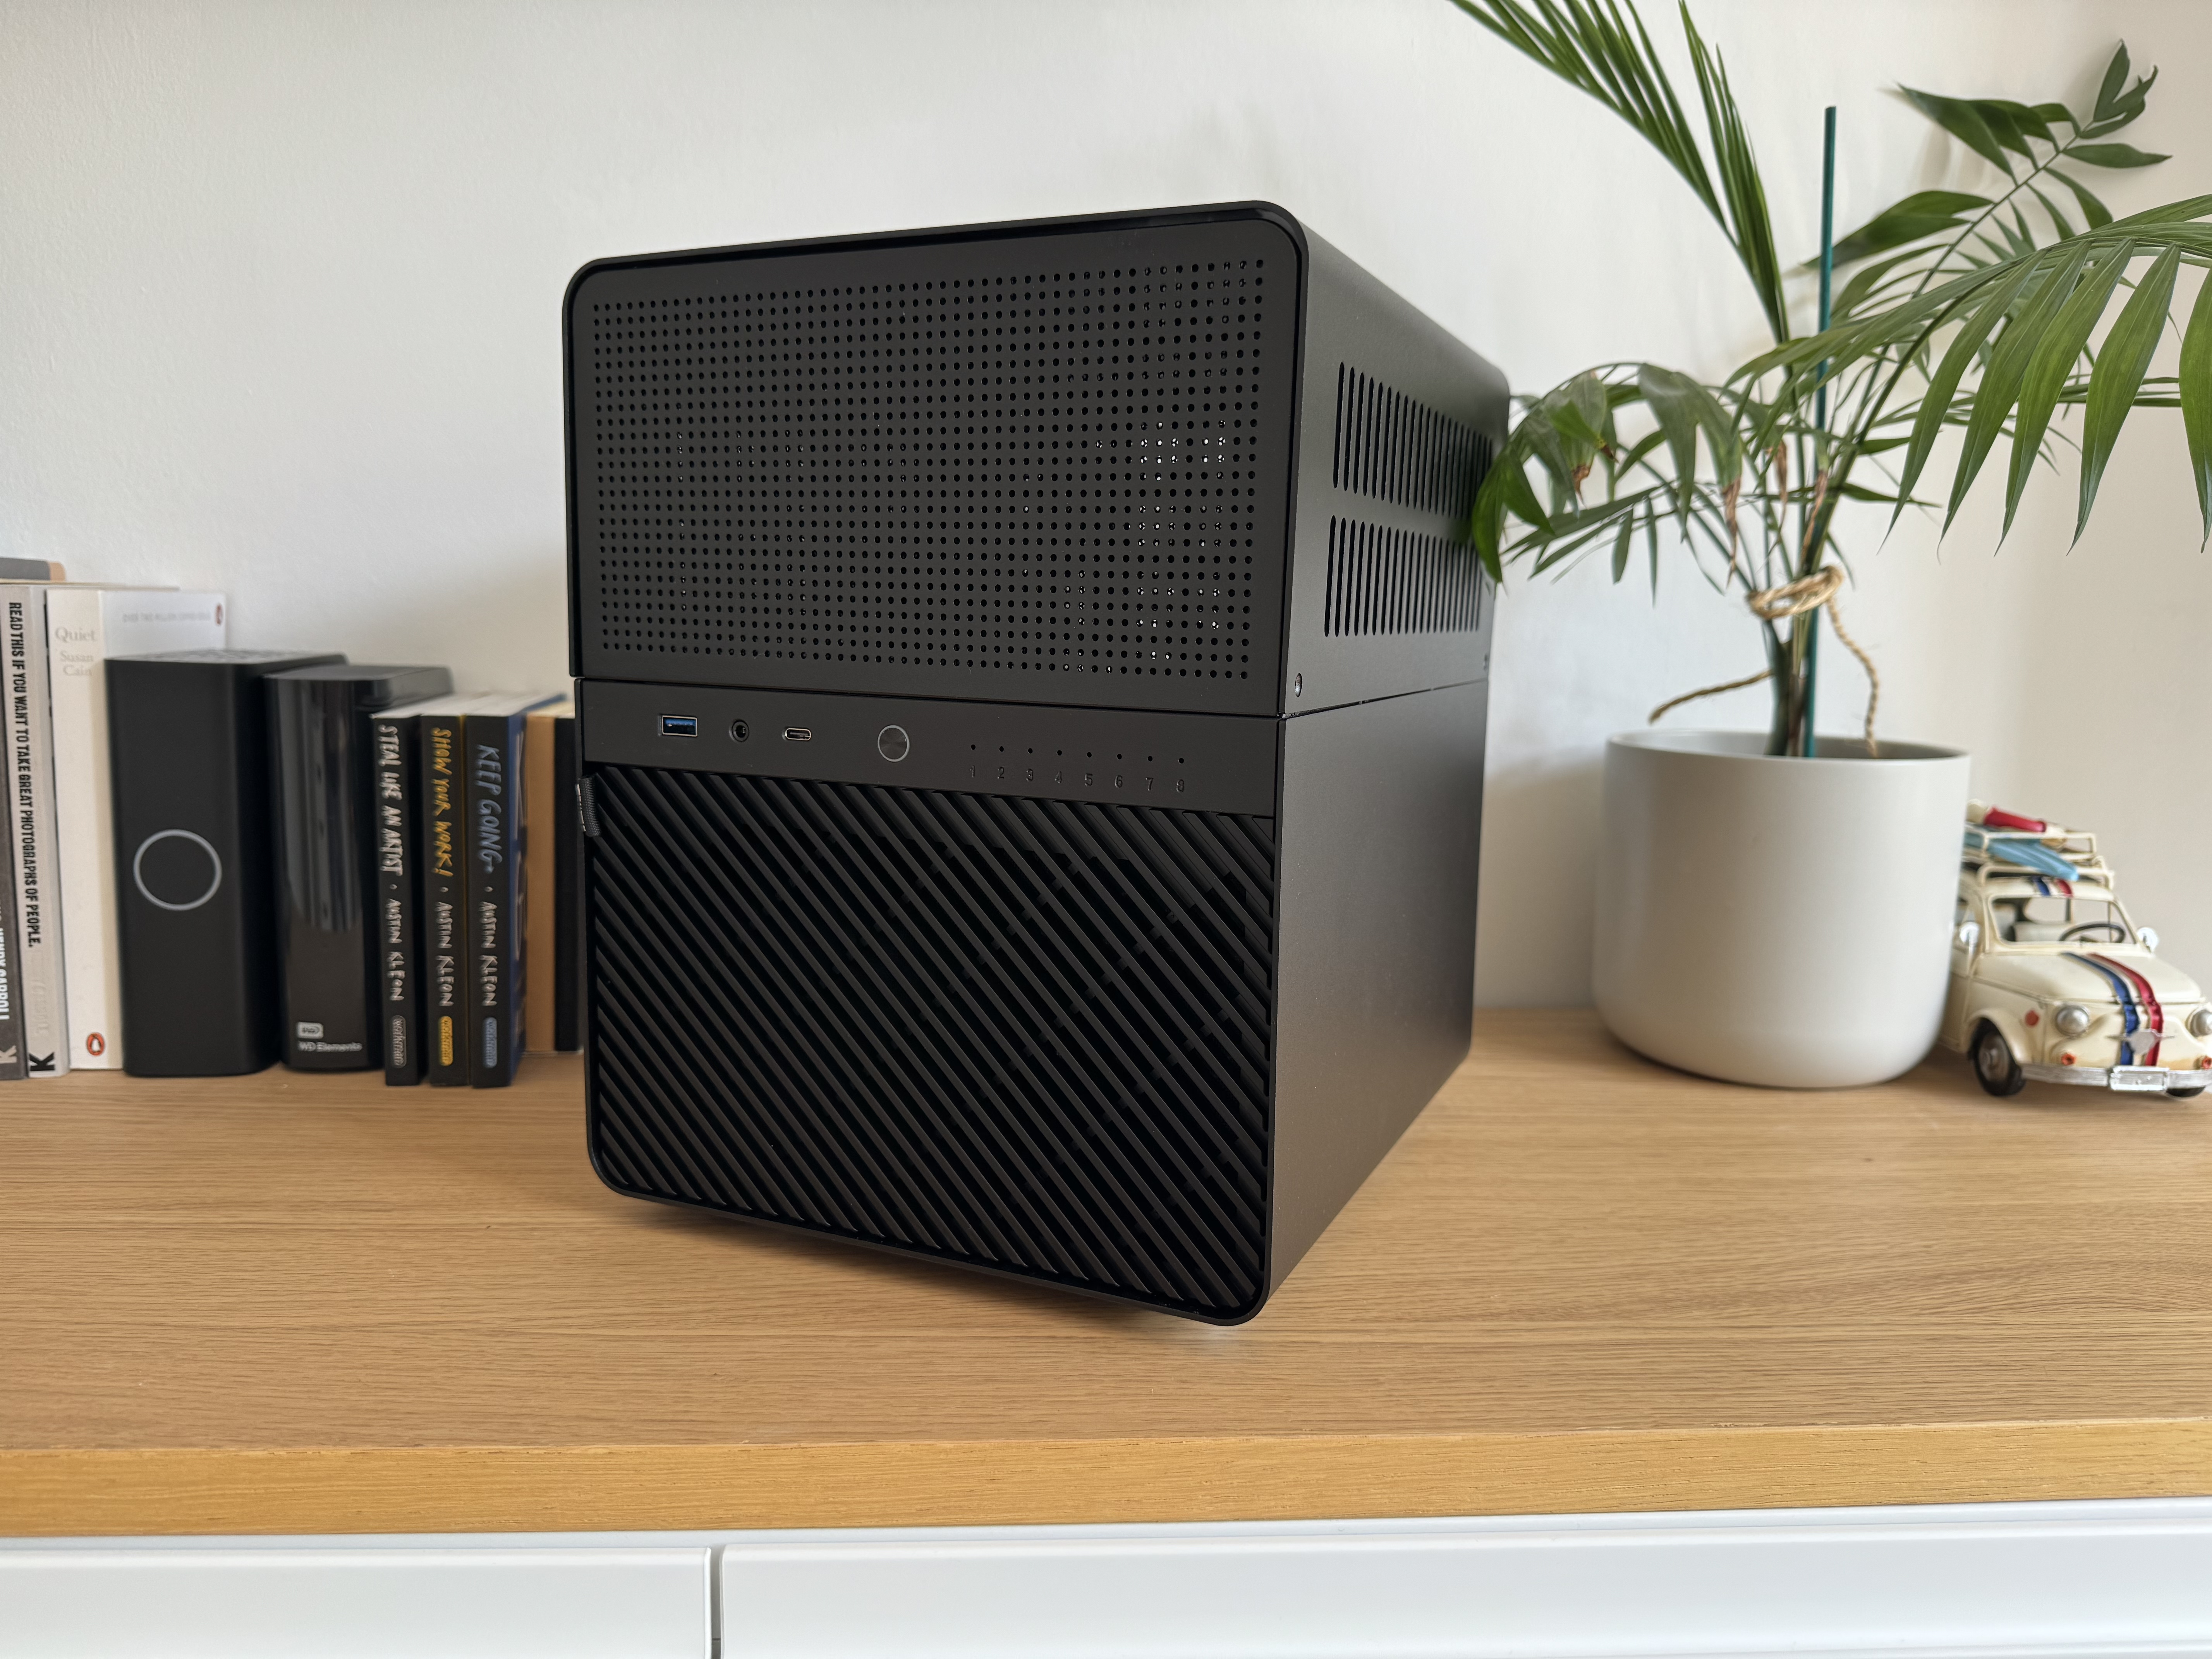
I’ve been a long term Synology NAS user for over a decade. I have no problems with Synology NAS systems and they are great for those getting into NAS home solutions for the first time as well as advanced users. However, after a few Synology upgrades, I felt restricted in what I could upgrade.
I wanted to build a quiet, low-powered, home NAS server to store all my precious photos, videos, memories, life admin documents and other digital items I may chose to hoard.
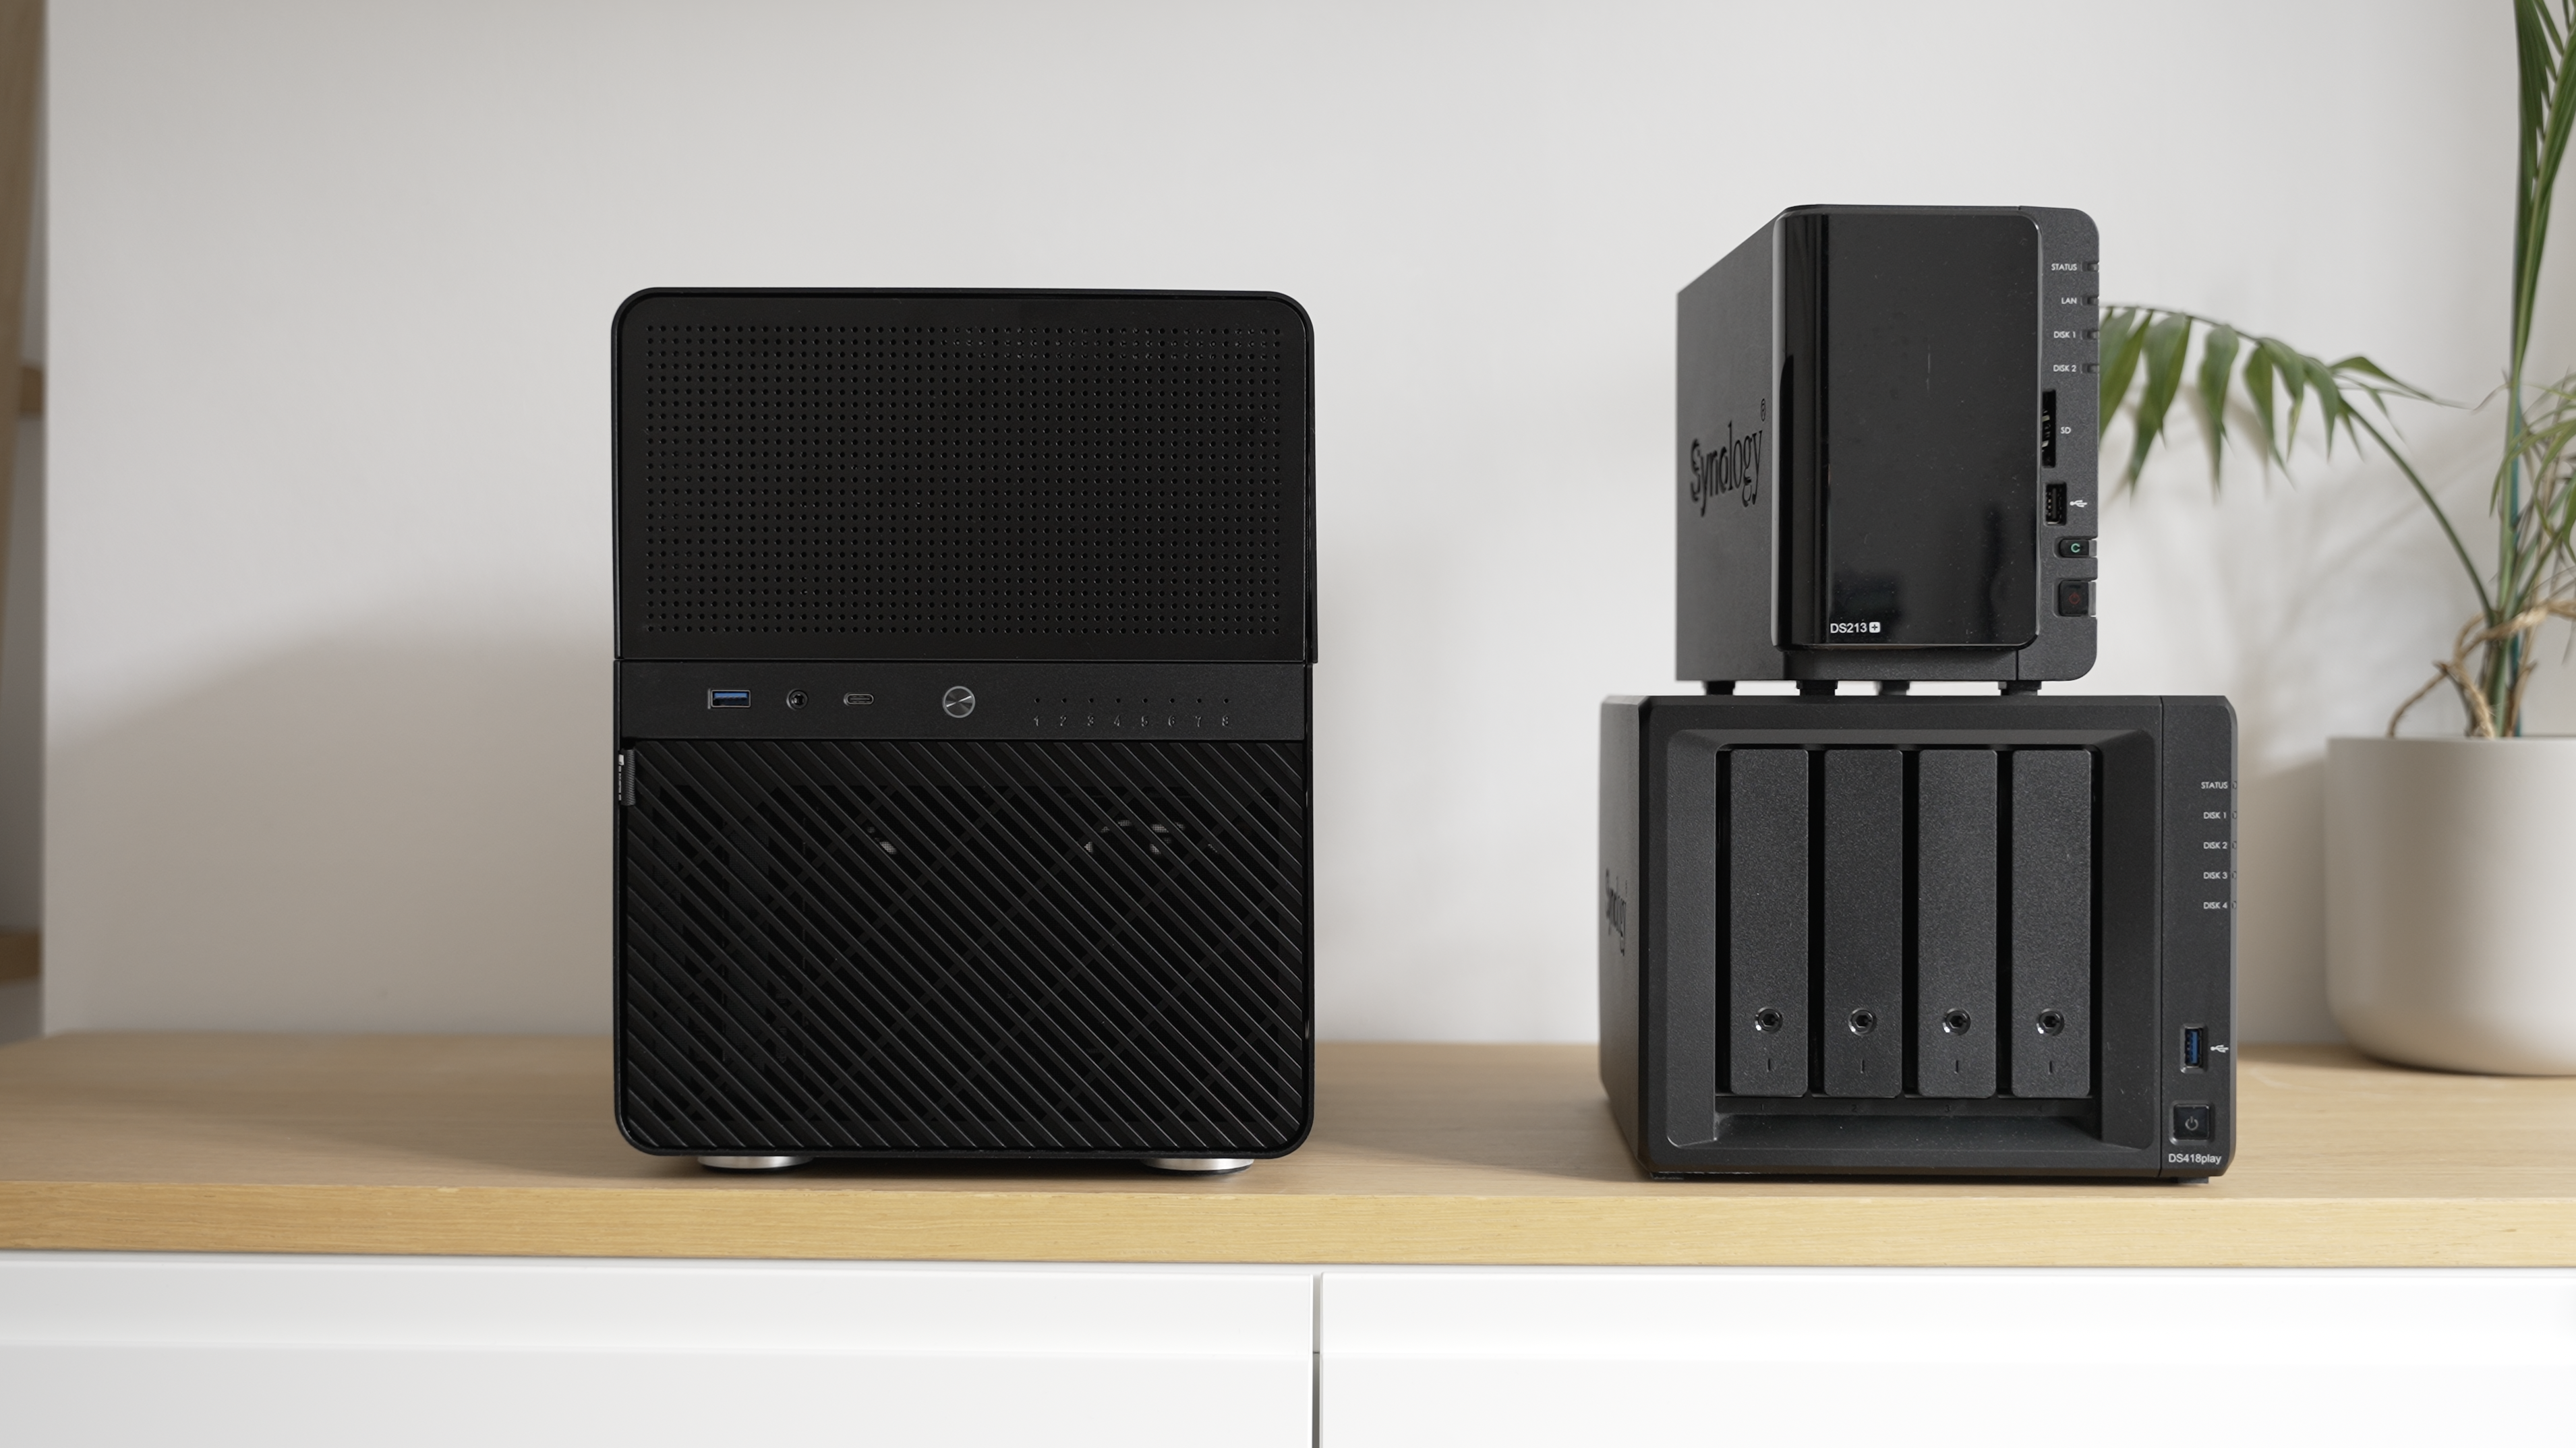
I’ve used Synology for many years. I’ve had the Synology DS213+ 2-Bay NAS. Then upgraded to the 418 Play 4 Bay NAS, and now it was time to upgrade again.
Requirements
- Needs to be quiet.
- Low powered. It will be running all day, every day, and I don’t want it to cost an arm and a leg.
- Performant enough.
- Cheaper than Synology equivalent.
- Plenty of hard drive storage bays.
- Upgradable to some degree.
- Can mix and match hard drives like Synology offers.
- NAS OS needs to be easy to use.
The Parts
At the time of writing this article, the prices of HDD, SDD and RAM were affordable and reasonable.
But due to the AI surge, HDD, SDD and RAM have seen huge price jumps, so total cost of the build will be higher.
The total cost of the NAS build excluding hard drives is $722 USD - outlined in the table below. The Jonsbo N3 case allows for a total of 8 drive bays.
Prices include taxes and shipping to the UK, where I’m based. So taxes and shipping may vary for you.
Part list
| Hardware | Name | Qty | Price |
|---|---|---|---|
| Motherboard | CWWK Integrated Intel N100 CPU 3.4 GHZ, 6 SATA 3.0 | 1 | $190 |
| Case | Jonsbo Nas N3 Case (Black) | 1 | $190 |
| PSU | Corsair SF600 SFX (not available) | 1 | $96 |
| CPU Fan | Noctua NH-L9i, Intel LGA1200 (Brown) | 1 | $50 |
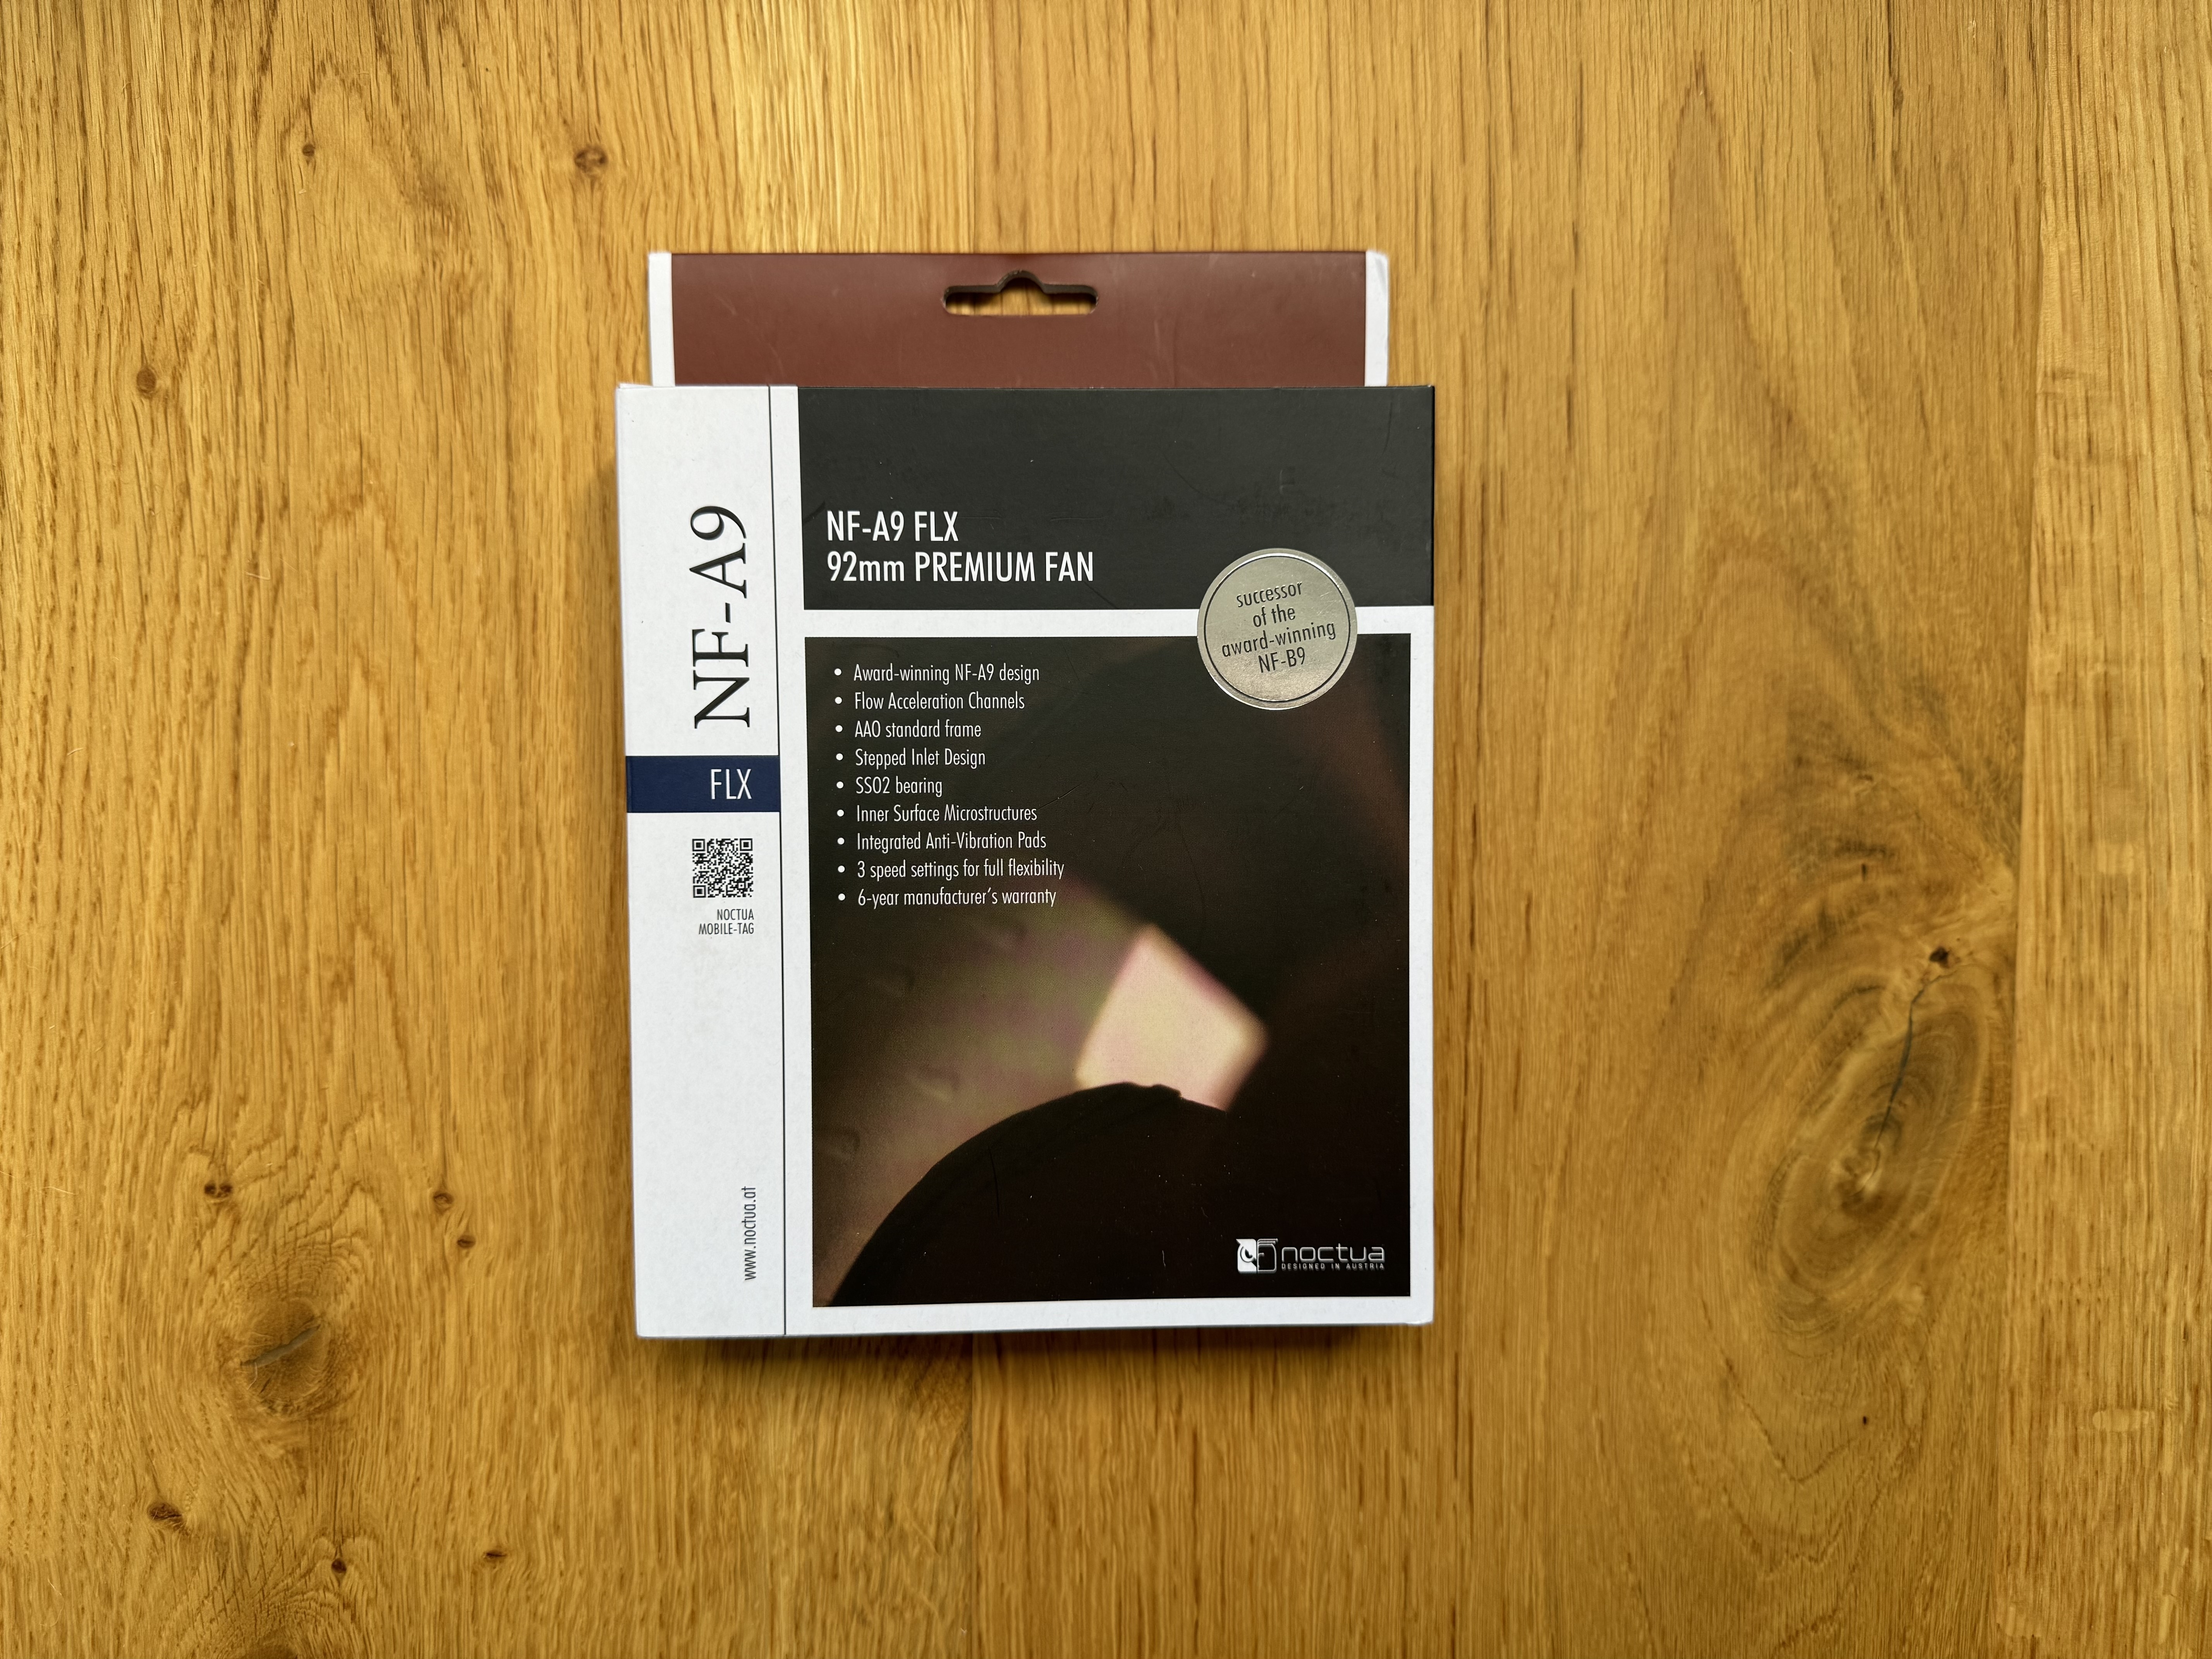
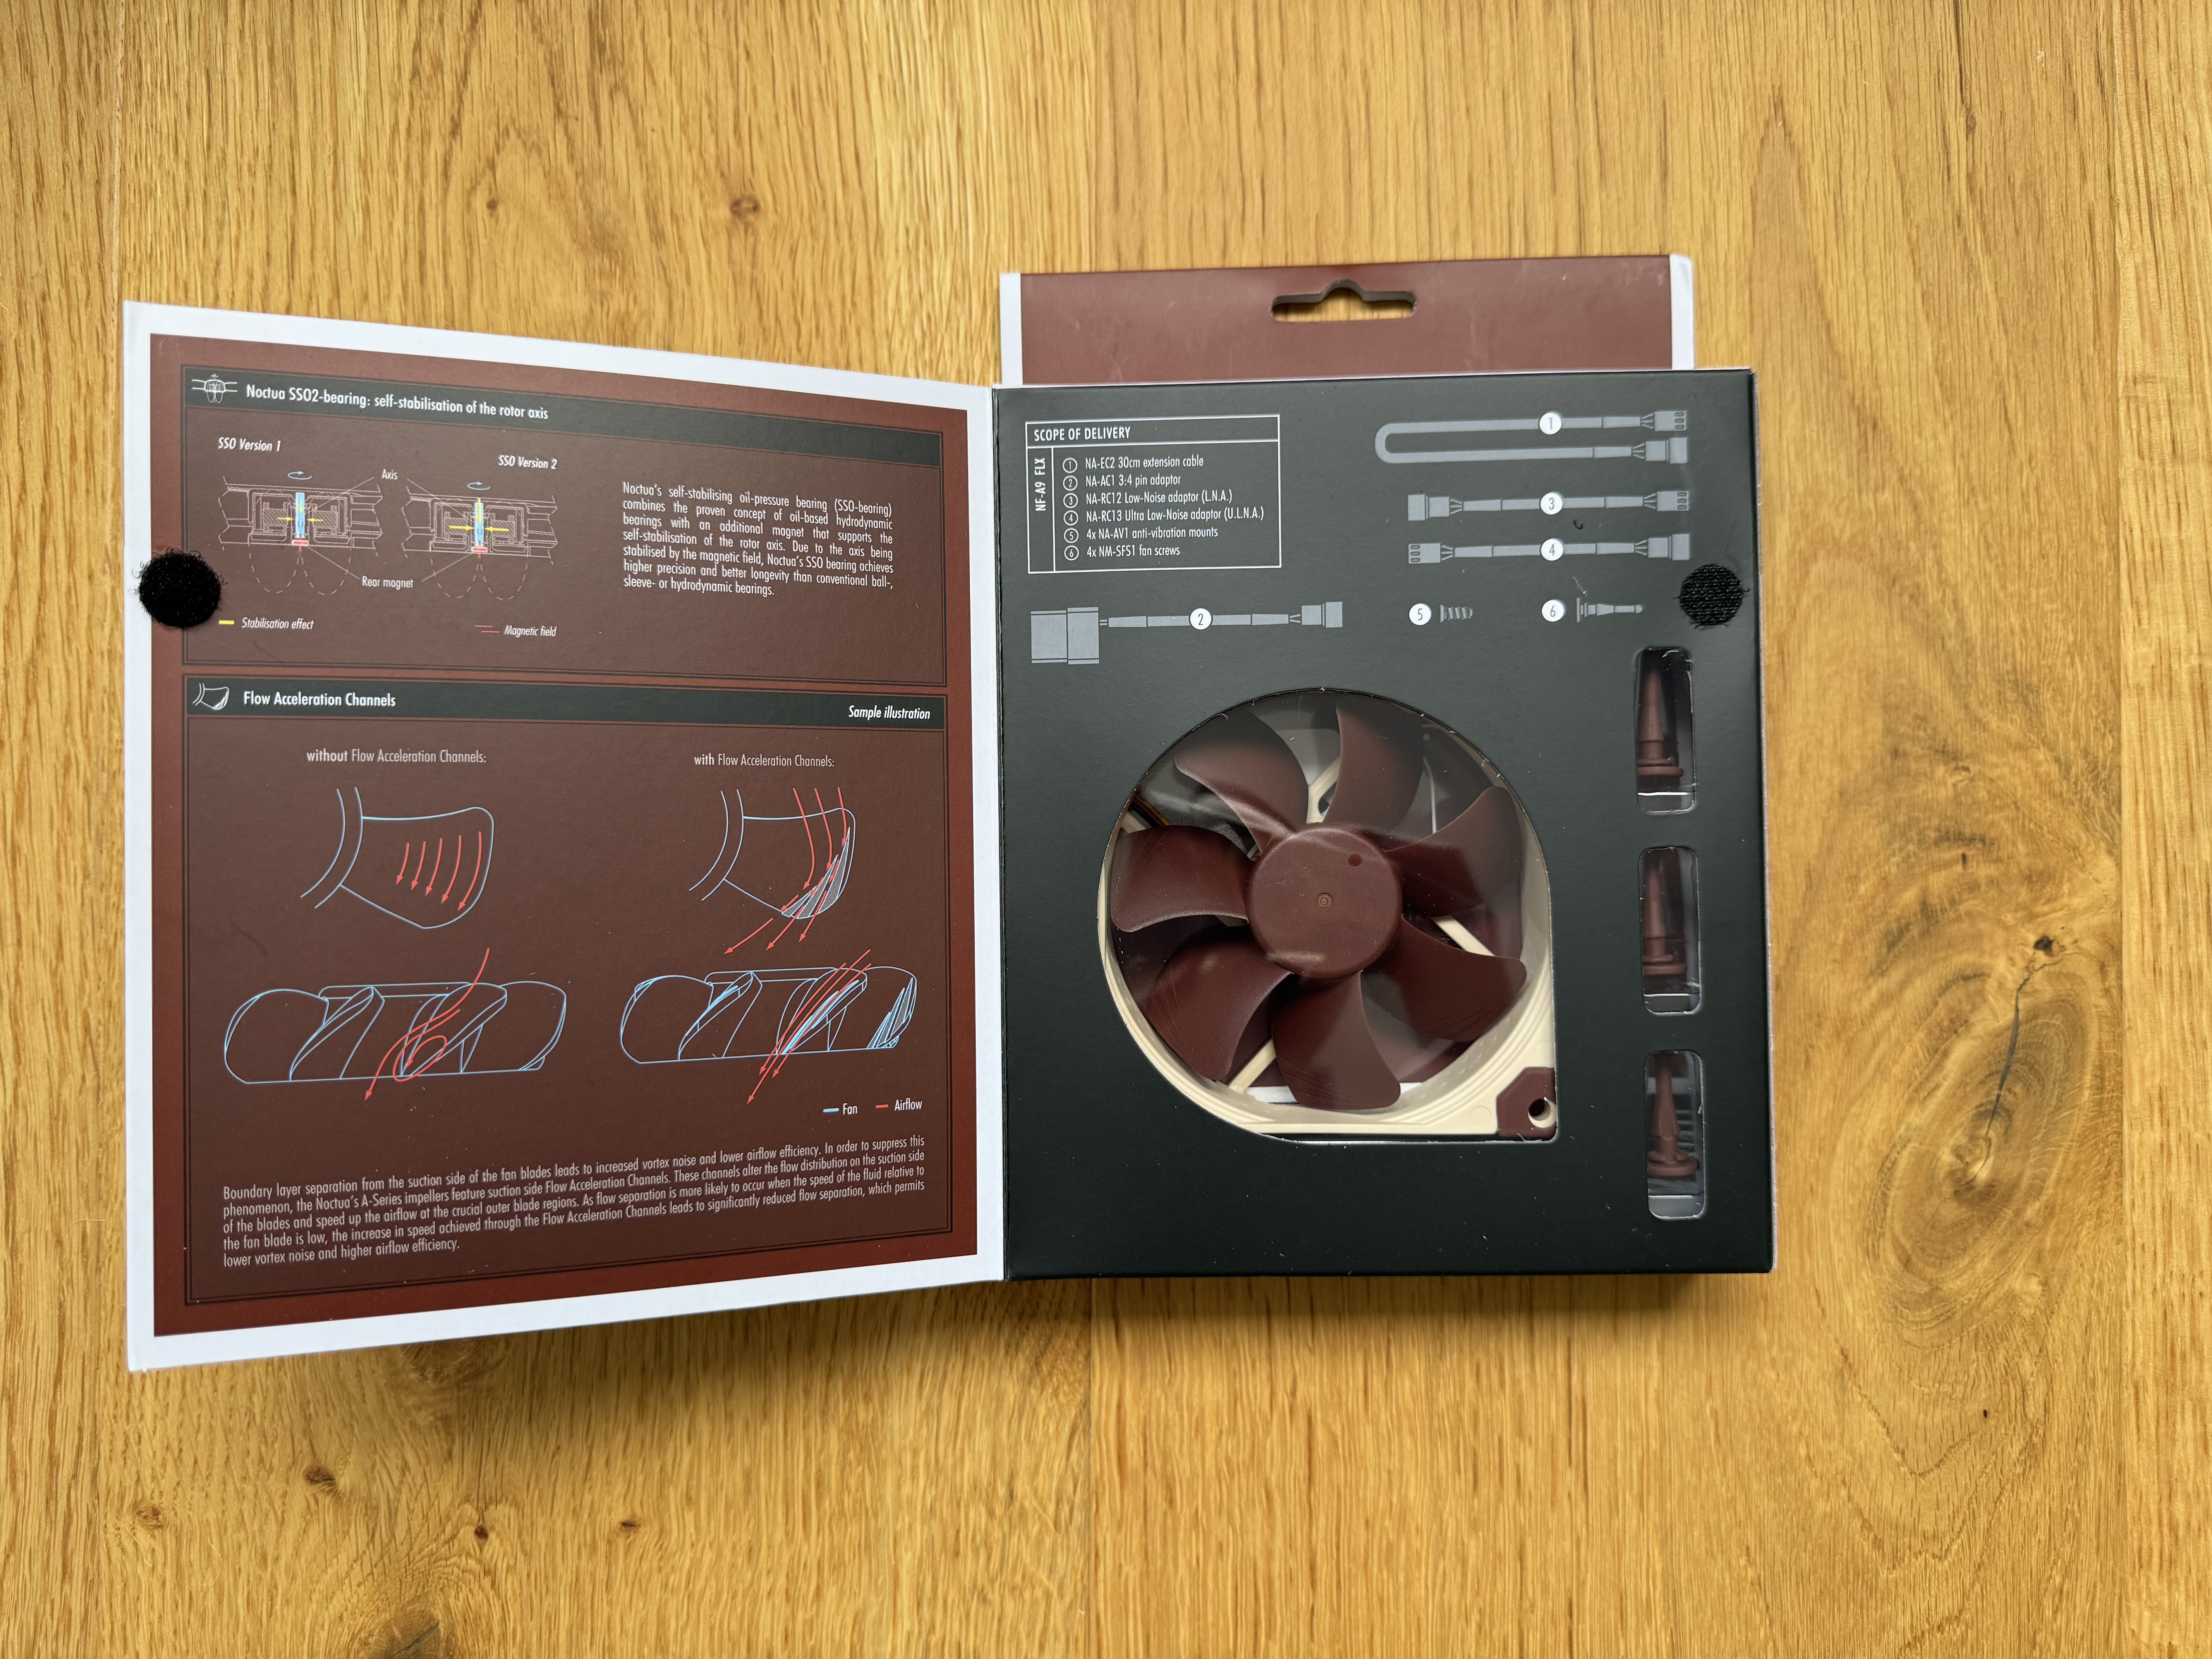
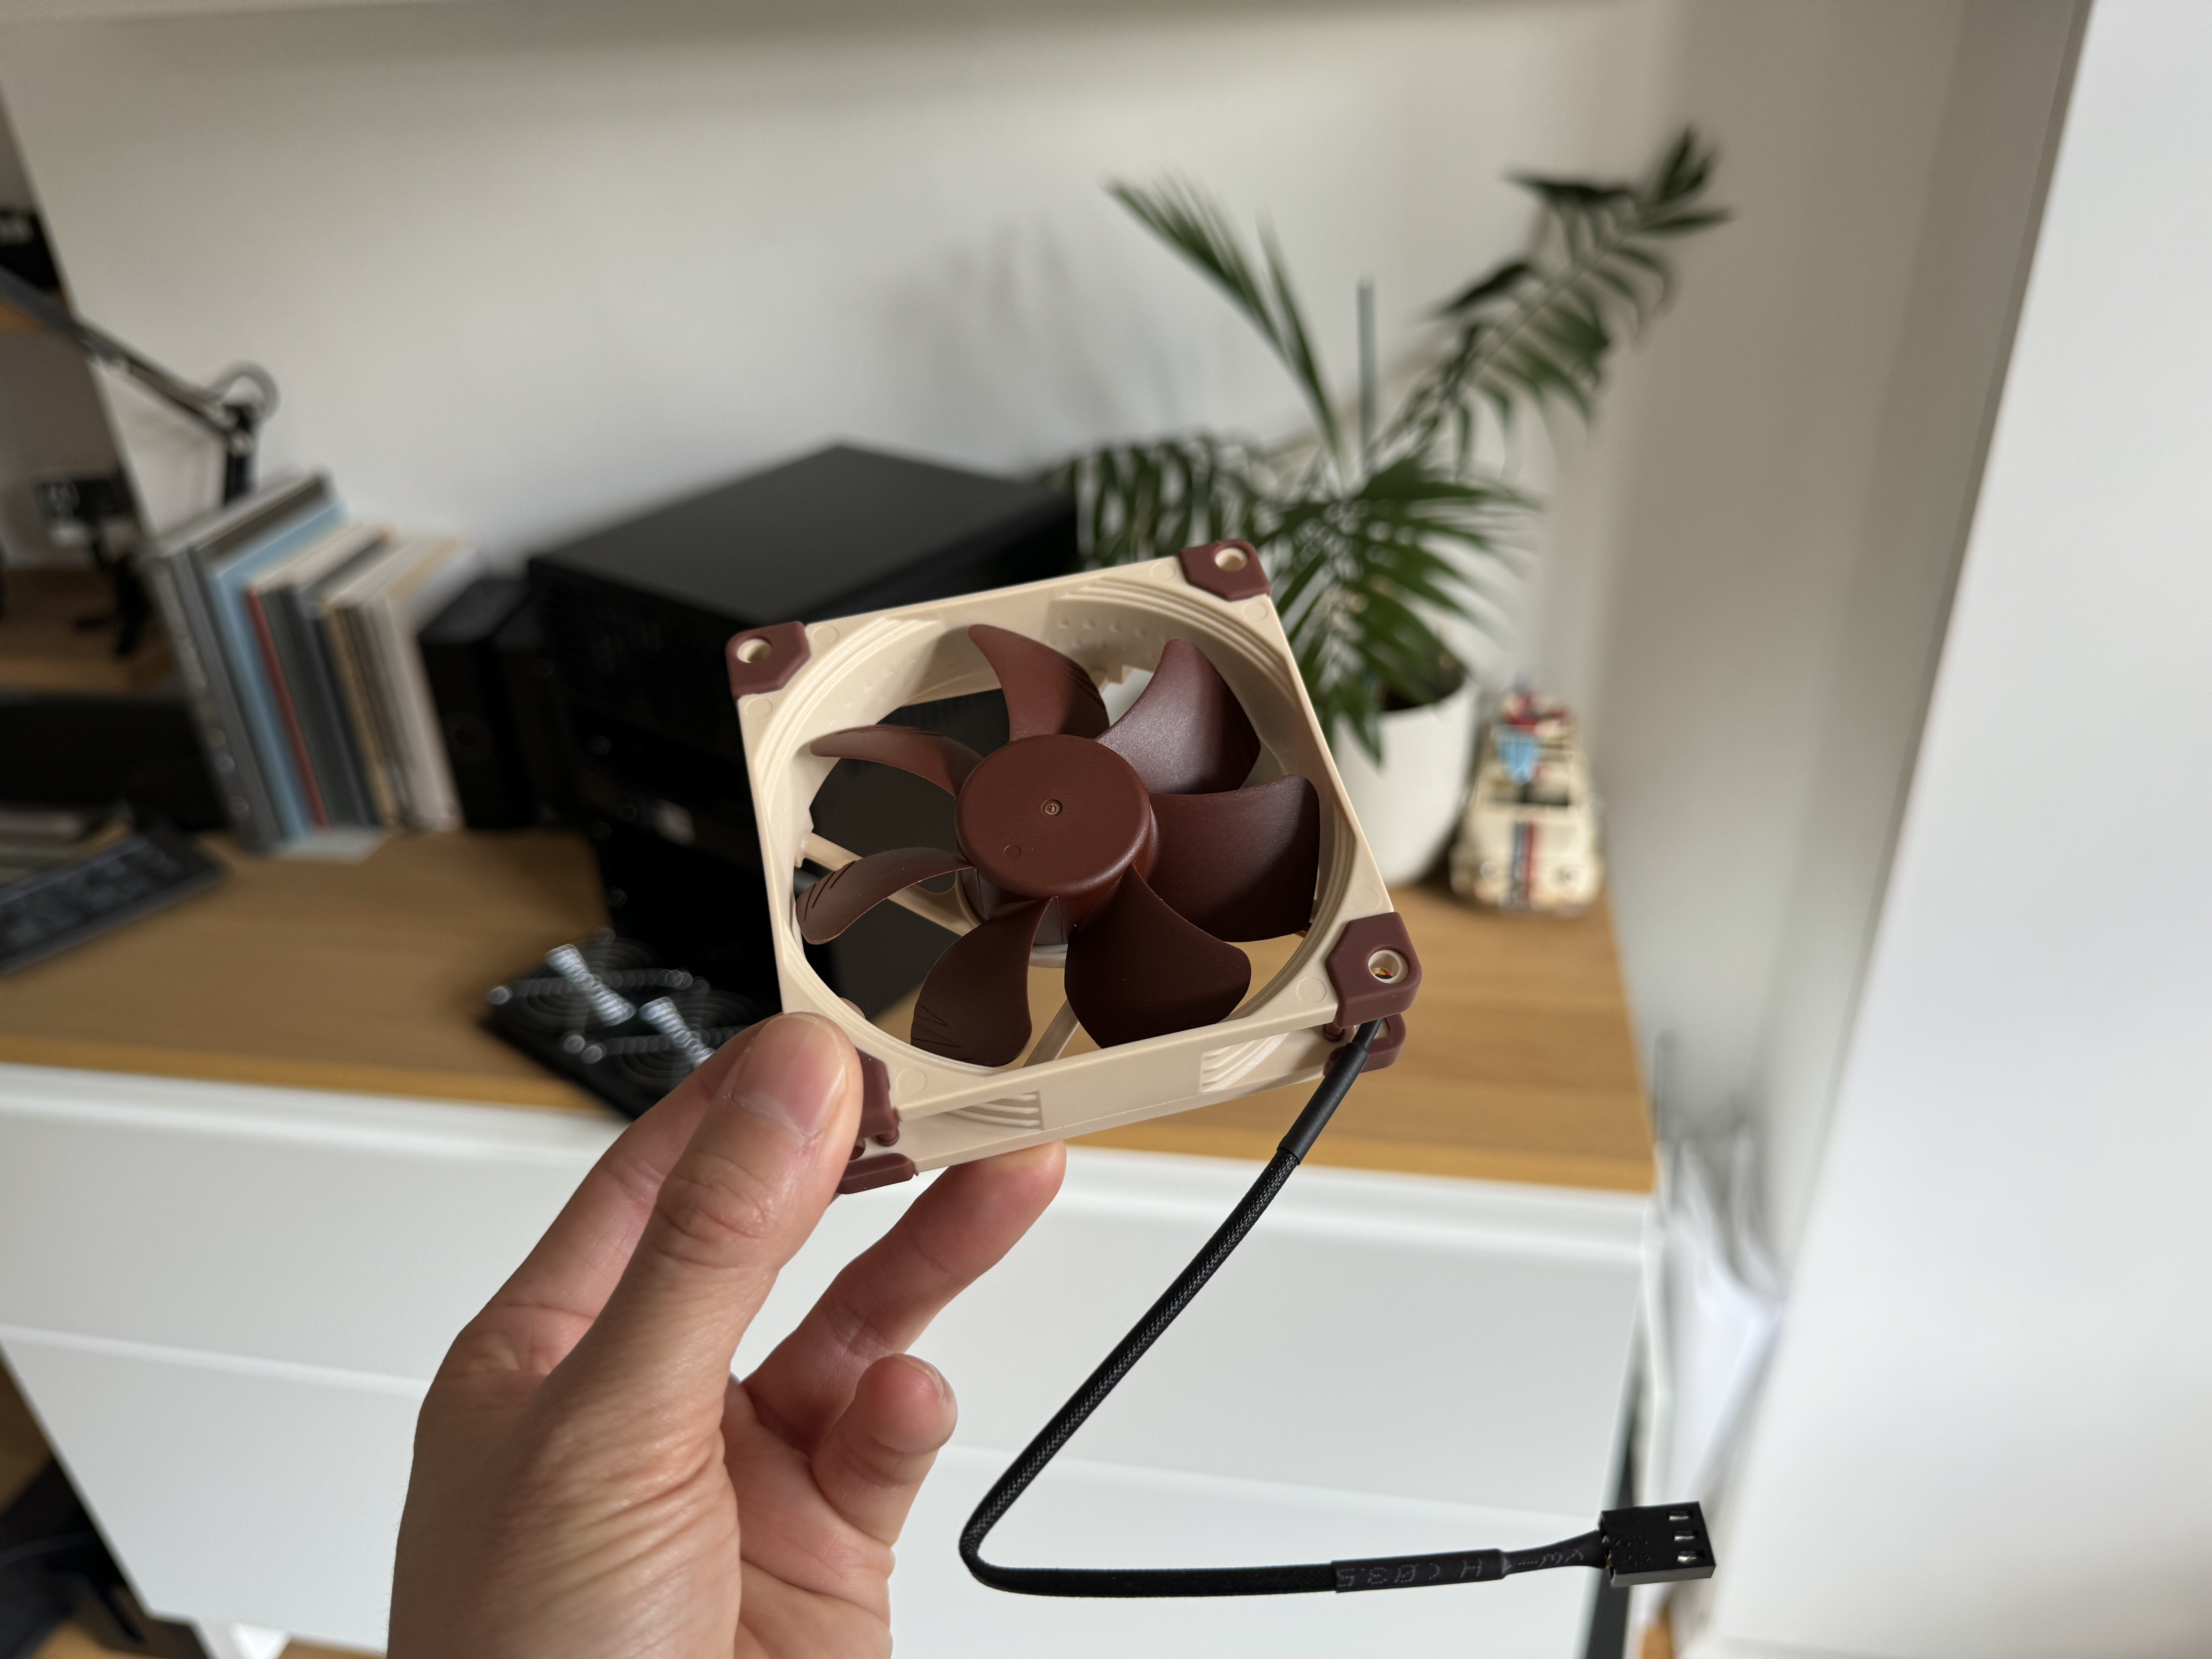
| Case Fan | Noctua NF-A9 FLX, 3-Pin, 92mm | 2 | $23 |
| RAM | Crucial RAM 16GB DDR5 5200MHz | 1 | $50 |
| SSD | Crucial P3 Plus SSD 1TB M.2 NVMe PCIe Gen4 | 1 | $90 |
| SATA Cable | SATA-III Cable 6Pcs - 0.5M | 1 | $10 |
| Total | $722 |
| Hardware | Name | Qty | Price |
|---|---|---|---|
| HDD | Western Digital 8TB Red Plus NAS 5640RPM | 2 | $252 |
| Total | $504 |
The choice of 16GB RAM, 1TB SSD NVme, and 8TB hard disk is a personal one. So feel free to configure these to your preferences and needs. If you plan to run more Docker images, and VMs, then you might want 32GB RAM. Otherwise you can opt for 8GB and save some money.
The Case - Jonsbo N3
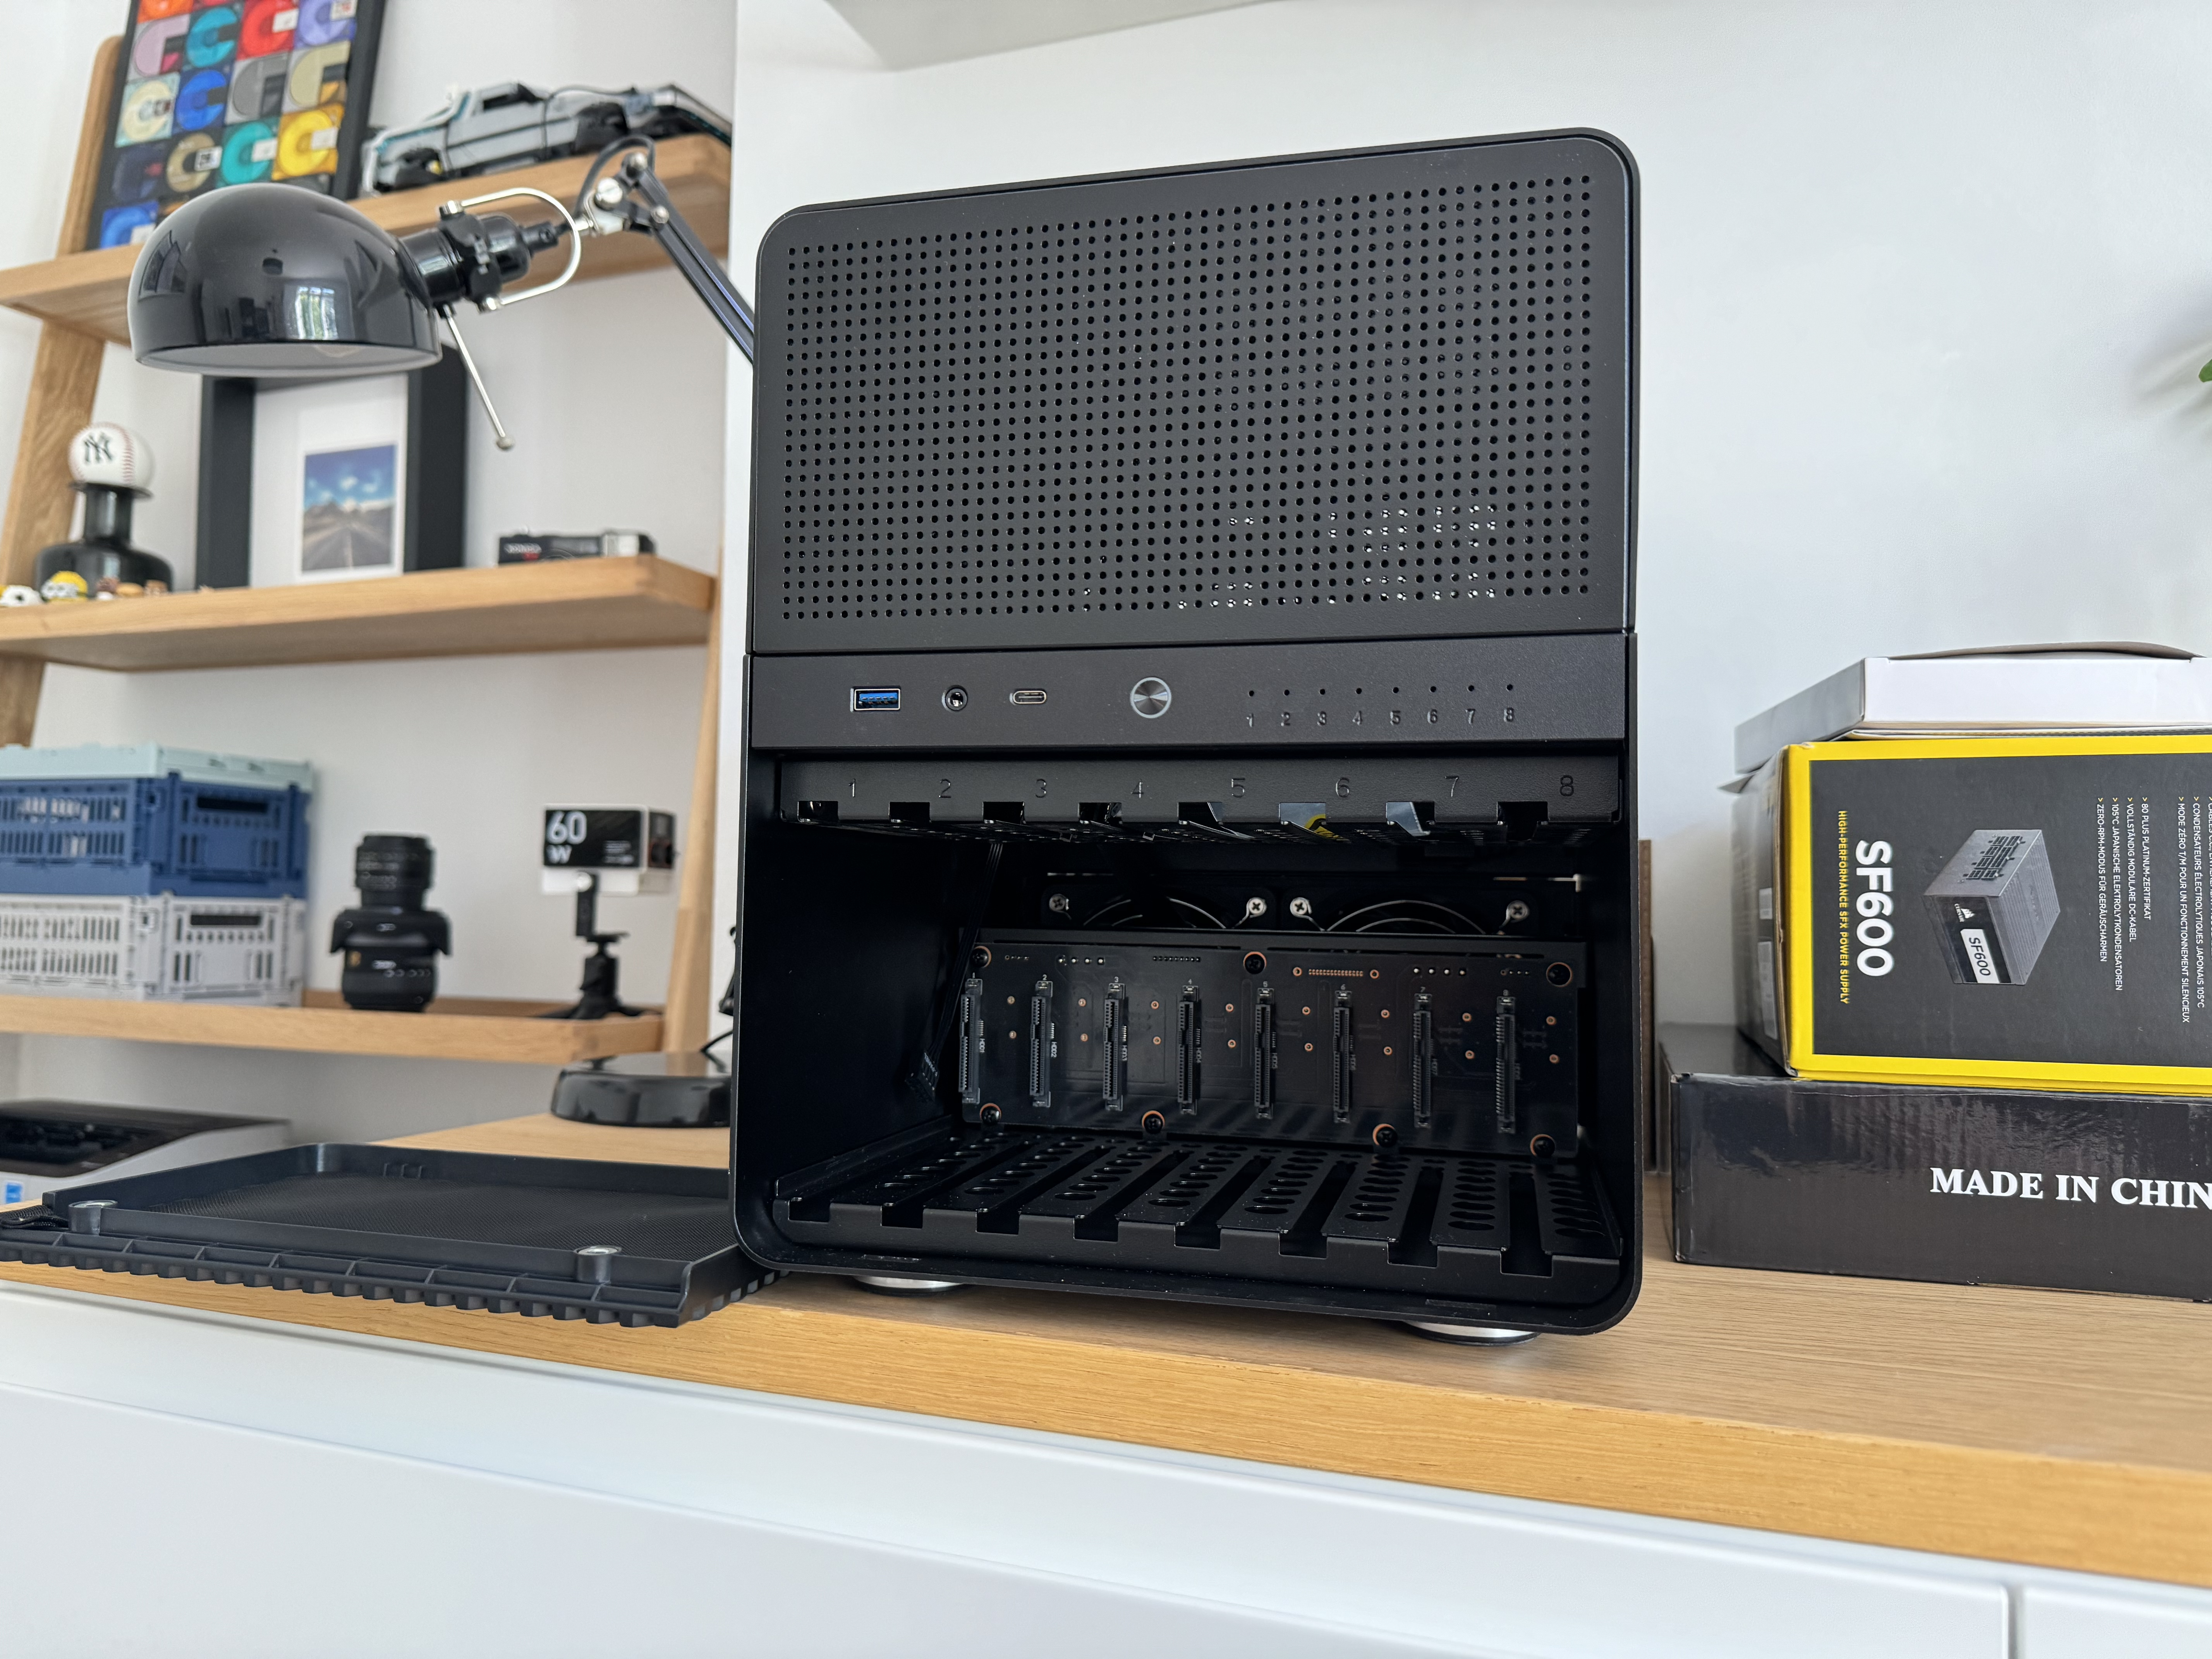
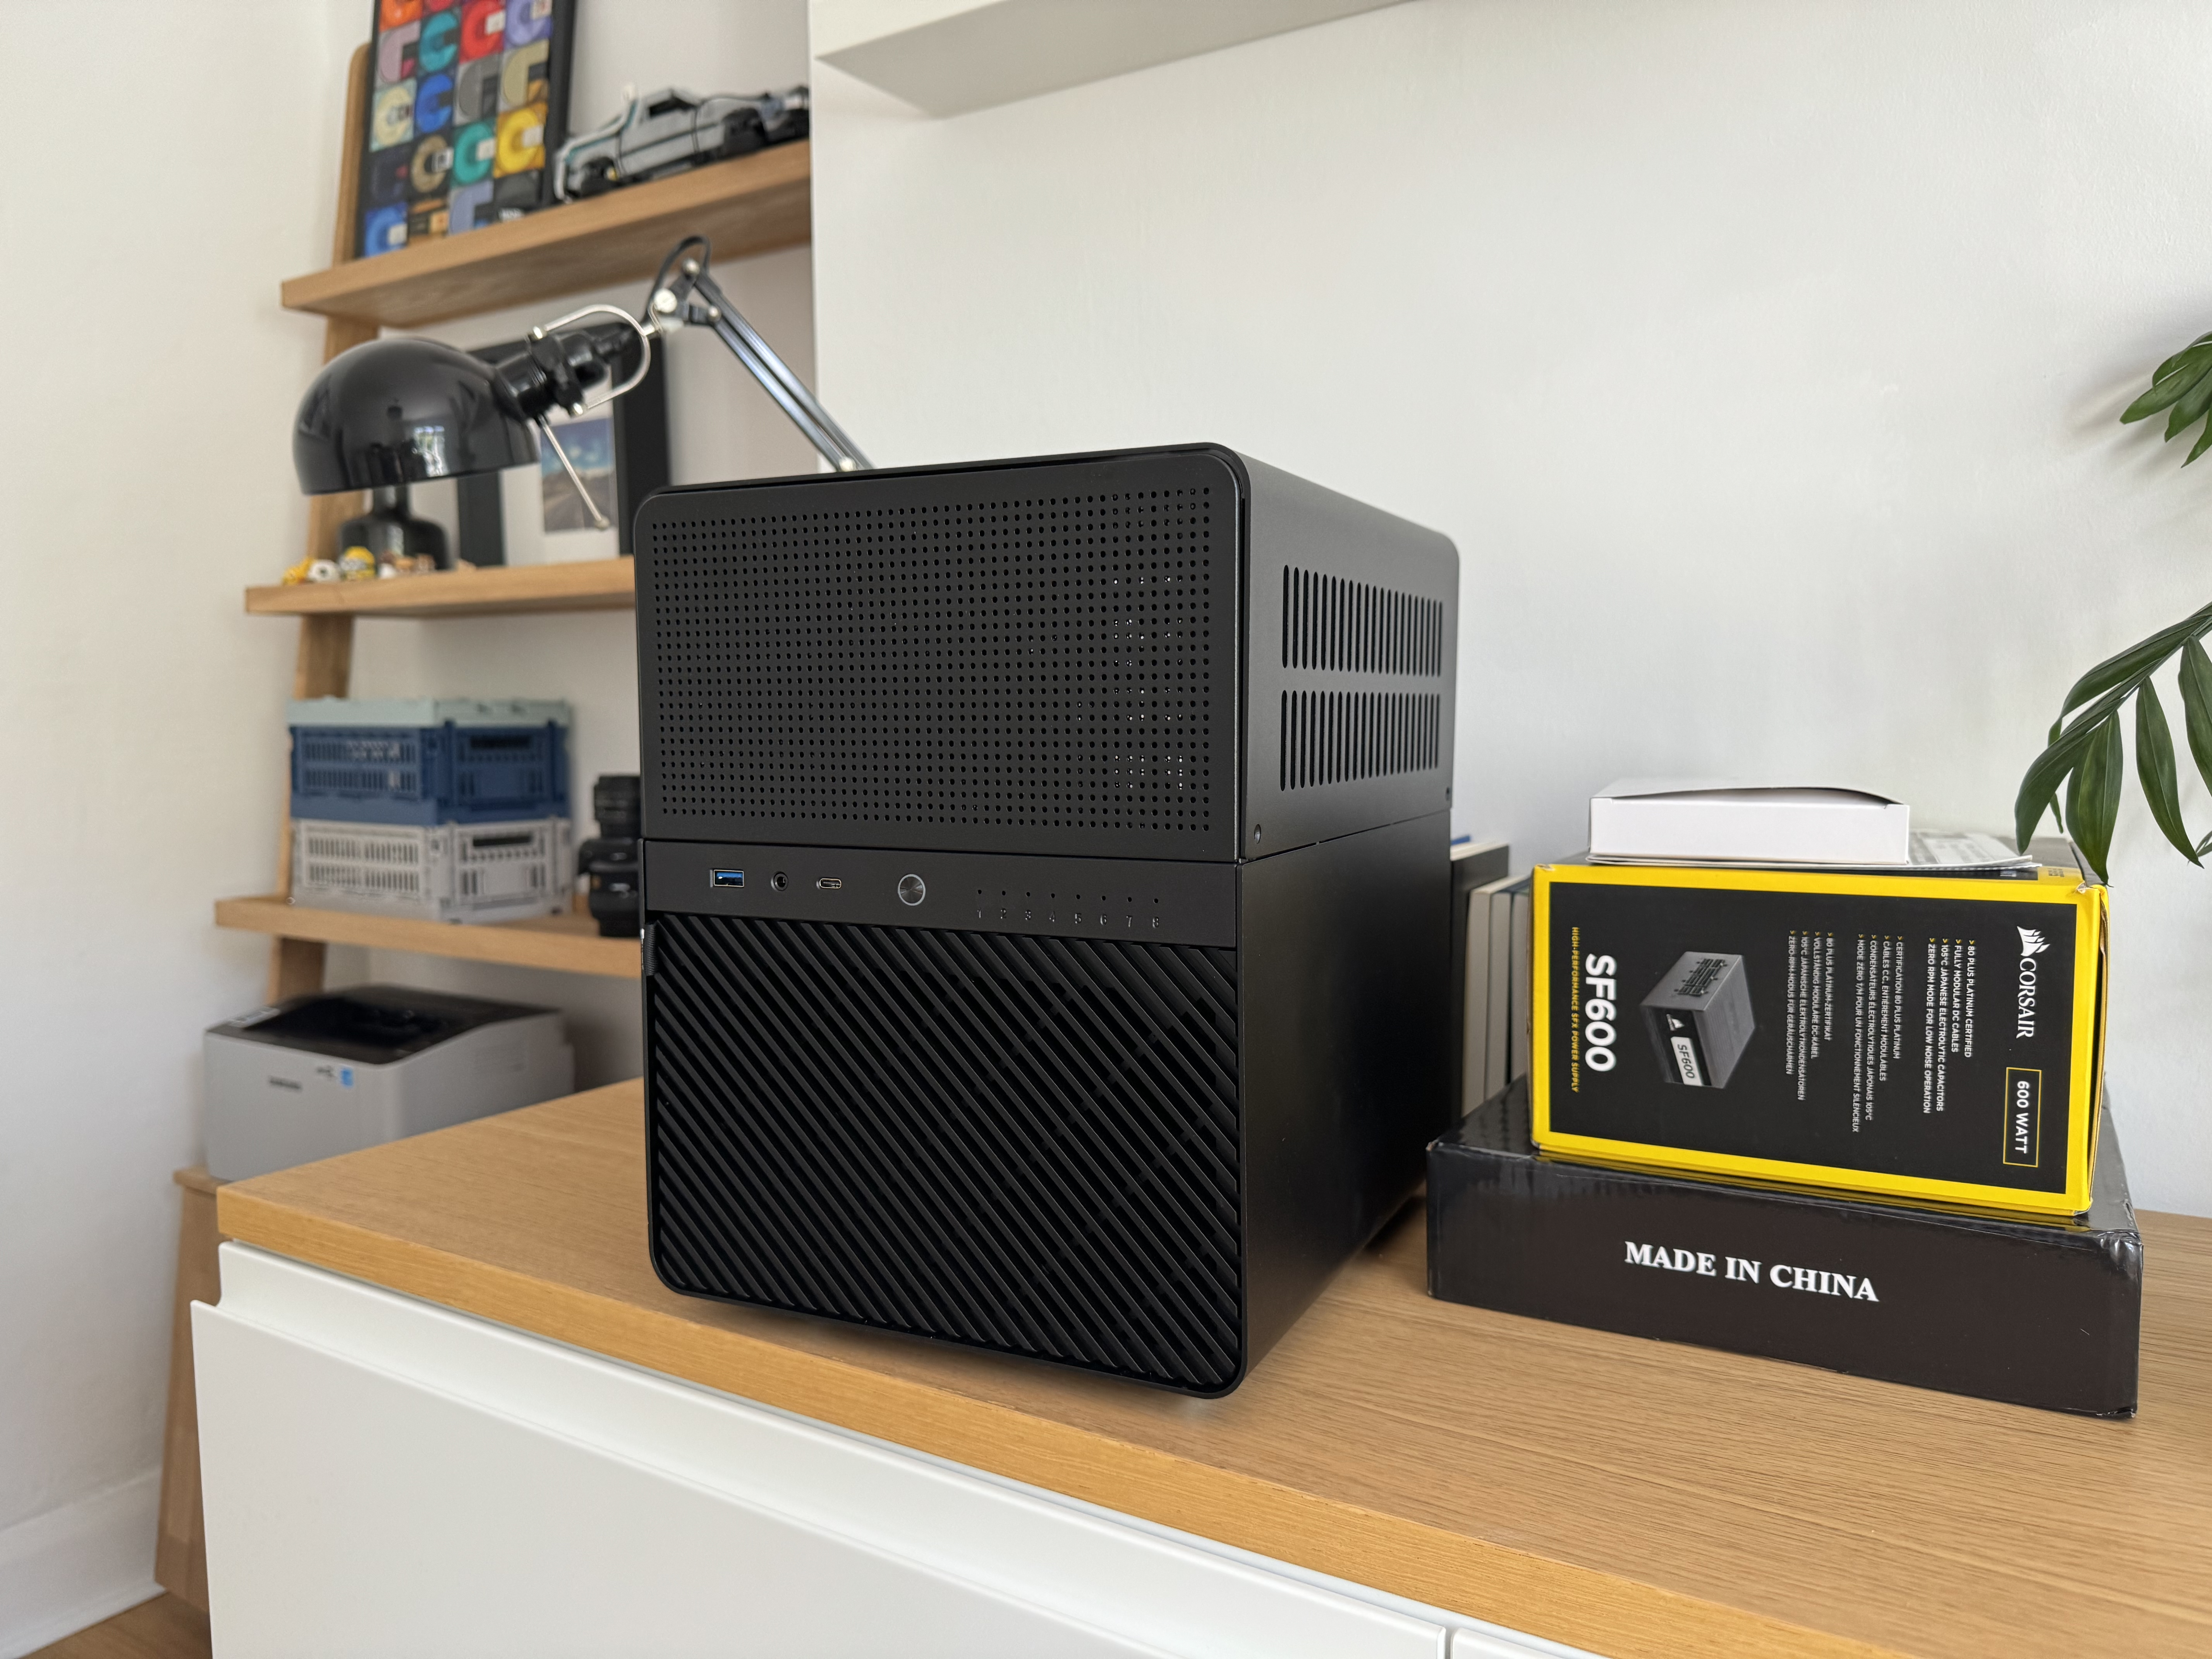 What I like about the Jonsbo NAS cases is it has easy access to the hard drives. No screw drivers needed. Just like Synology NAS enclosures.
The front panel is magnetic which you can pull apart, and voila. Access to the hard drives.
It is also in a relatively small form factor. Not as small as Synology counter parts. But small enough for a self build NAS/PC.
Ideally I would have opted for the Jonsbo N2, a smaller case than the N3. But upon research, I learnt that you may need a 3D printer to print a special mount that would house a standard size fan.
The Motherboard
After countless hours of searching for a low-powered compatible motherboard with 6 or more SATA ports, I eventually discovered CWWK. Not a company I had come across before, but after discovering the CWWK Integrated Intel N100 Motherboard, I thought I’d give it a shot.
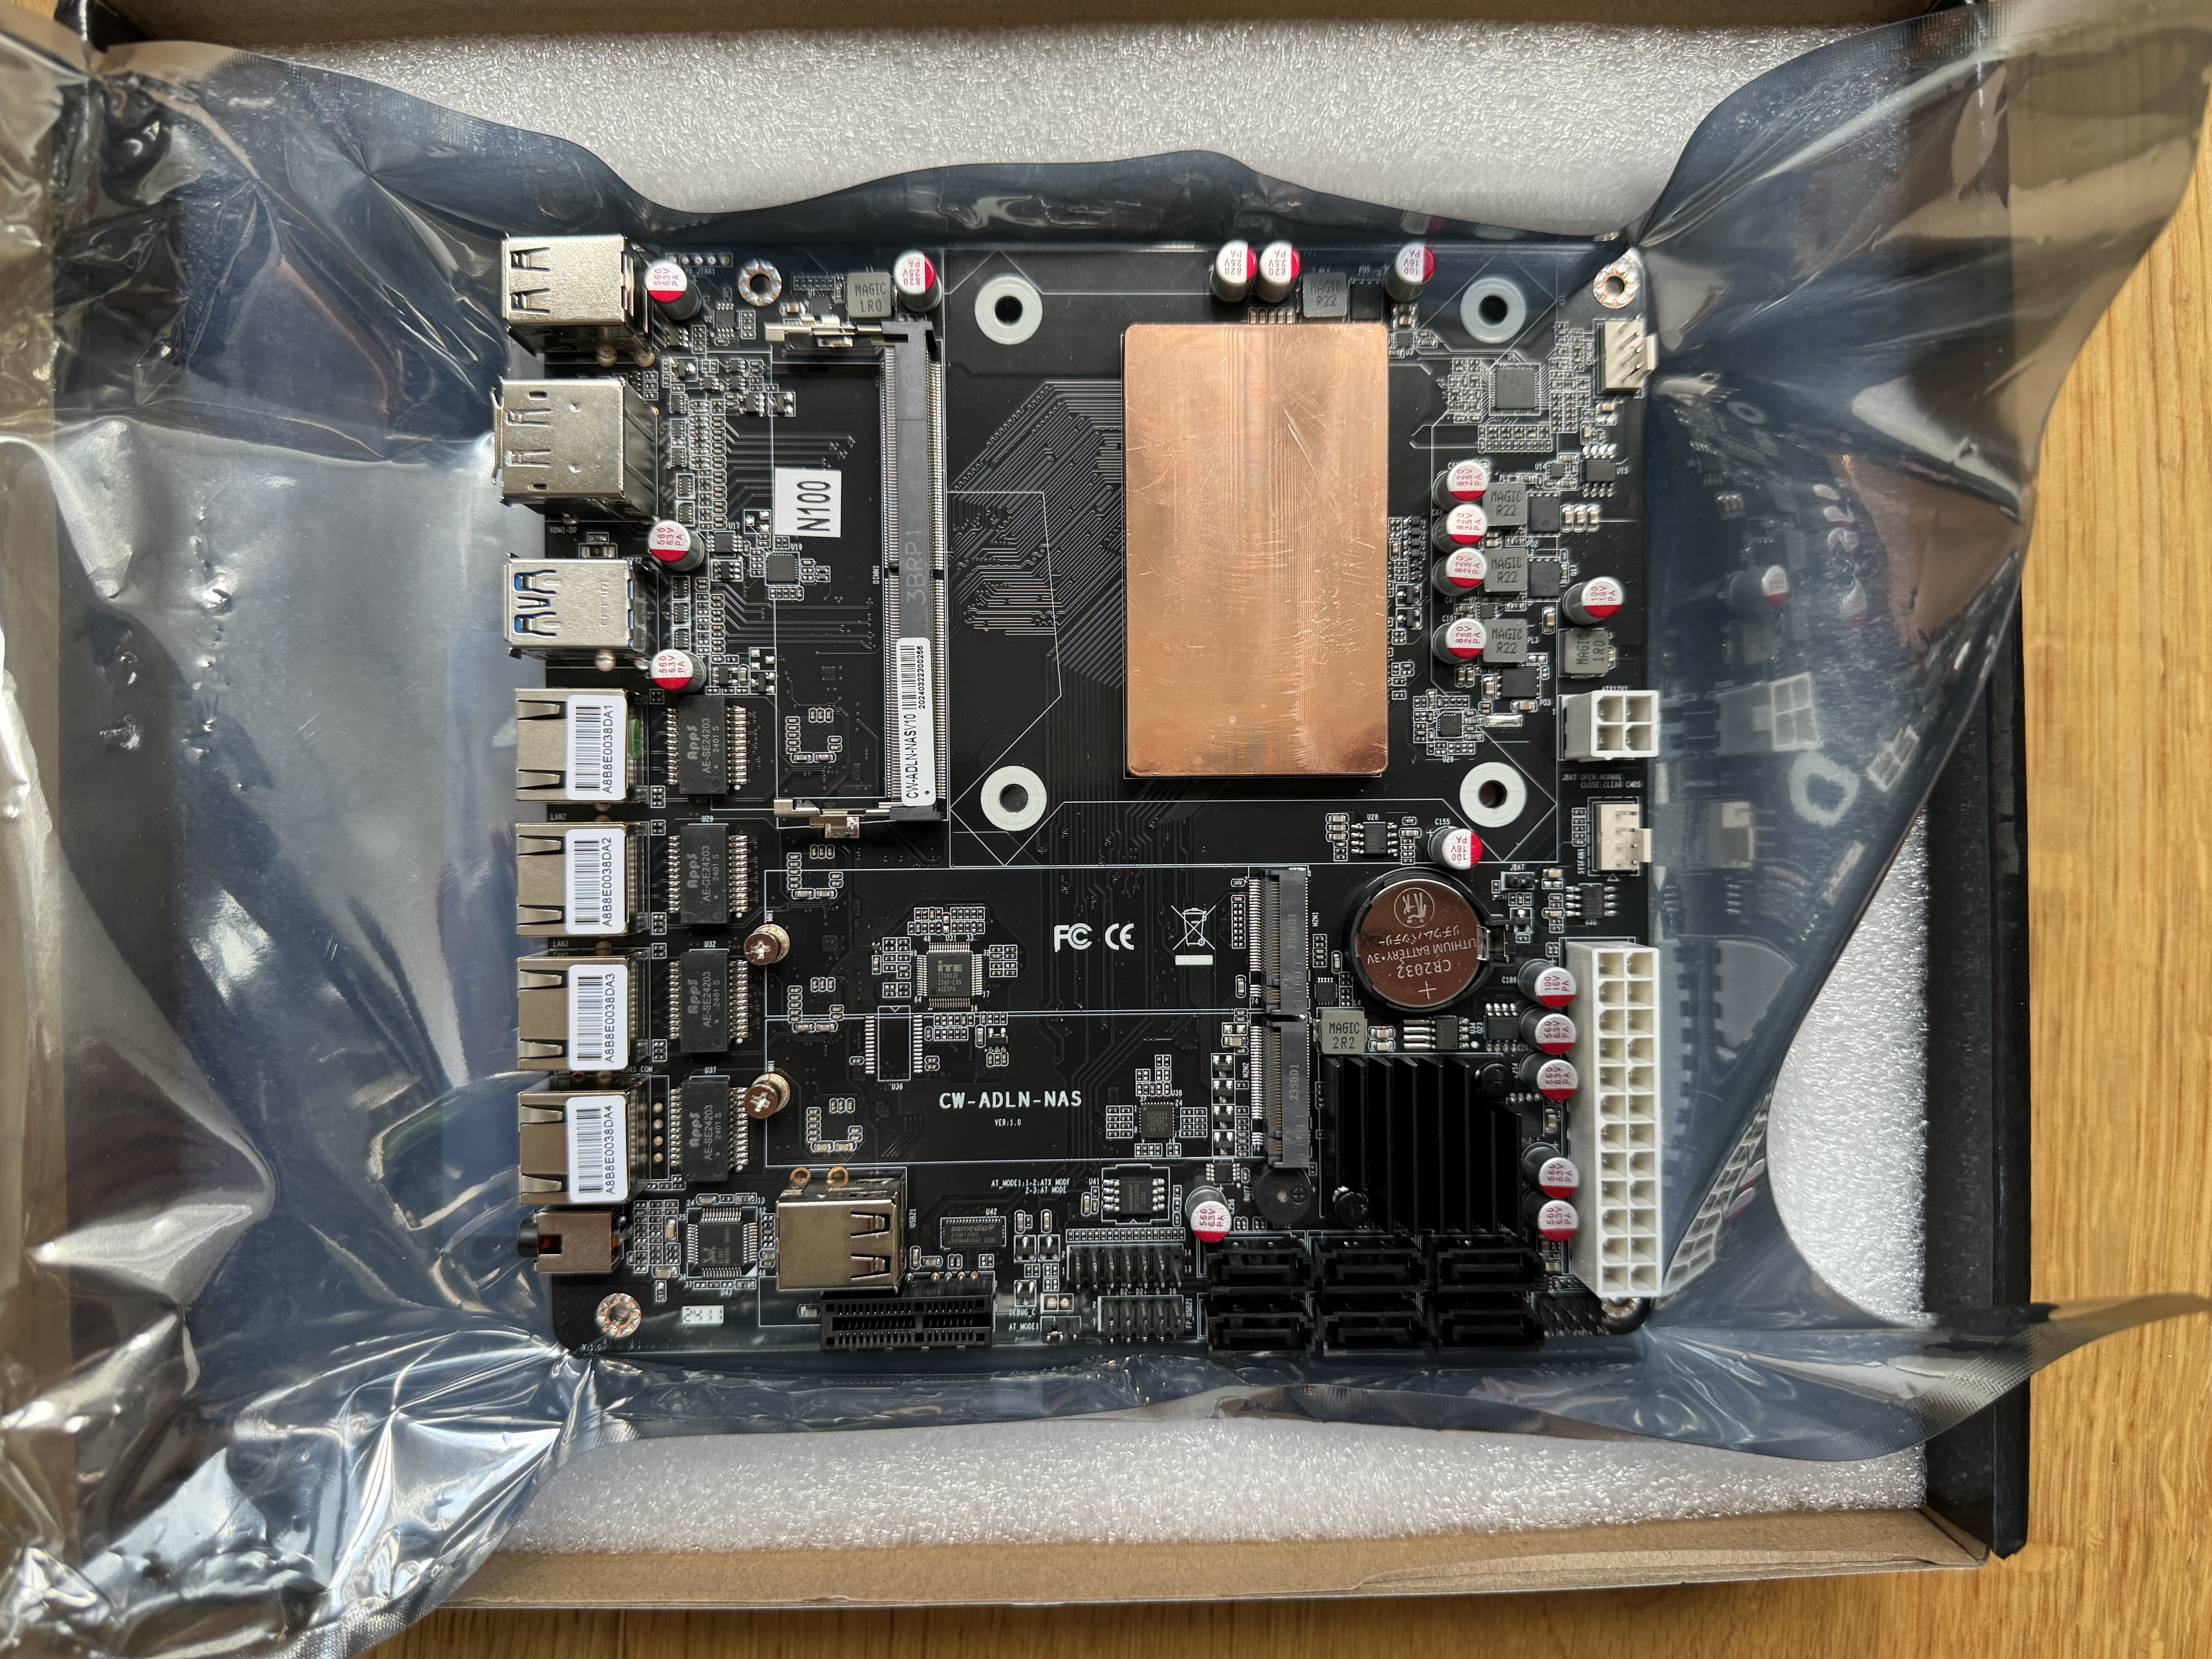
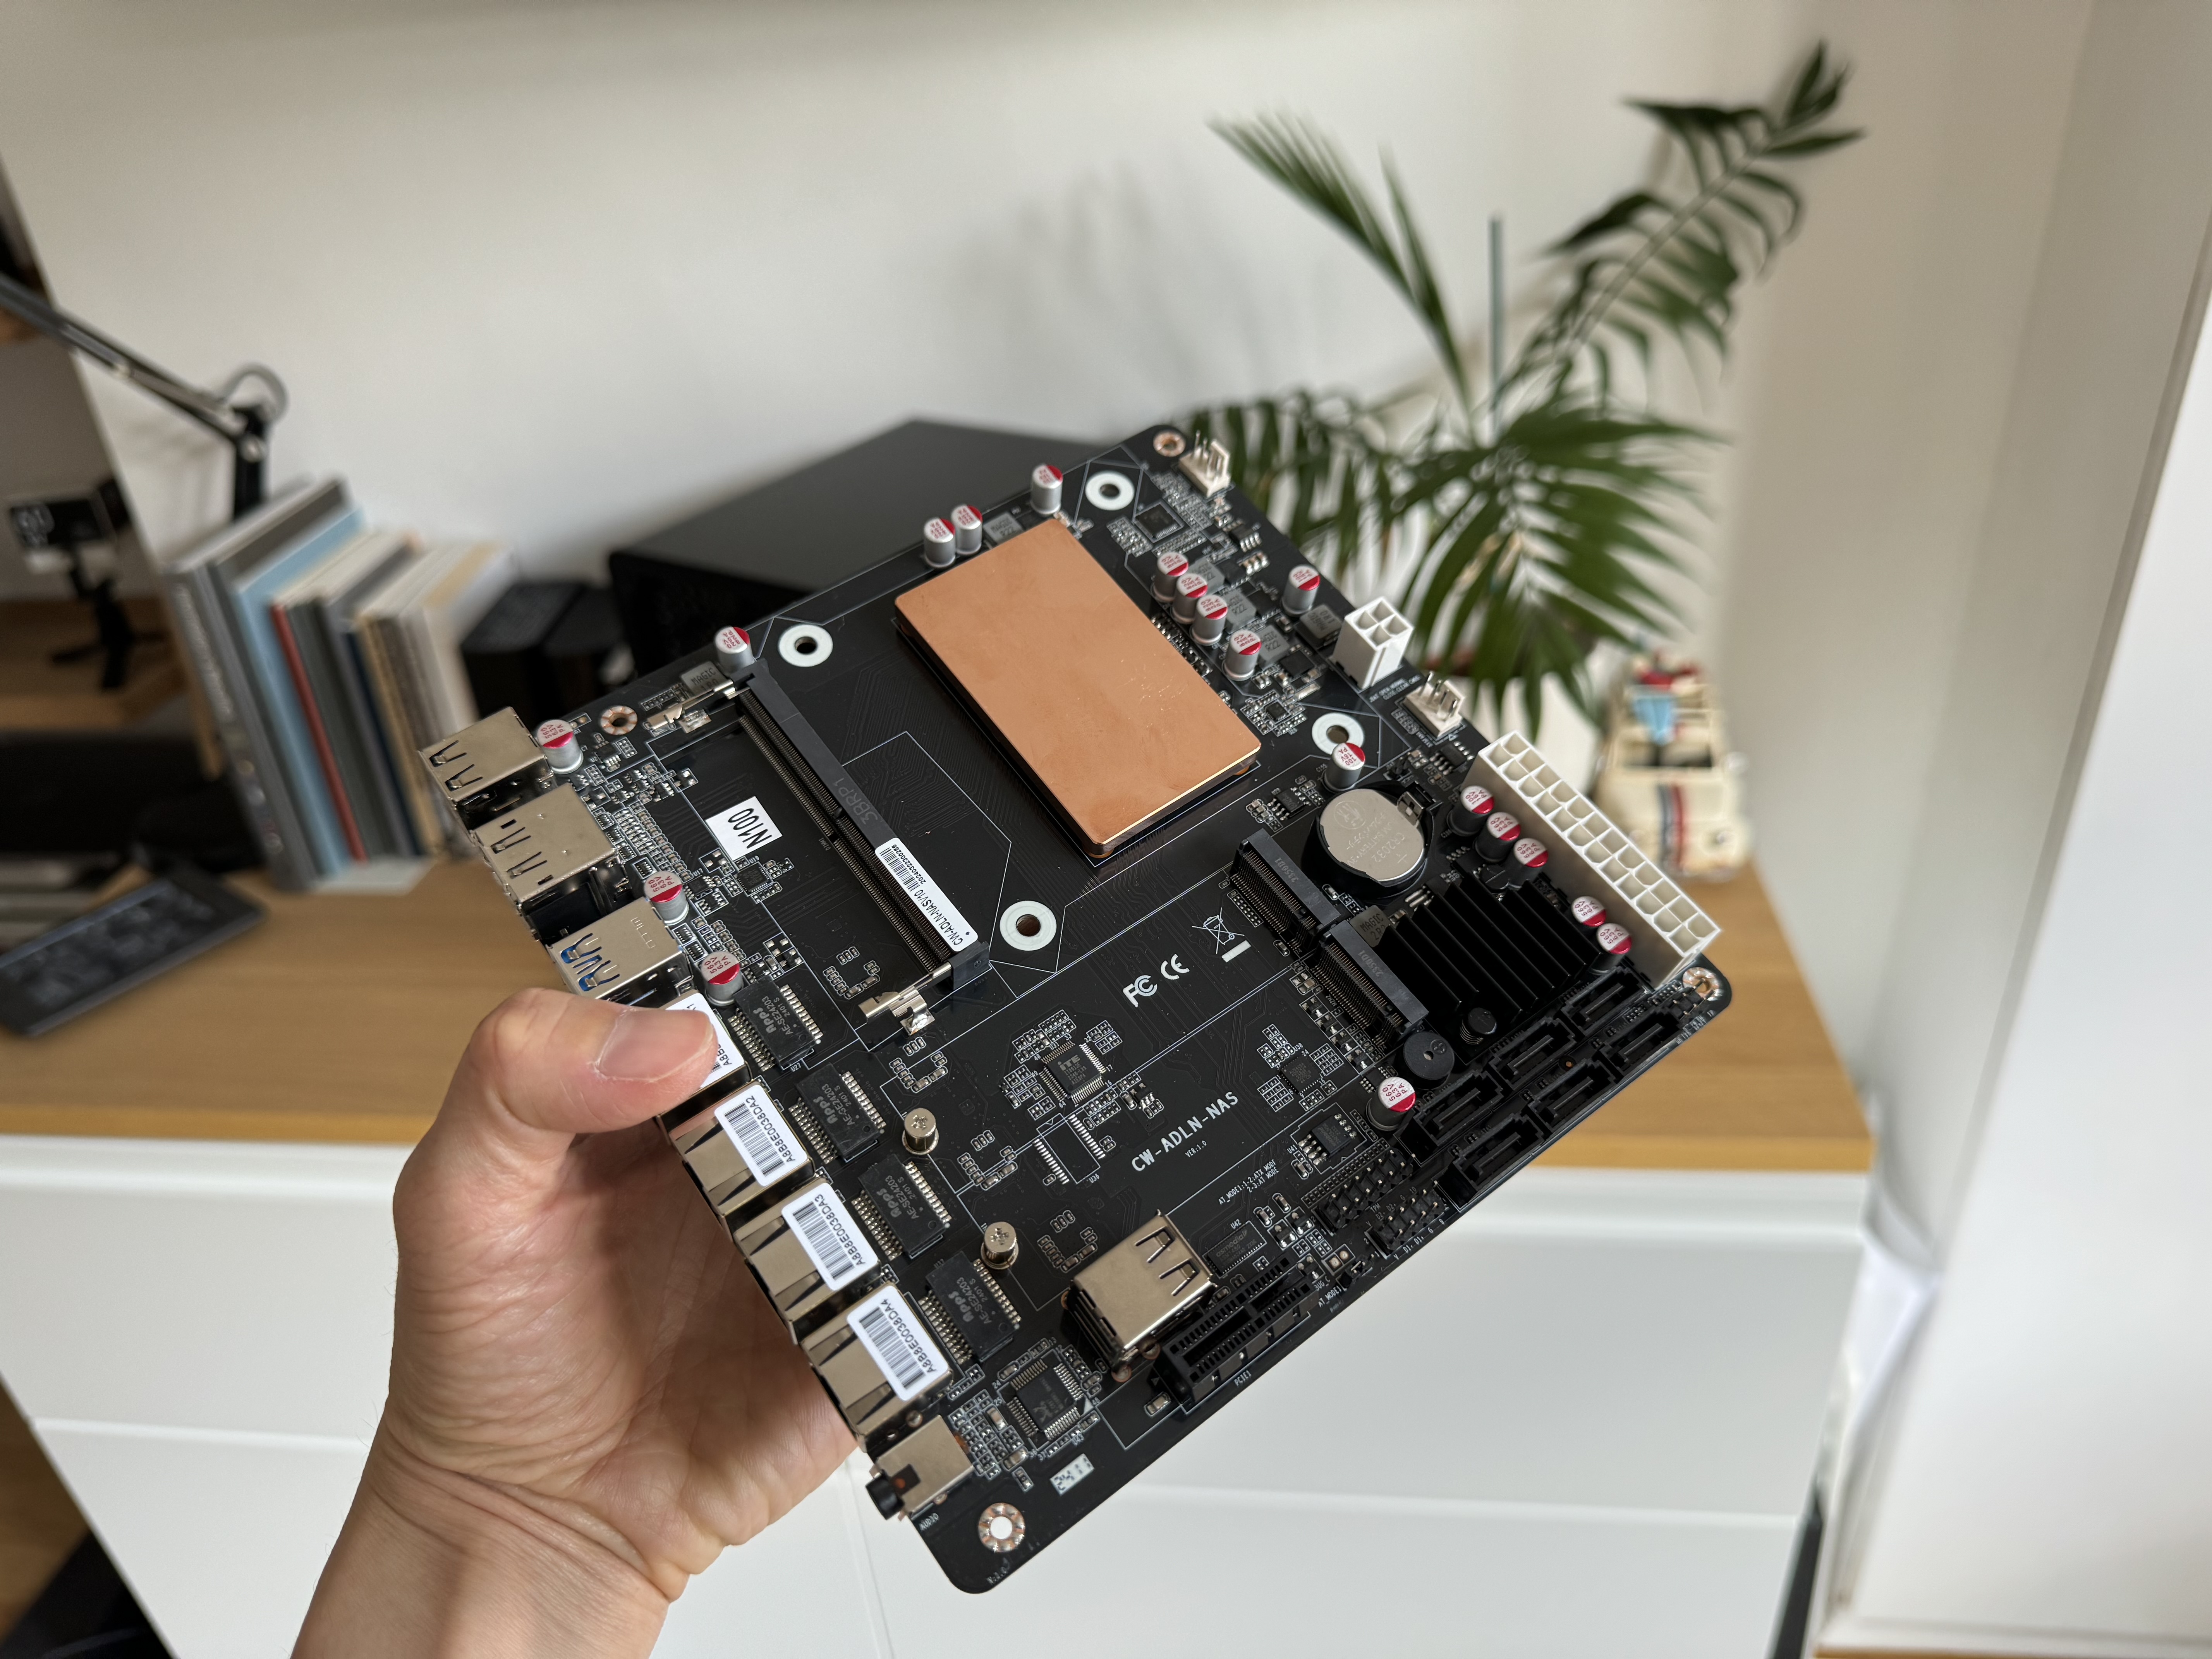
This motherboard sounded too good to be true. It almost has it all. Almost.
Low-powered - check. Plenty of SATA ports, 6 in fact, and a M.2 slot for further expansion - check. Integrated CPU - check. Plenty or ports.
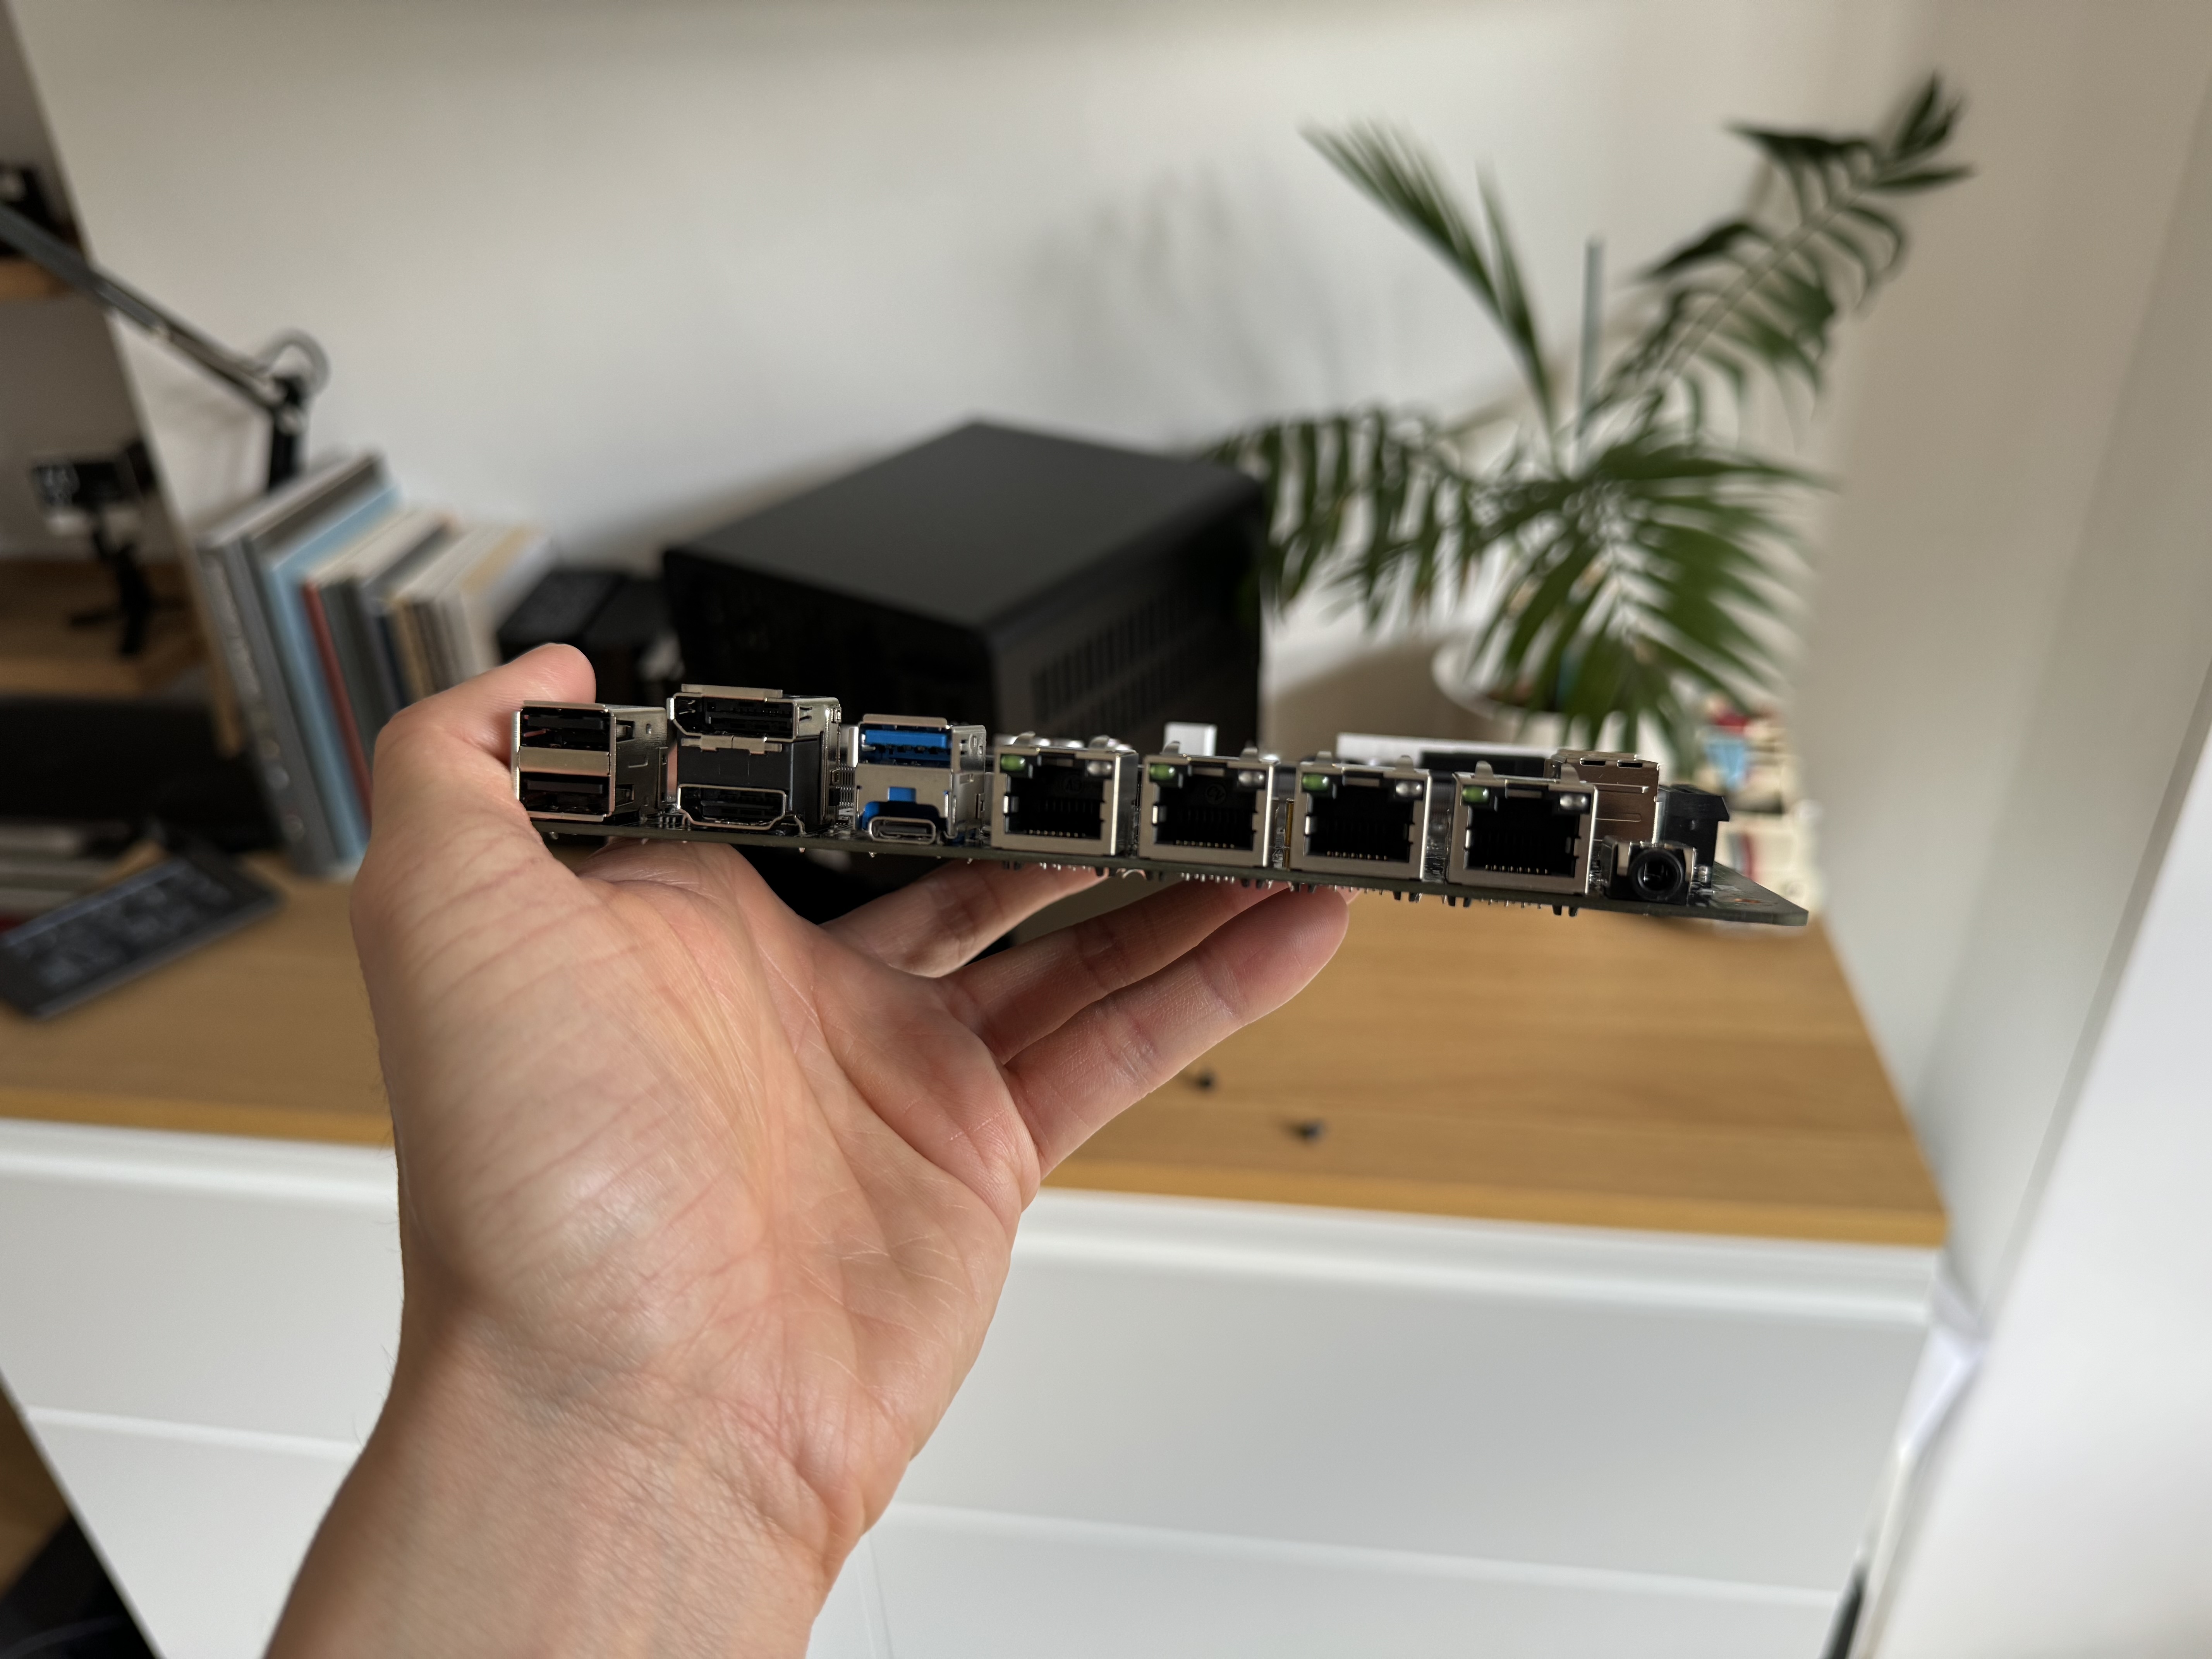
The only downside. A single RAM slot, with a maximum capacity of 32GB. For a NAS, depending on your use-case this could be enough or it may be a limitation. For me. It’s enough.
CPU Fan
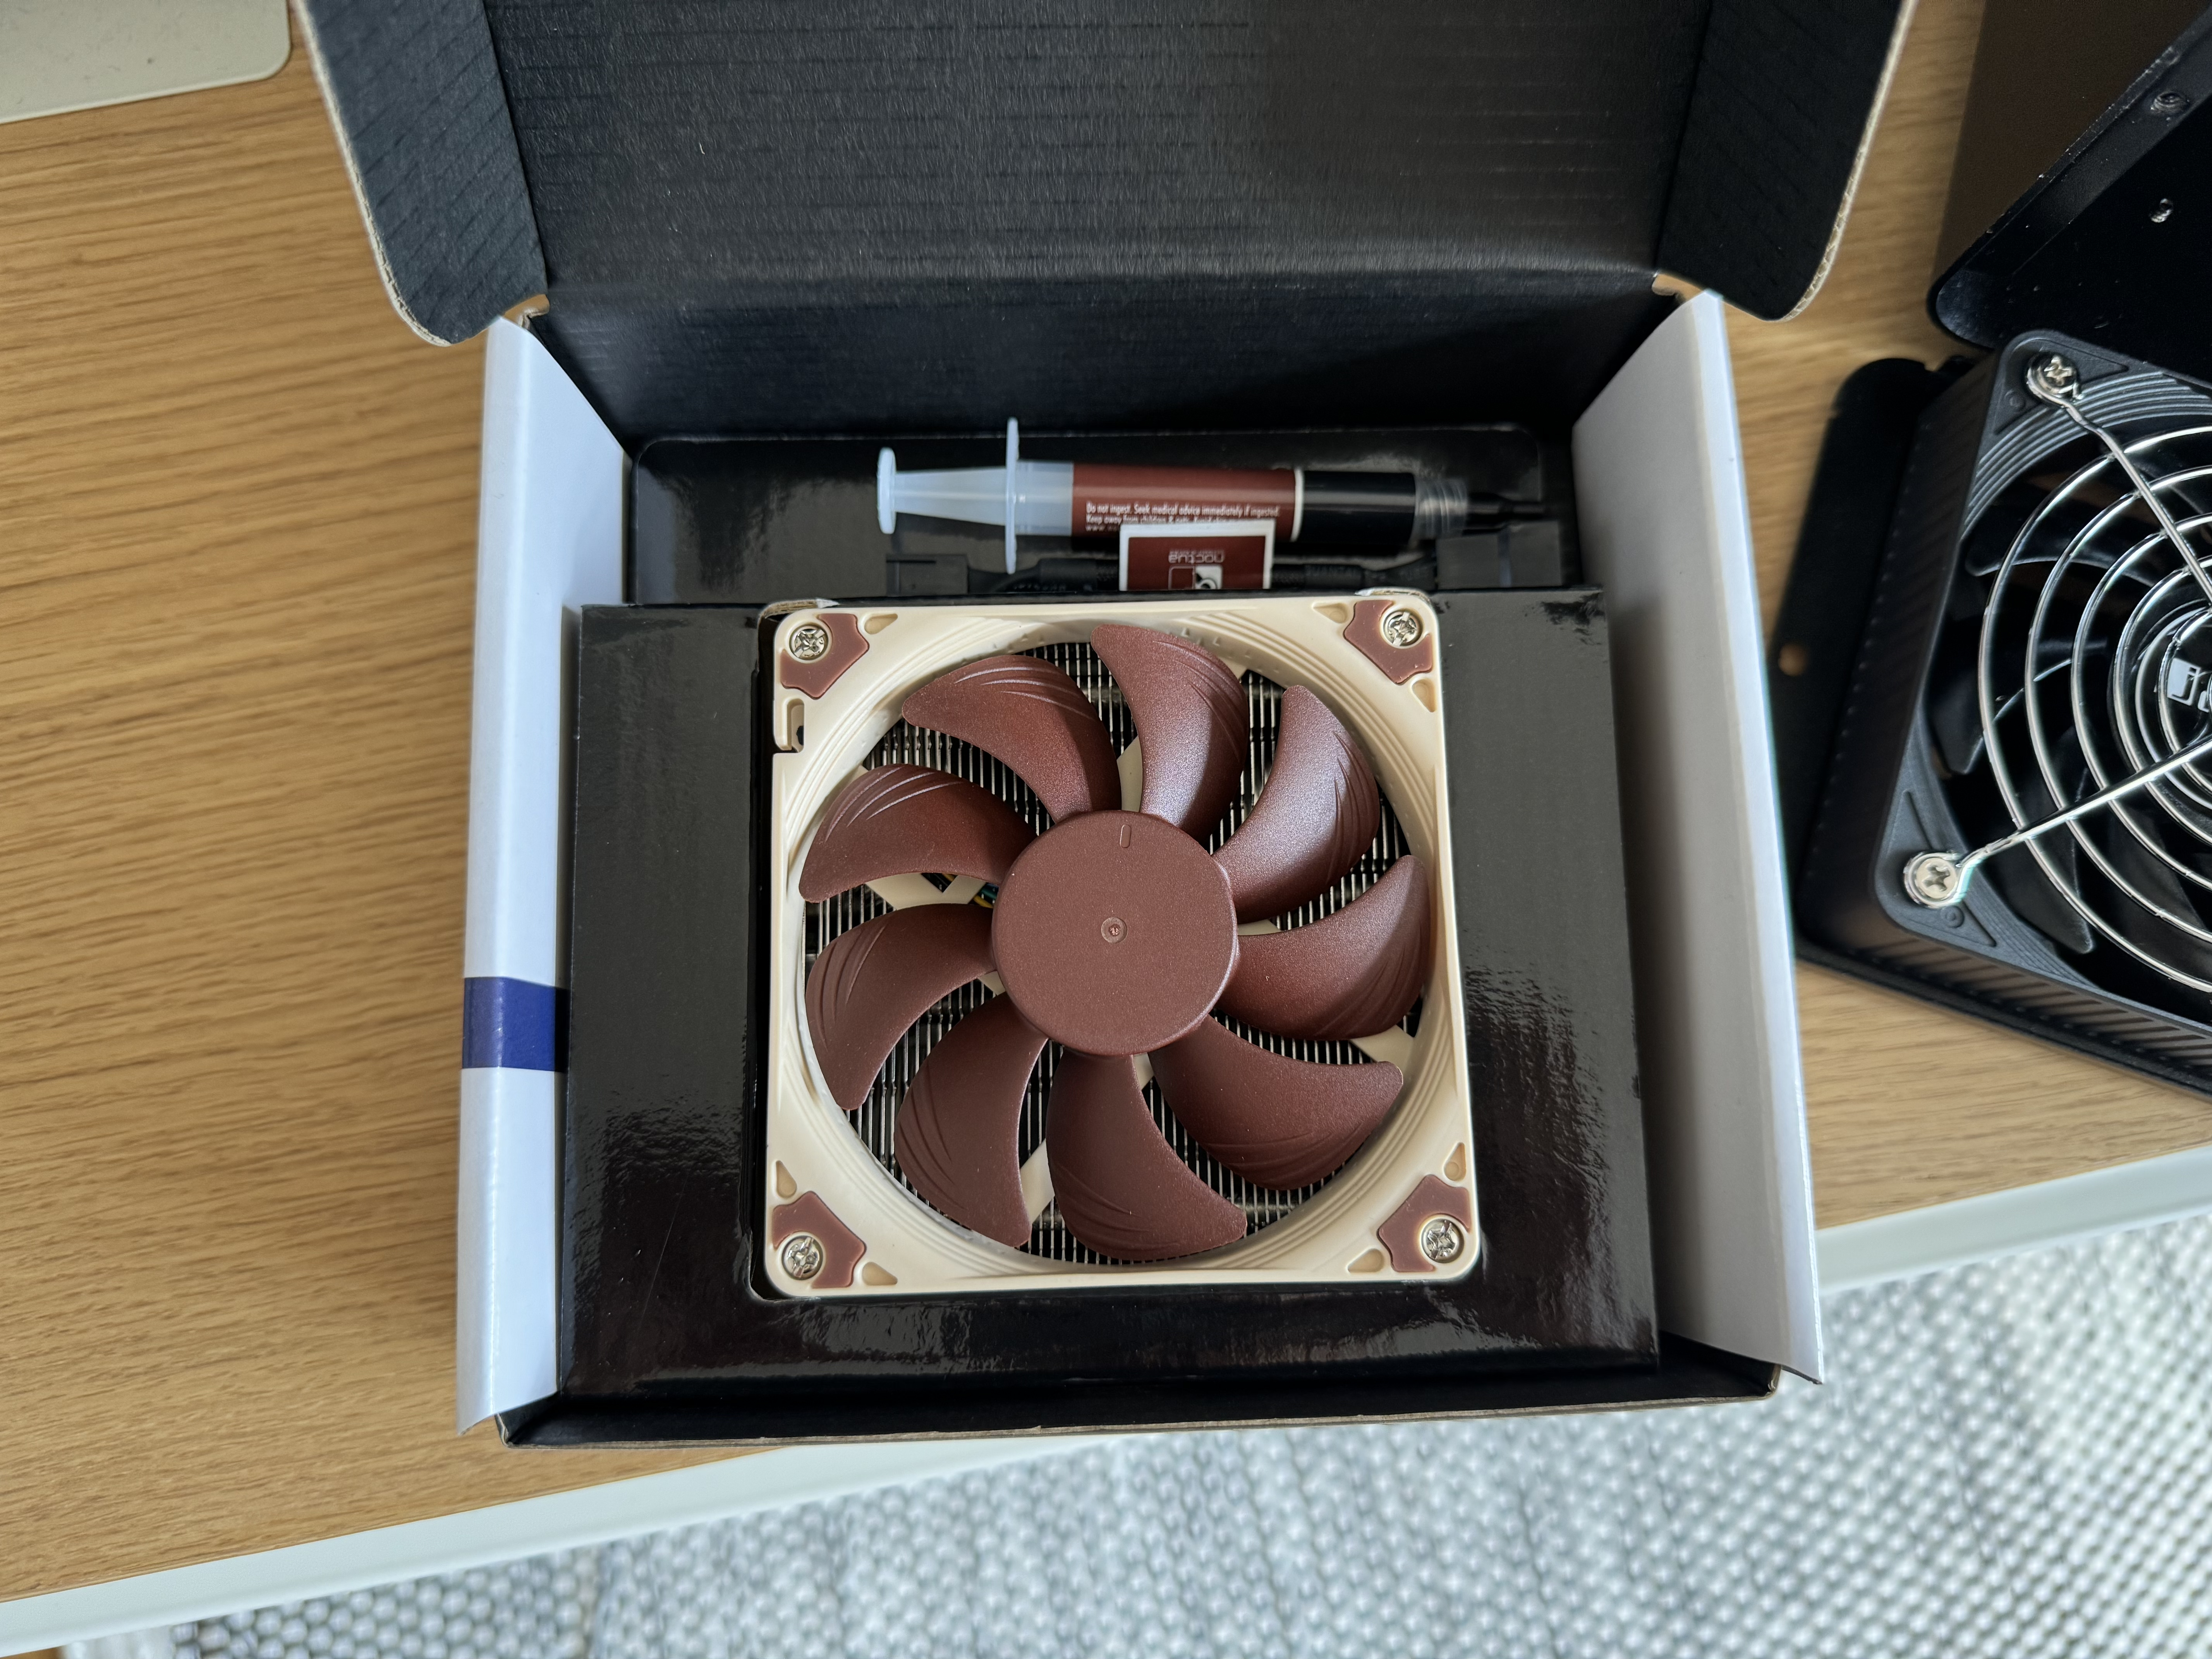
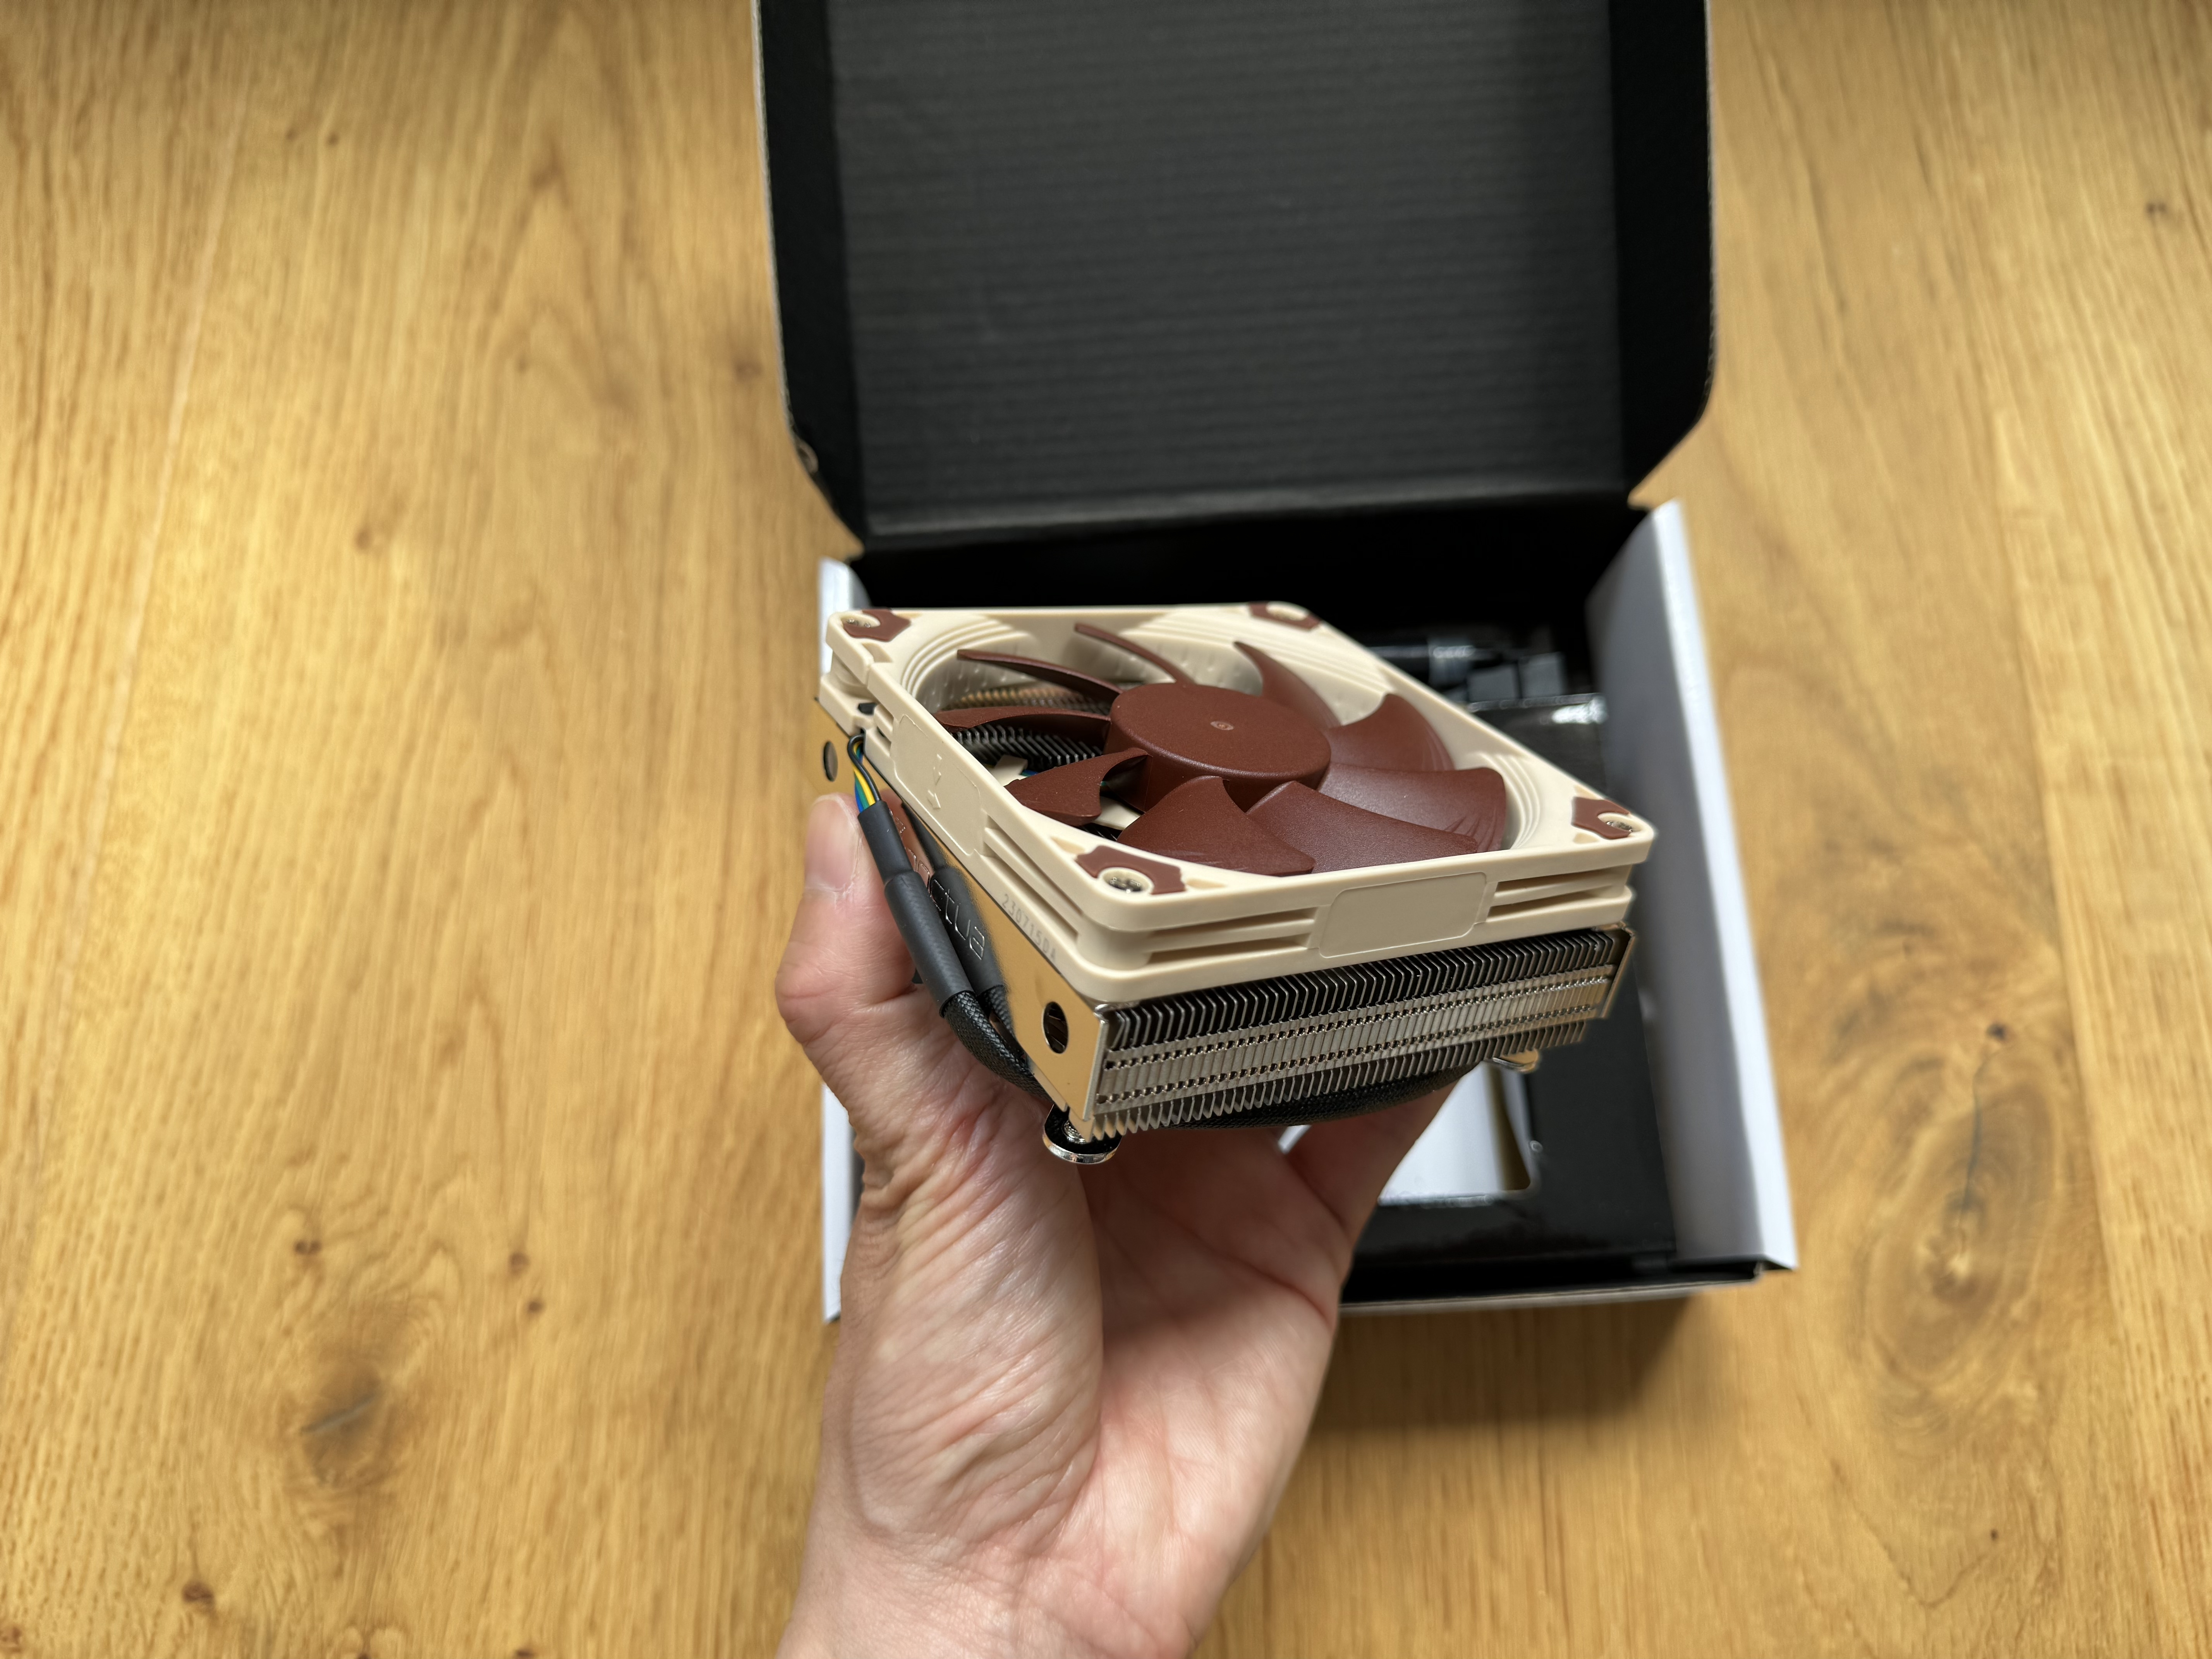
Since the motherboard had an integrated CPU, I needed a quiet fan. I chose the 92mm Noctua fan.
Case Fan
To continue the theme of quiet, I chose to stick with the Noctua brand, and purchased a couple of case fans.
The PSU
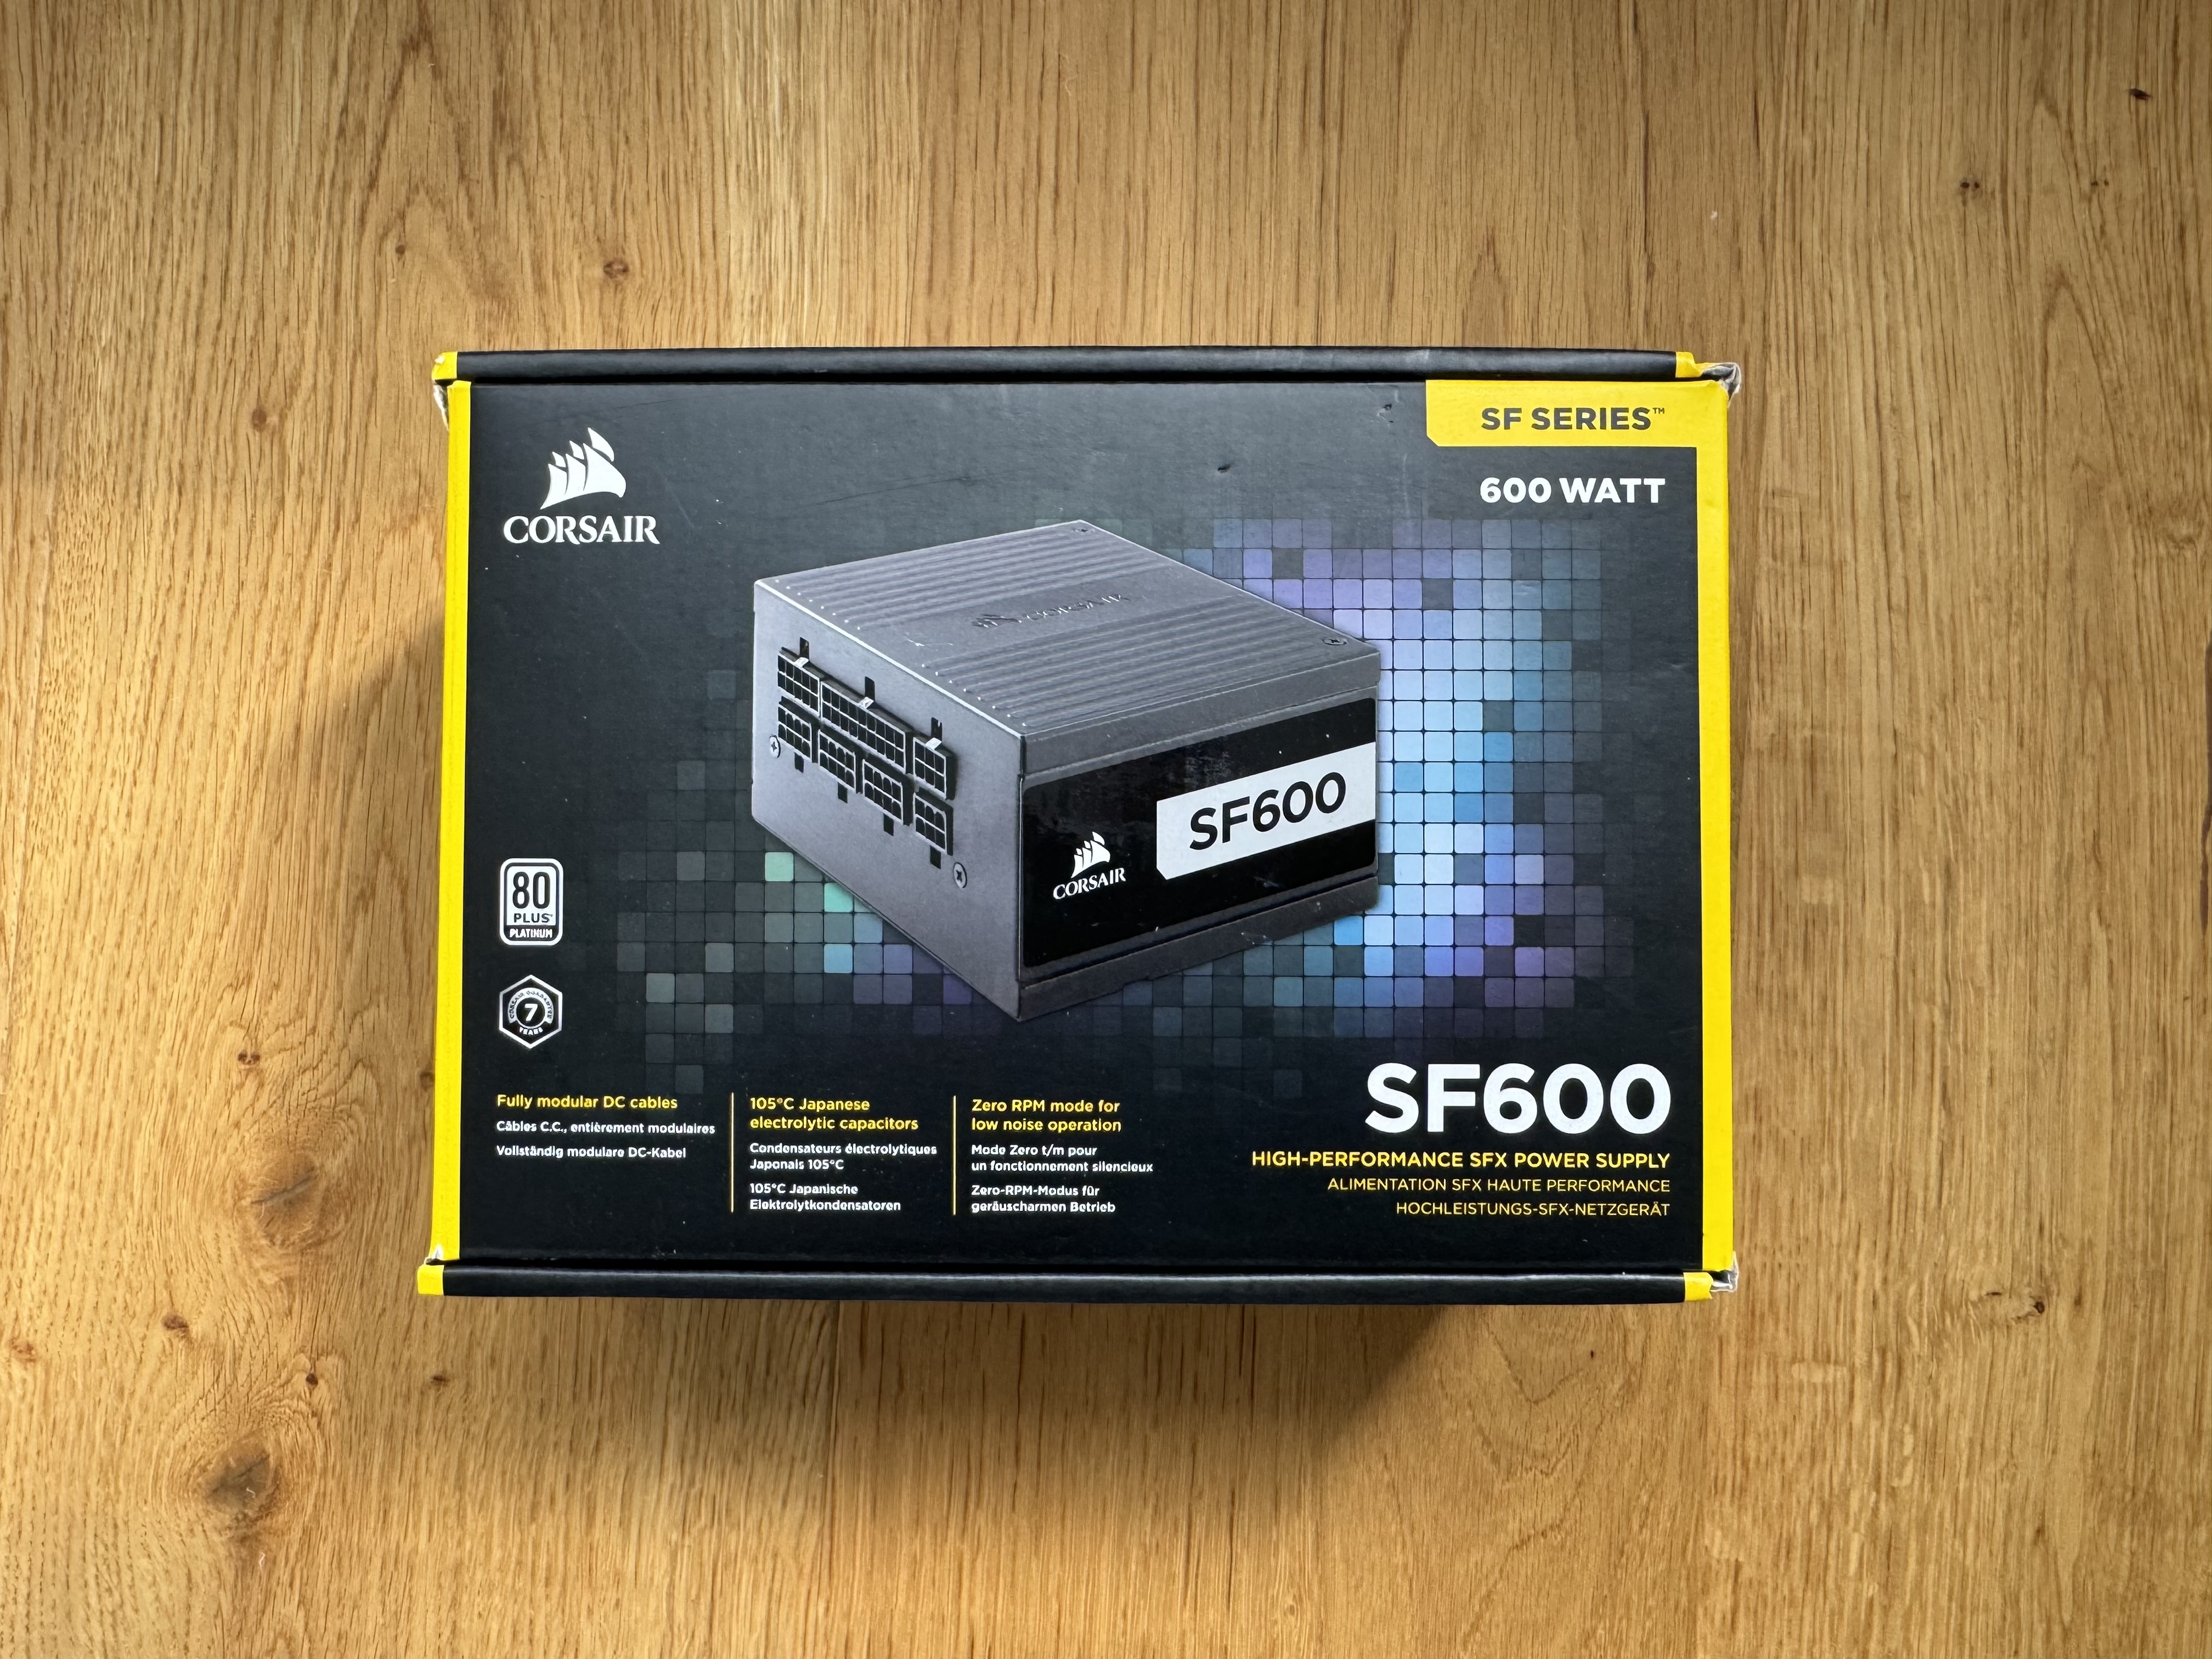
Another area that could cause significant noise is the PSU. So, I opted for the Corsair SFX series. The SF450 and SF600 would have been suitable, but unfortunately, hard to come by and out of stock for a long period of time. However a bit of luck, I managed to pick up a very good condition Corsair SF600 SFX on eBay.
The Build
When it comes to building the NAS, the majority of the build is standard. For instance installing the RAM, SSD - nothing special or exciting there. However, when it comes to the PSU and which cable from the NAS case connects to the motherboard. Well, that is important and not in the manual. So I thought I best share how I did it.
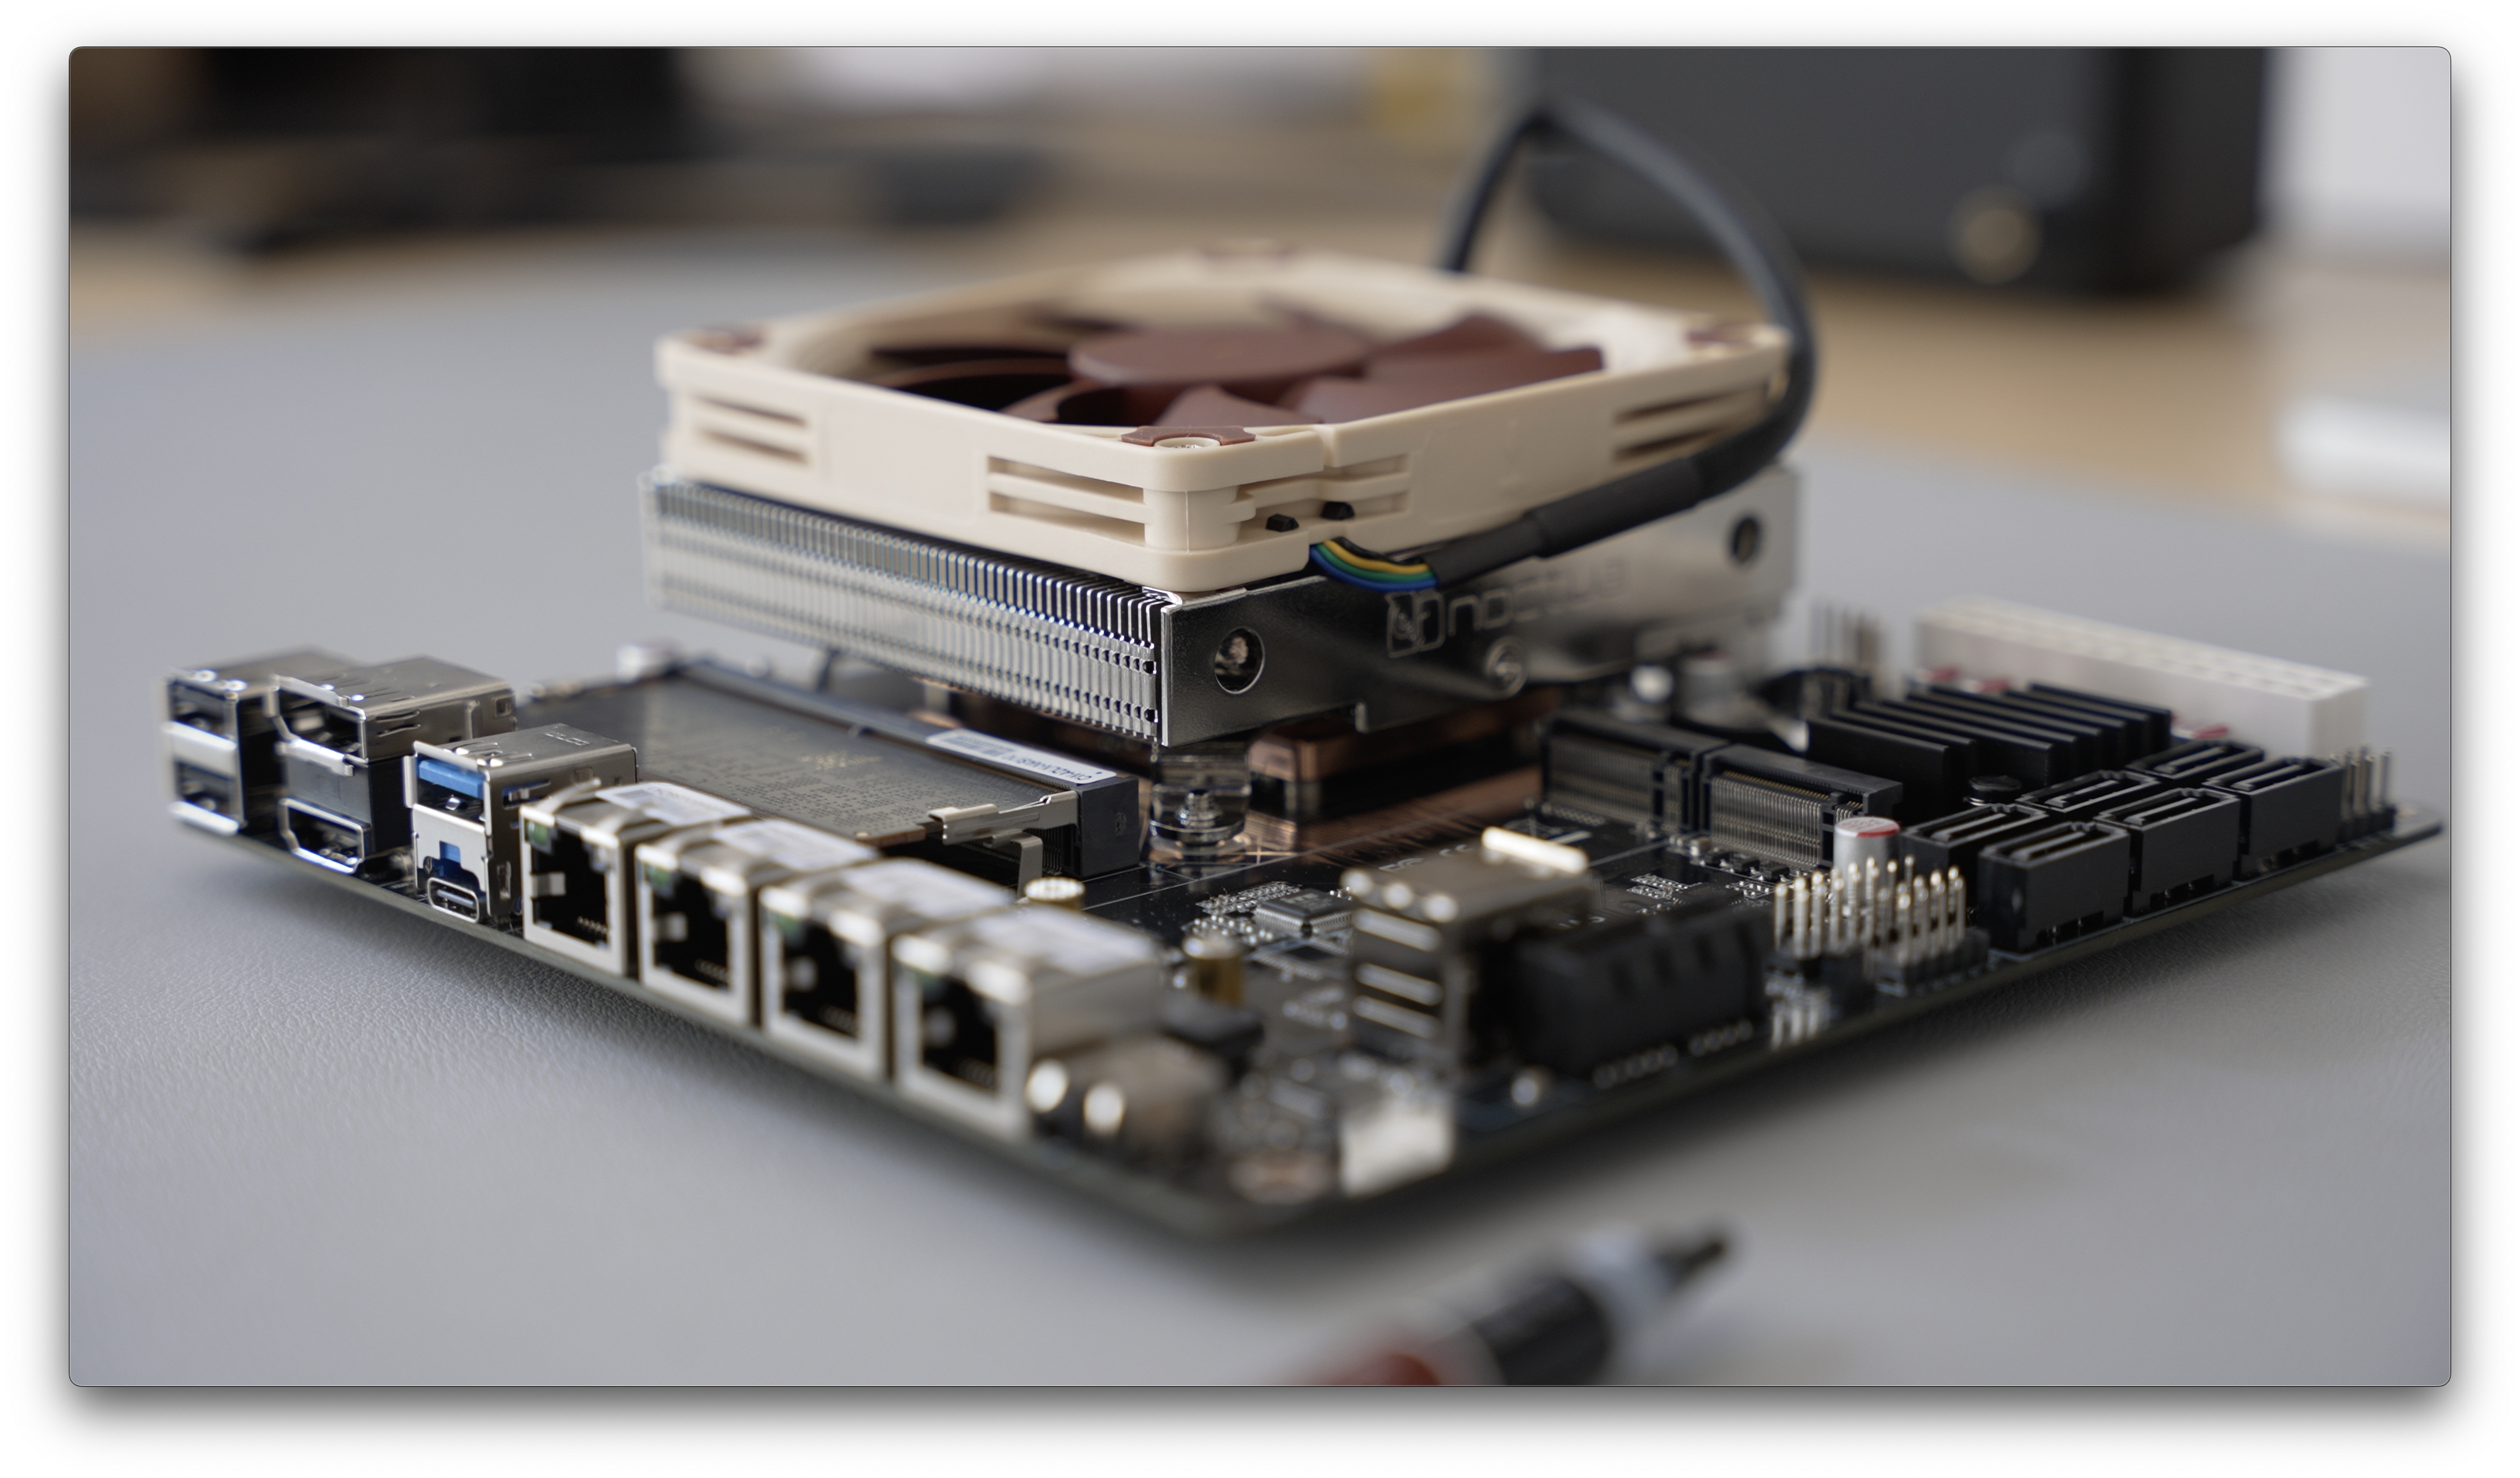
Attach CPU fan
Now installing the CPU fan along with the thermal paste onto the motherboard is straight forward. Also best to do first before installing the motherboard onto the NAS case.
Install motherboard to case
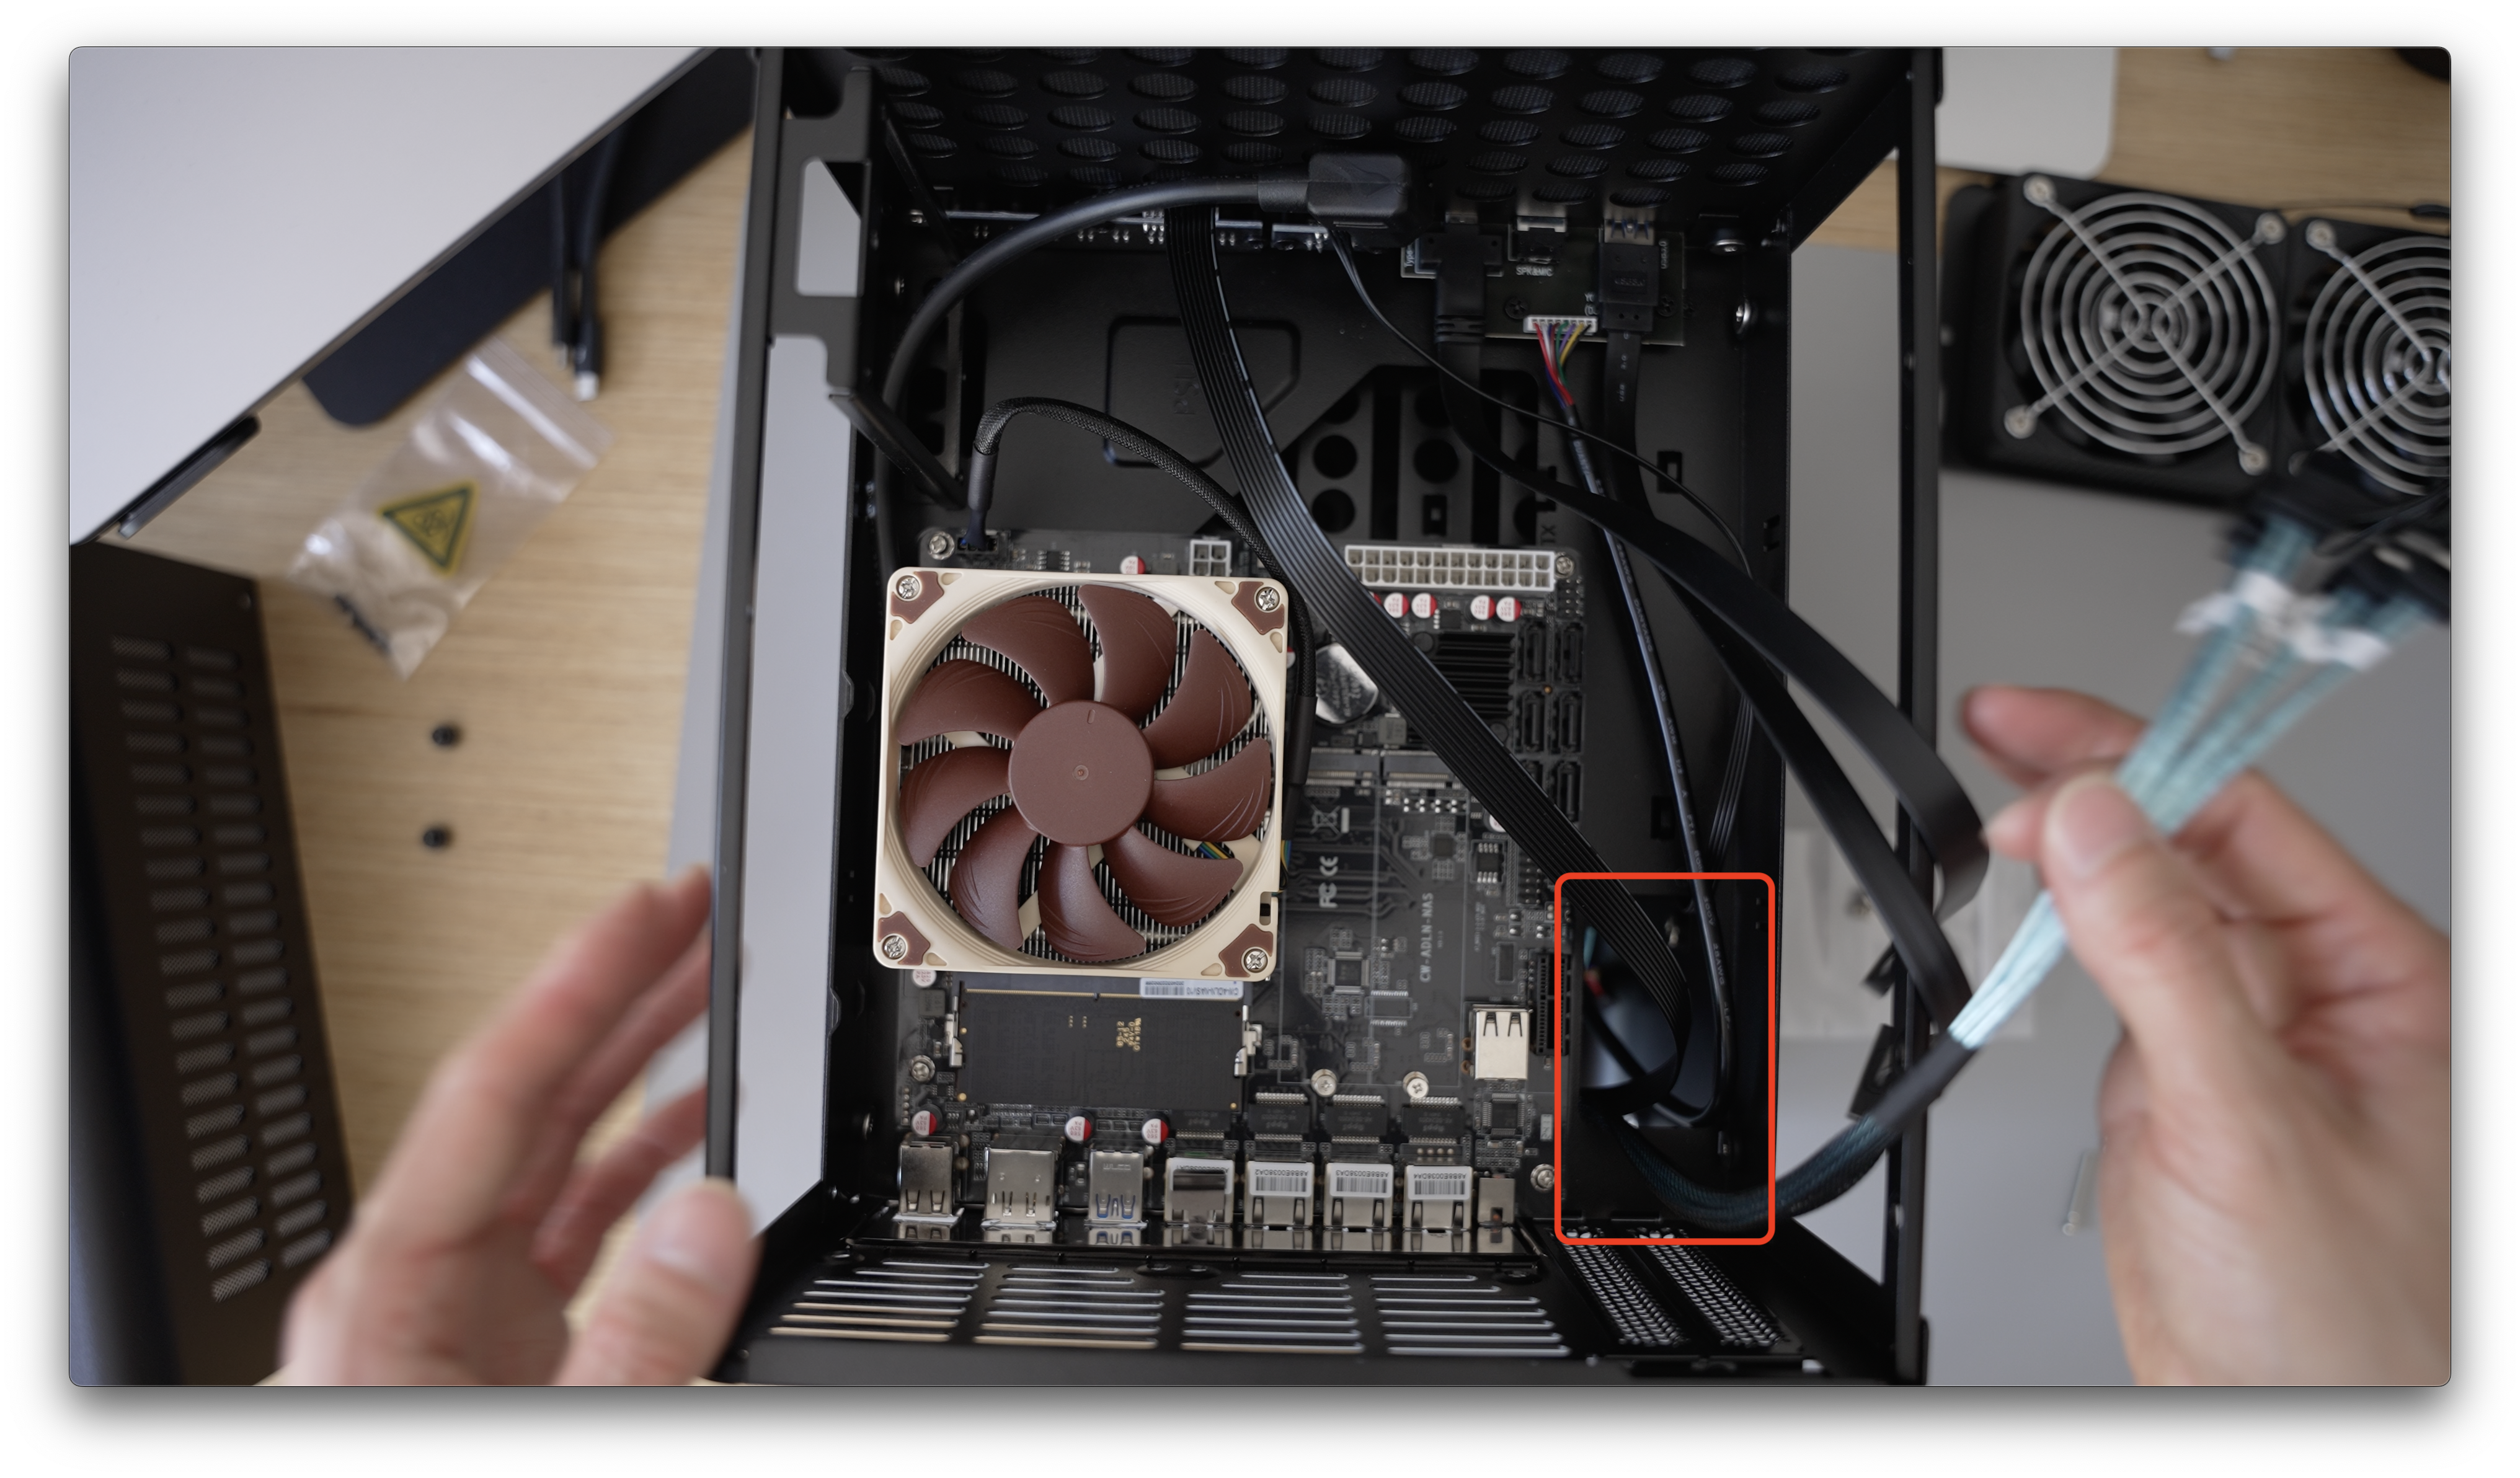
Whilst installing the motherboard onto the NAS case, I took the opportunity to channel the cables from the NAS case through a gap.
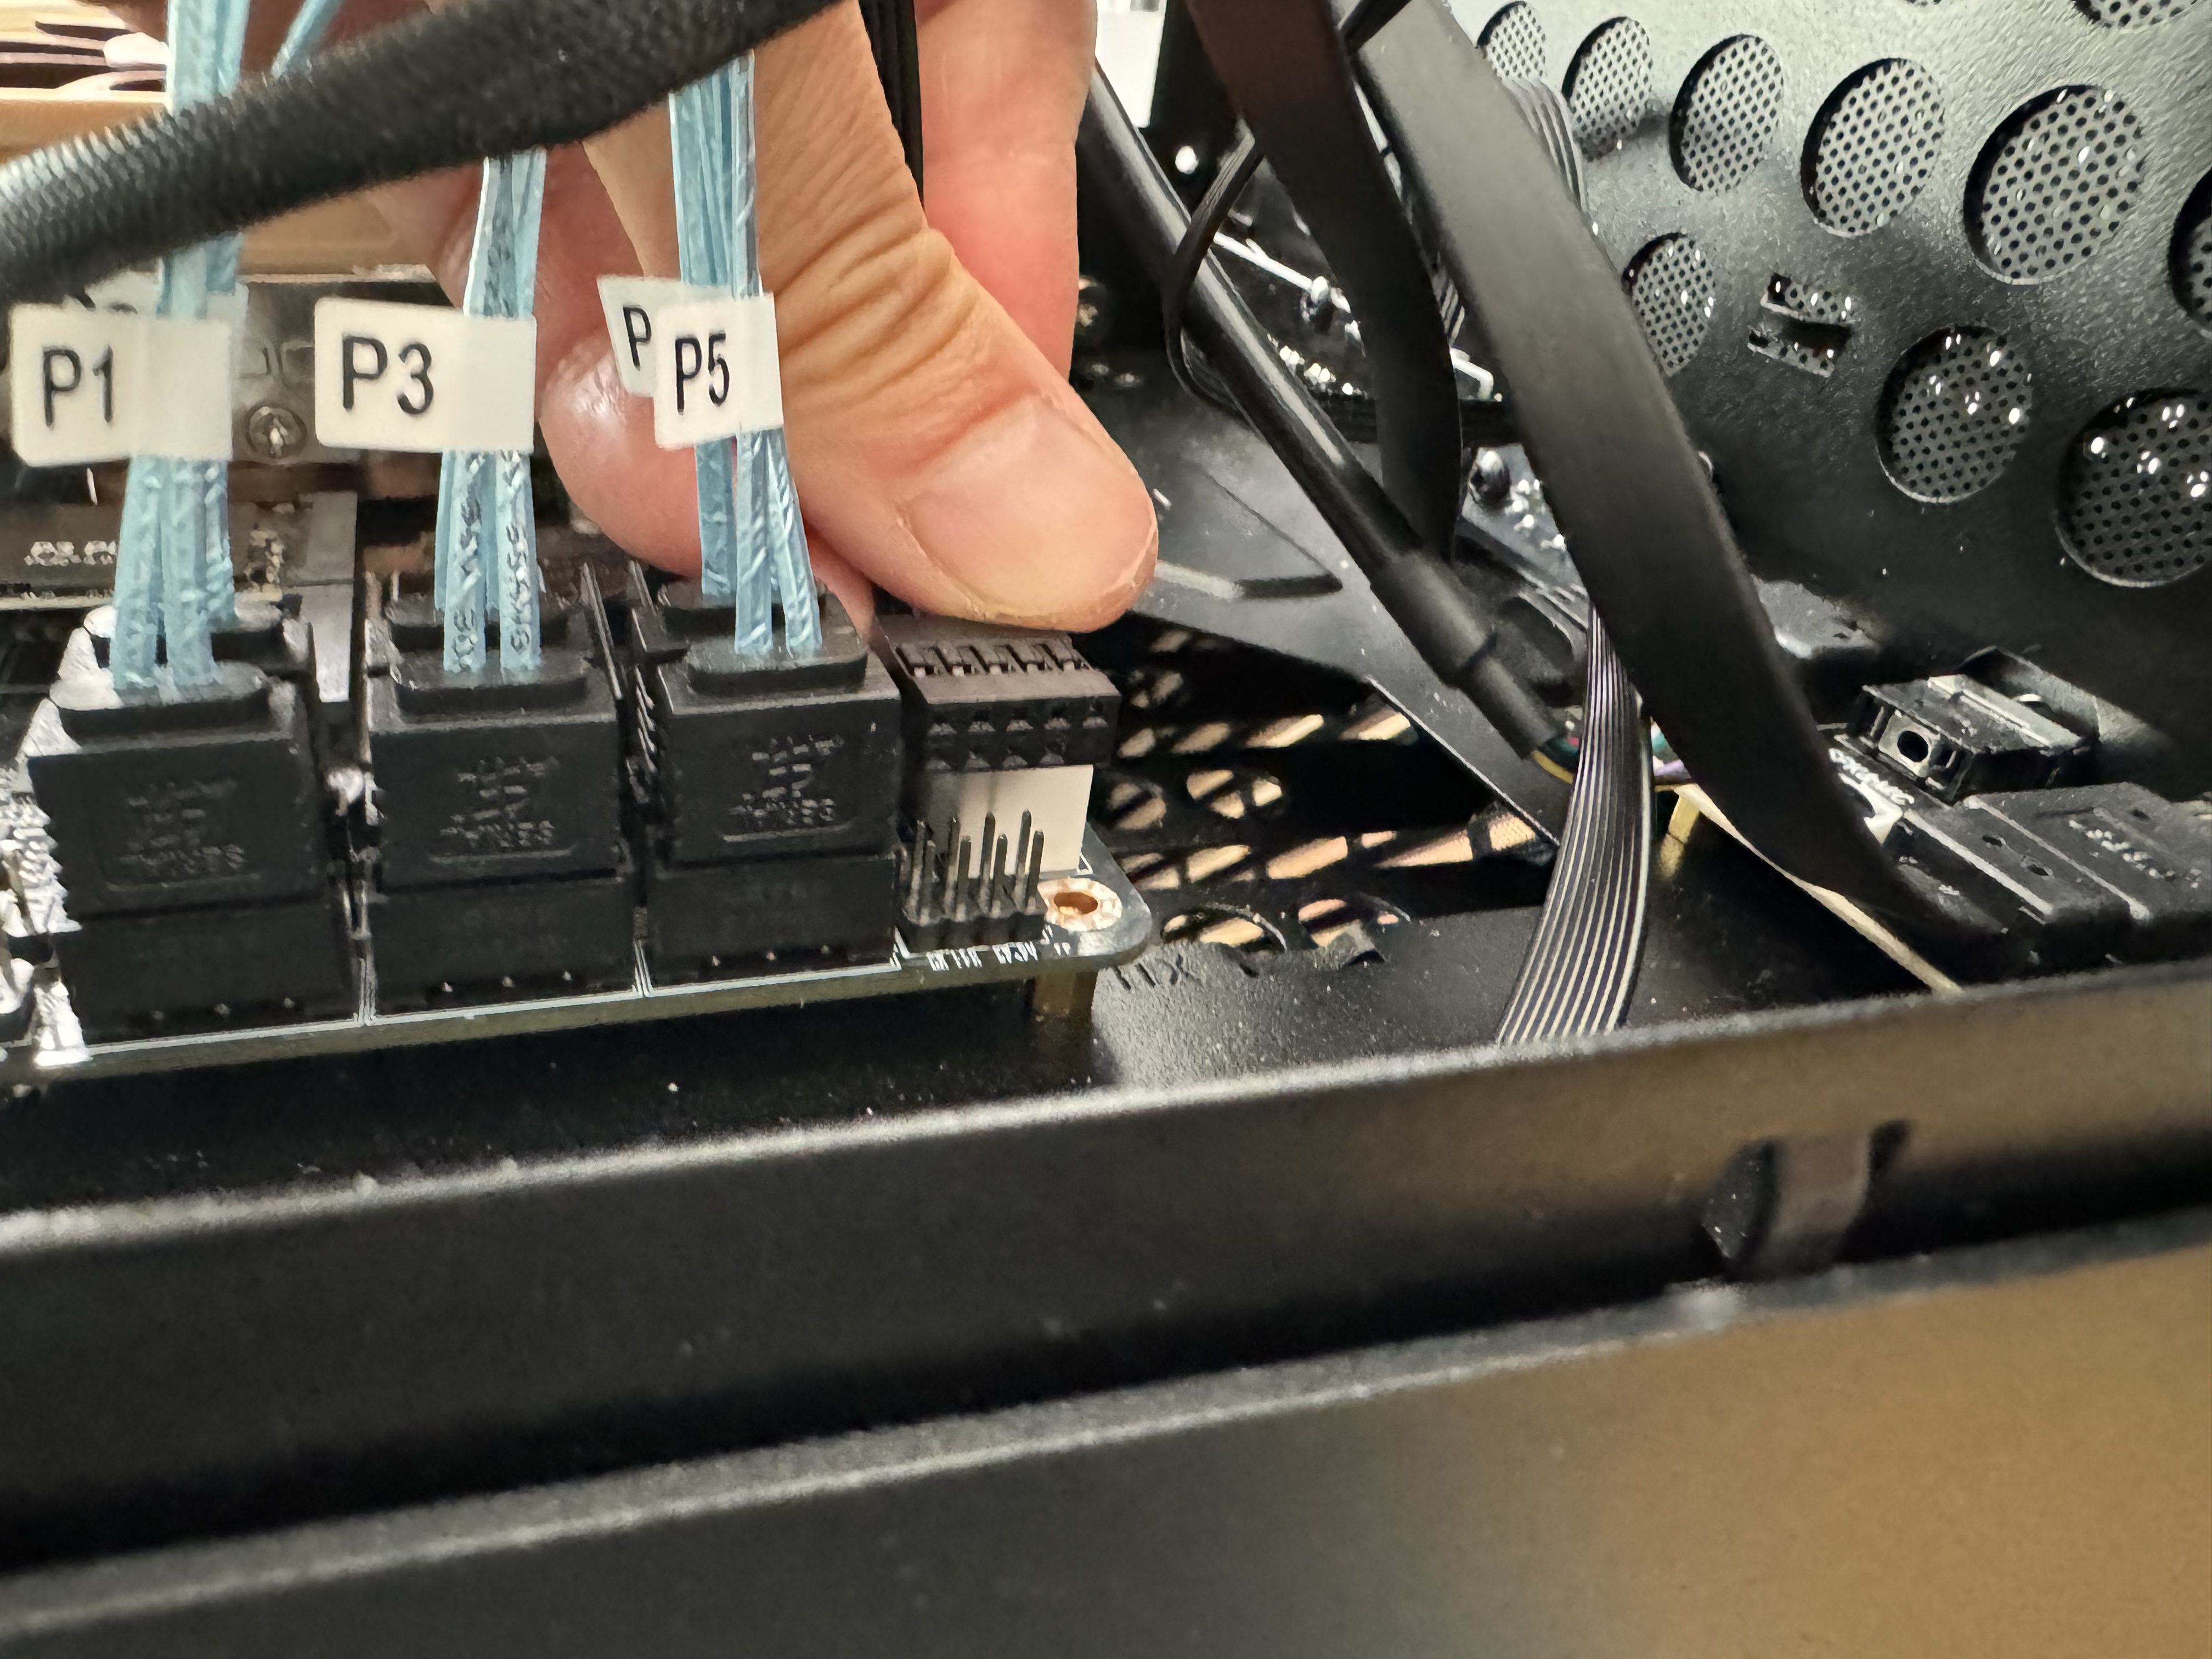
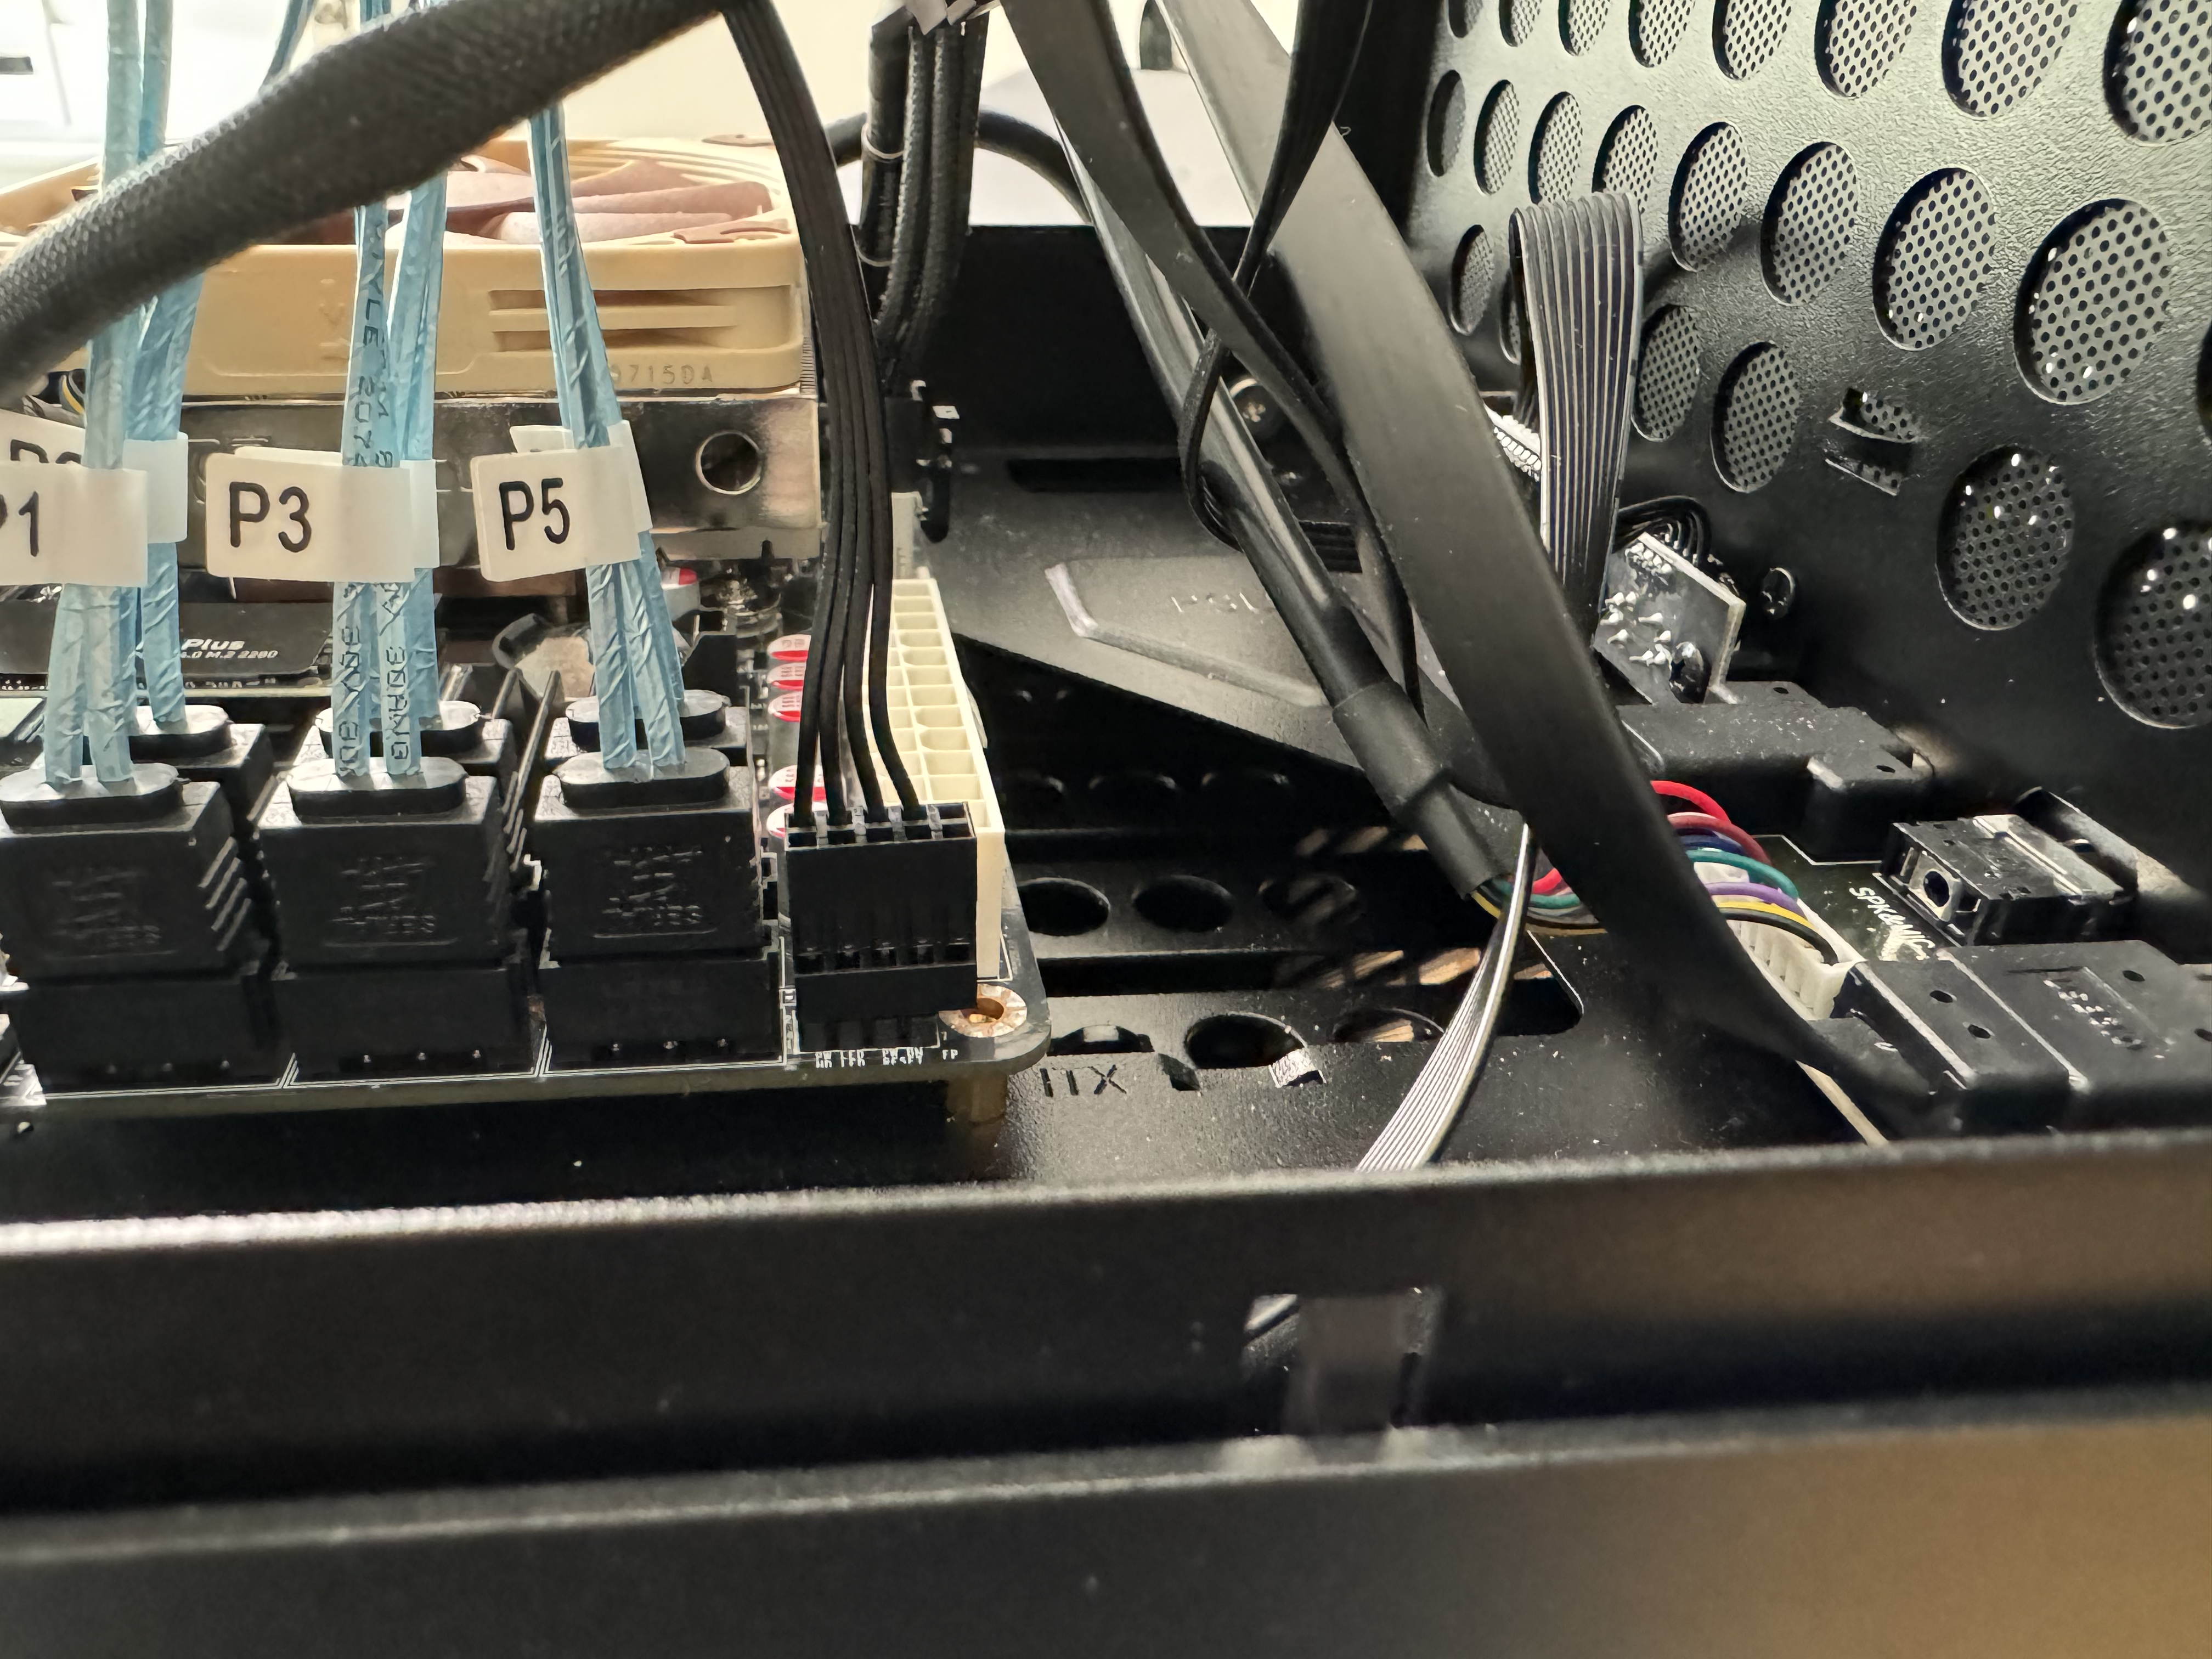
The F-Panel cable
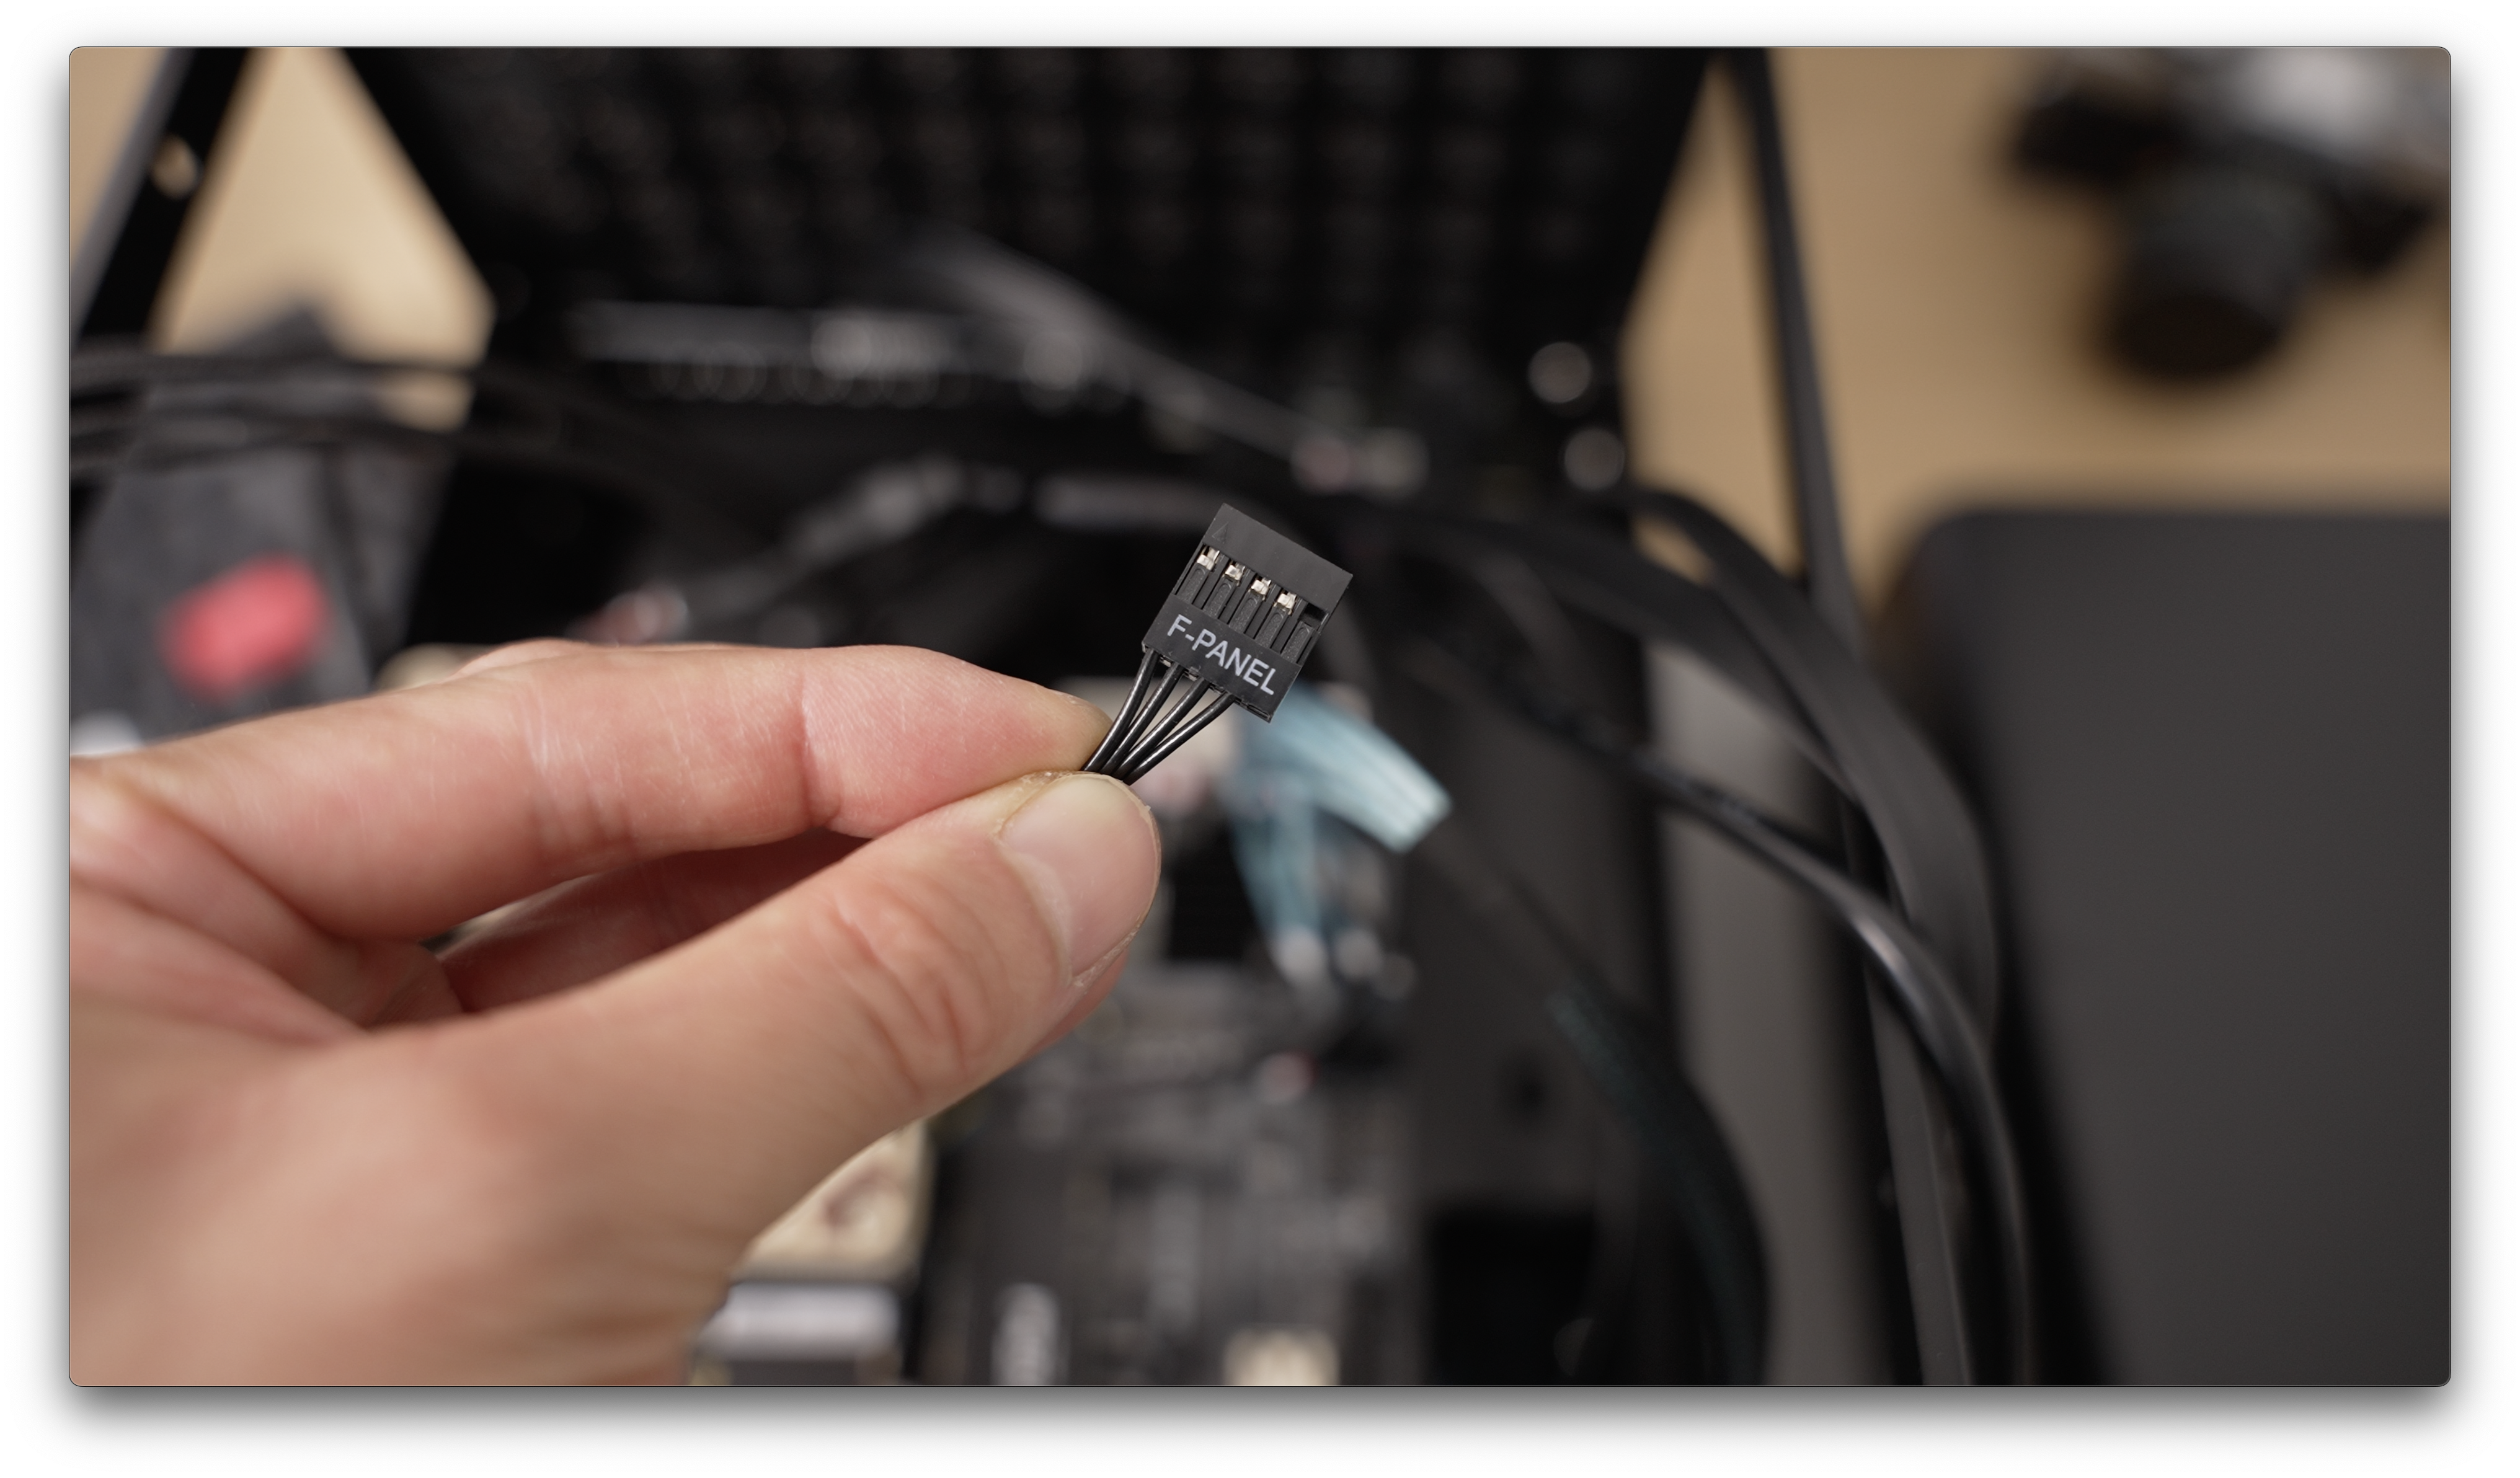
This is the cable from the case that needs to connected to the motherboard. This is so that when you press the power button, and leds on the front of the case work. I had to clip it in such as way that part of the f-panel was offset - see photos.
PSU install
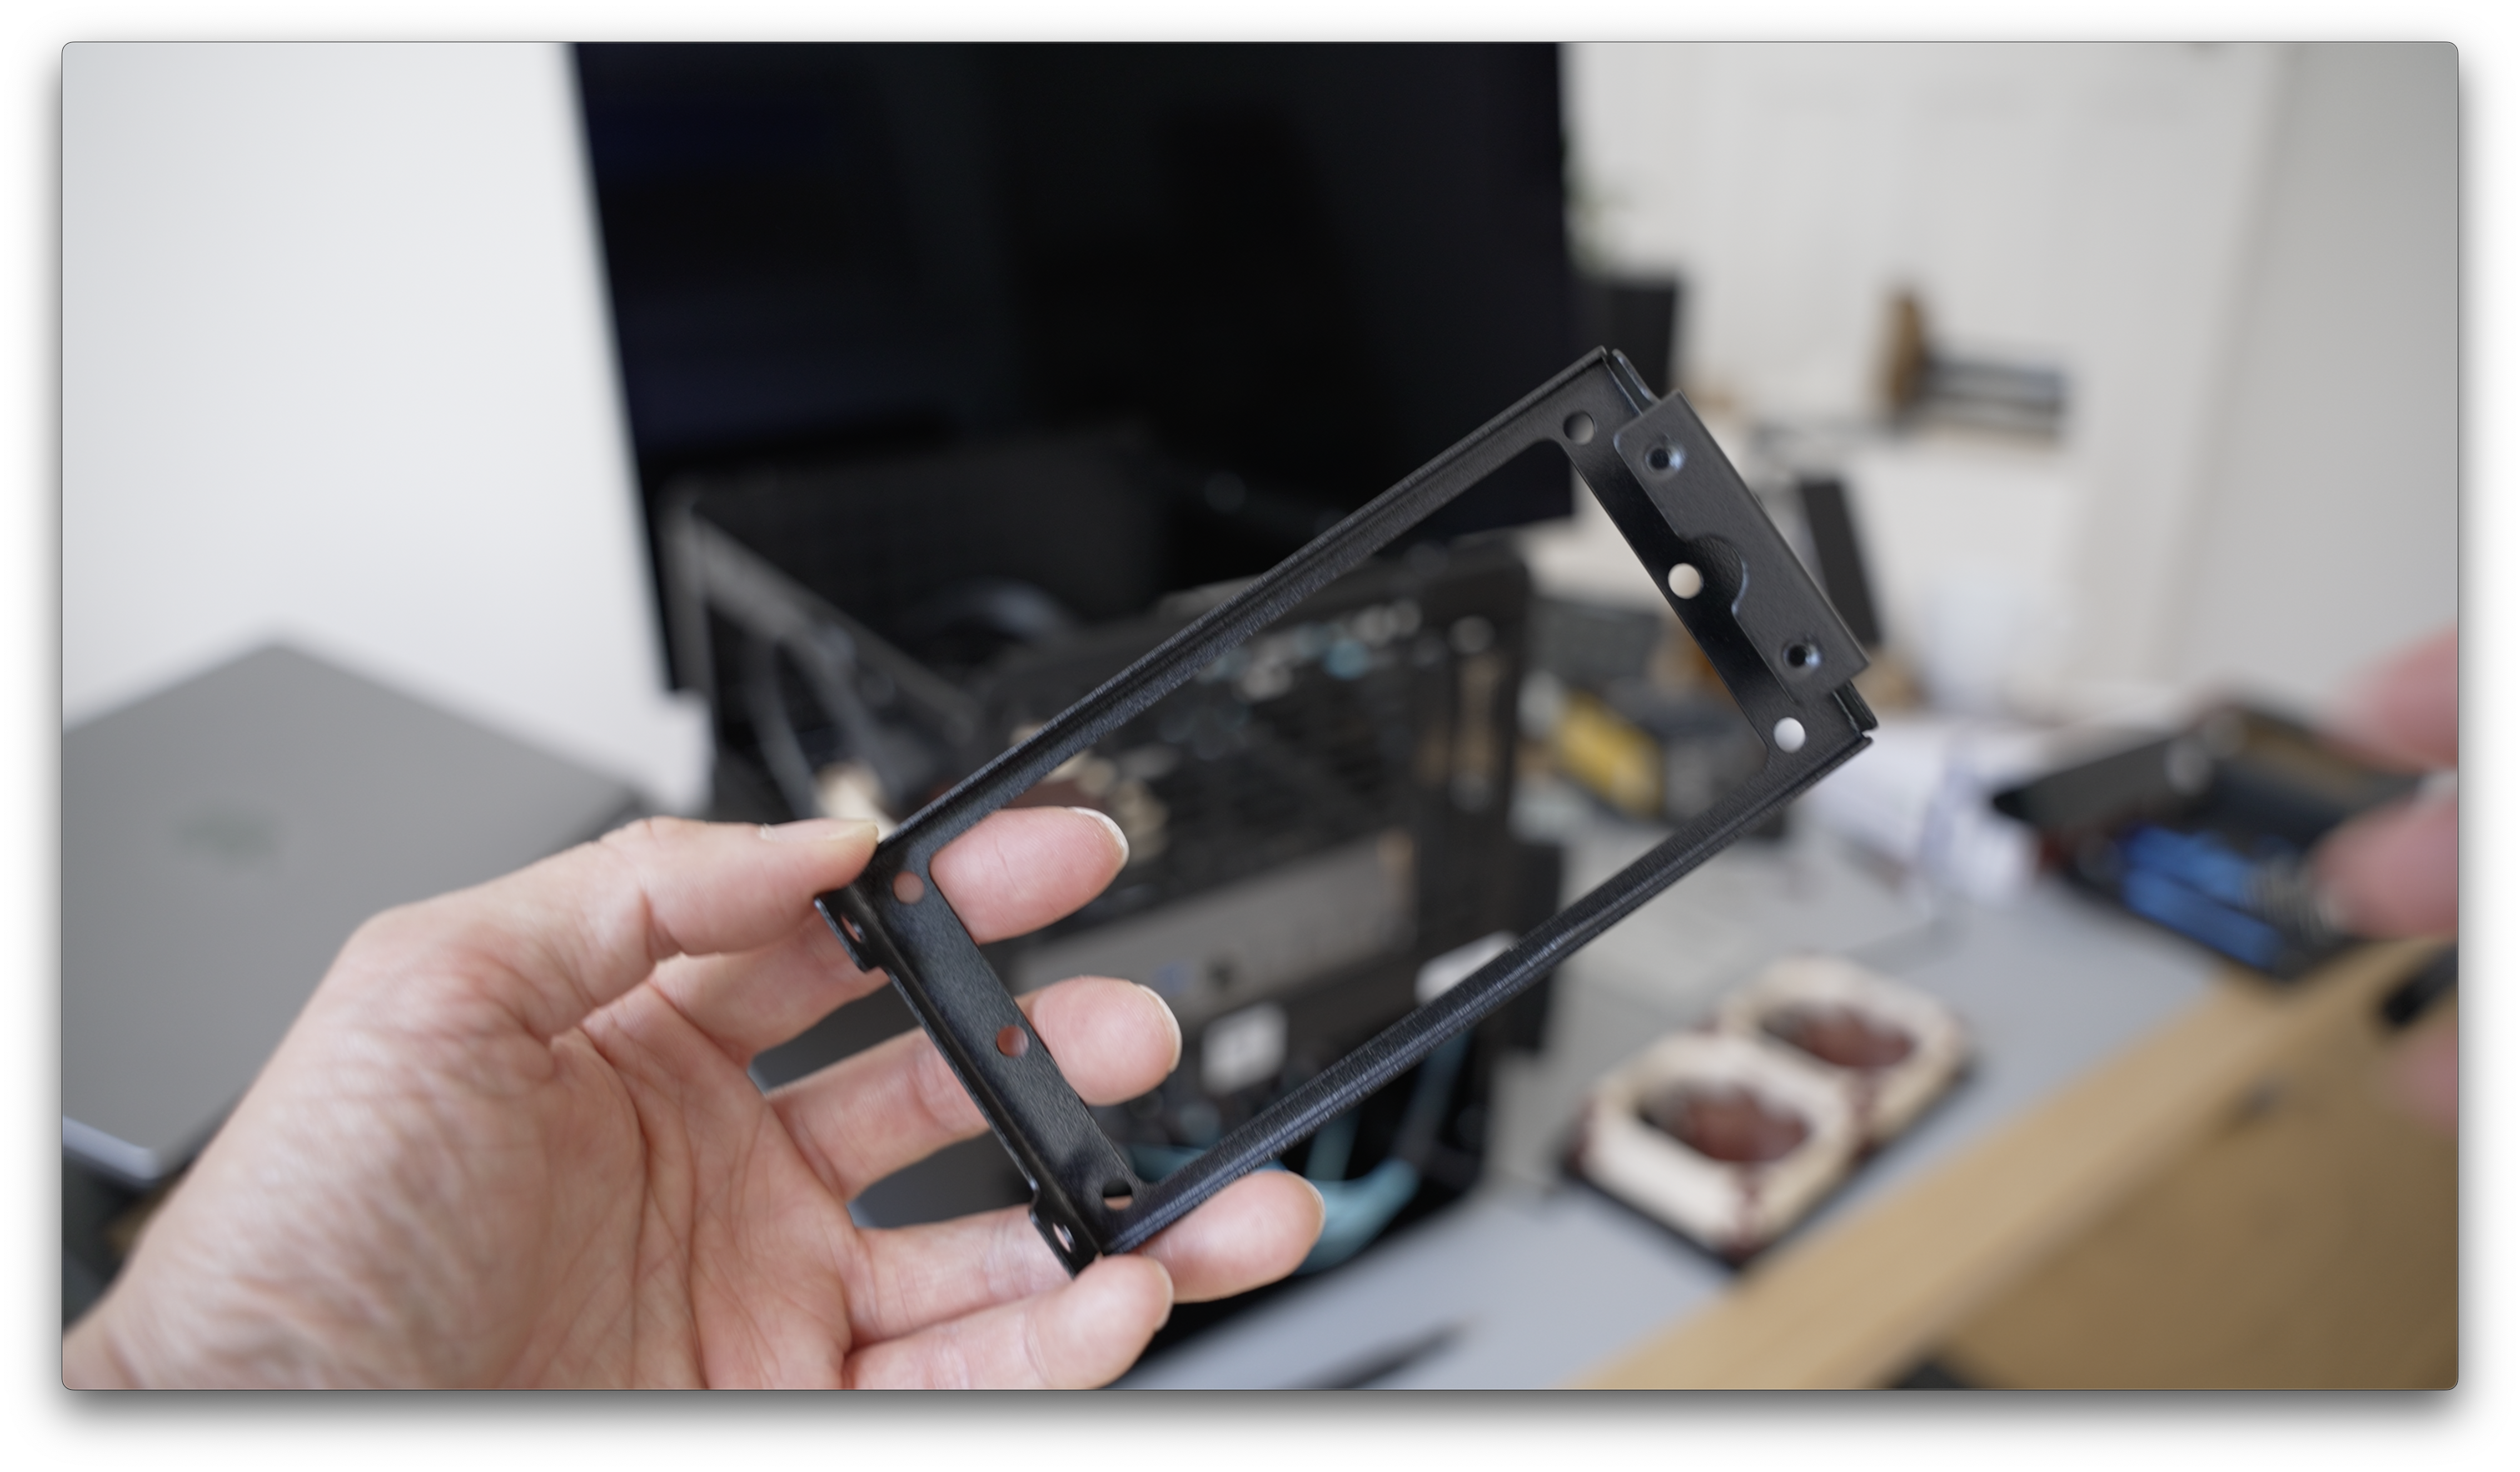
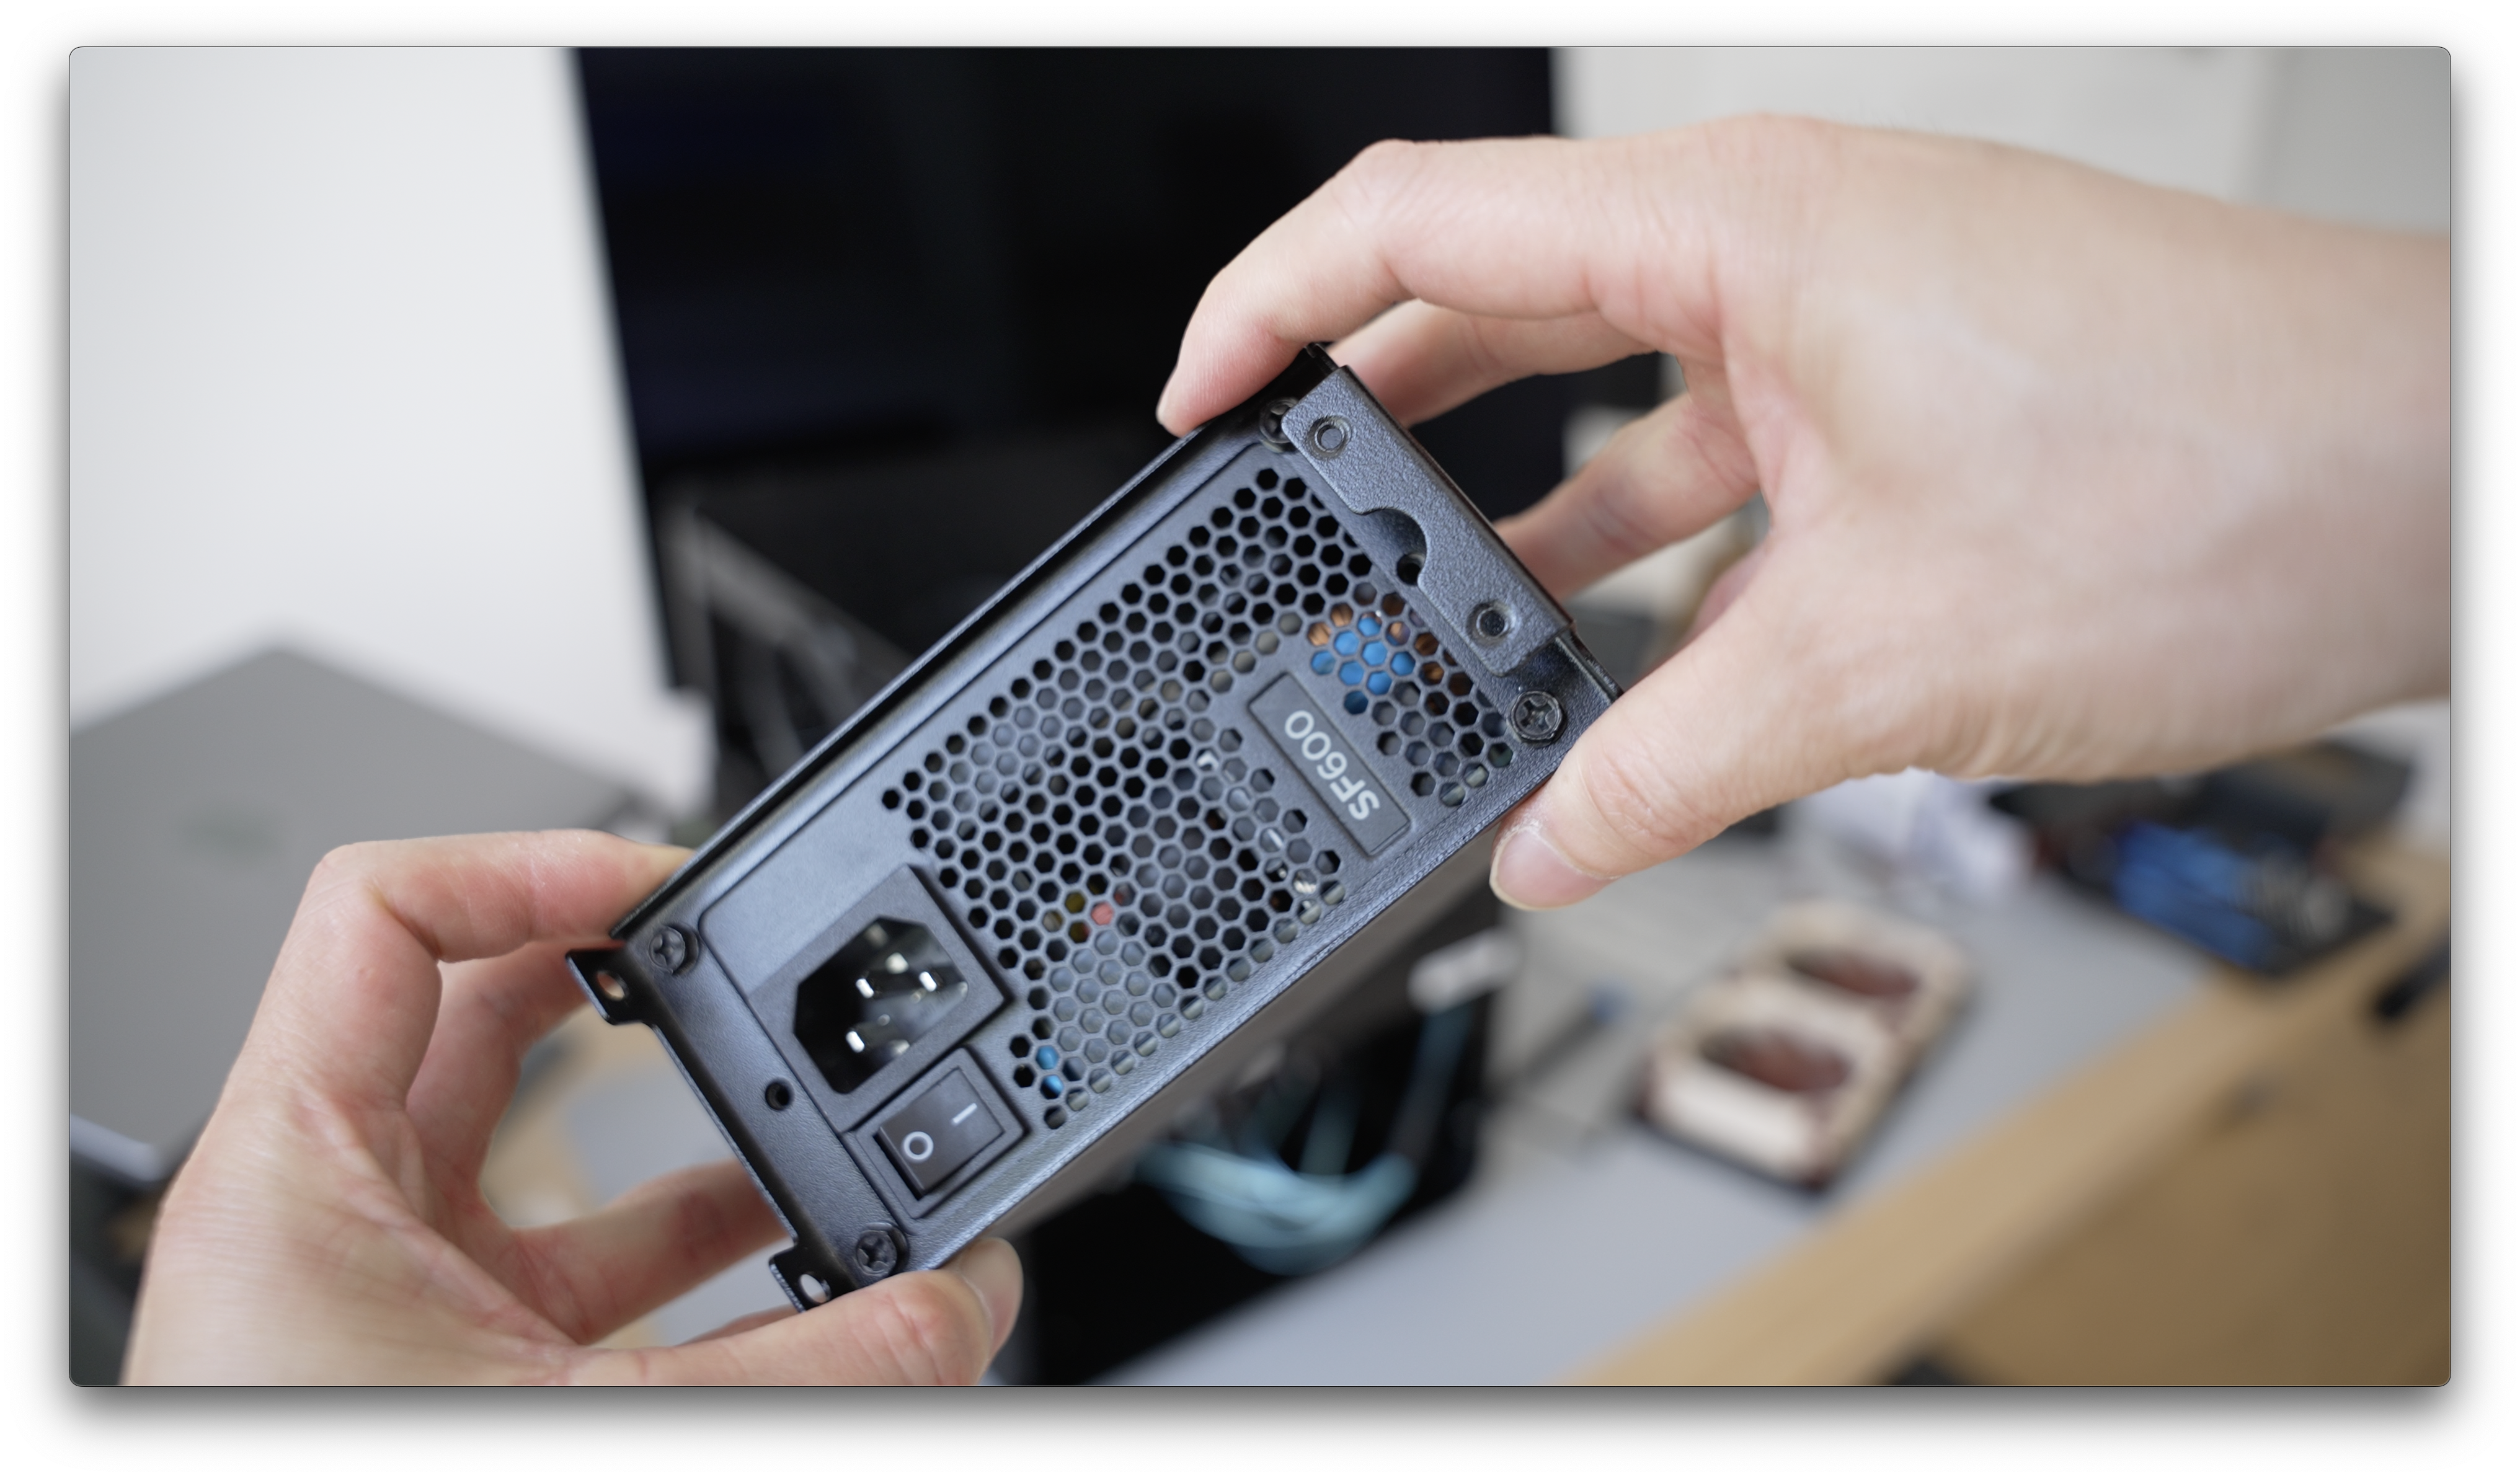
The Jonsbo case has a cage for the PSU. I found it easier to take the cage out of the case, install the case onto the PSU and mount it back.
 Now in terms of connecting PSU cables, and what needs power:
- The motherboard needs to be hooked up and thats the obvious one.
- Both the CPU fan and Case fans also need power
- Finally, the HDDs need power.
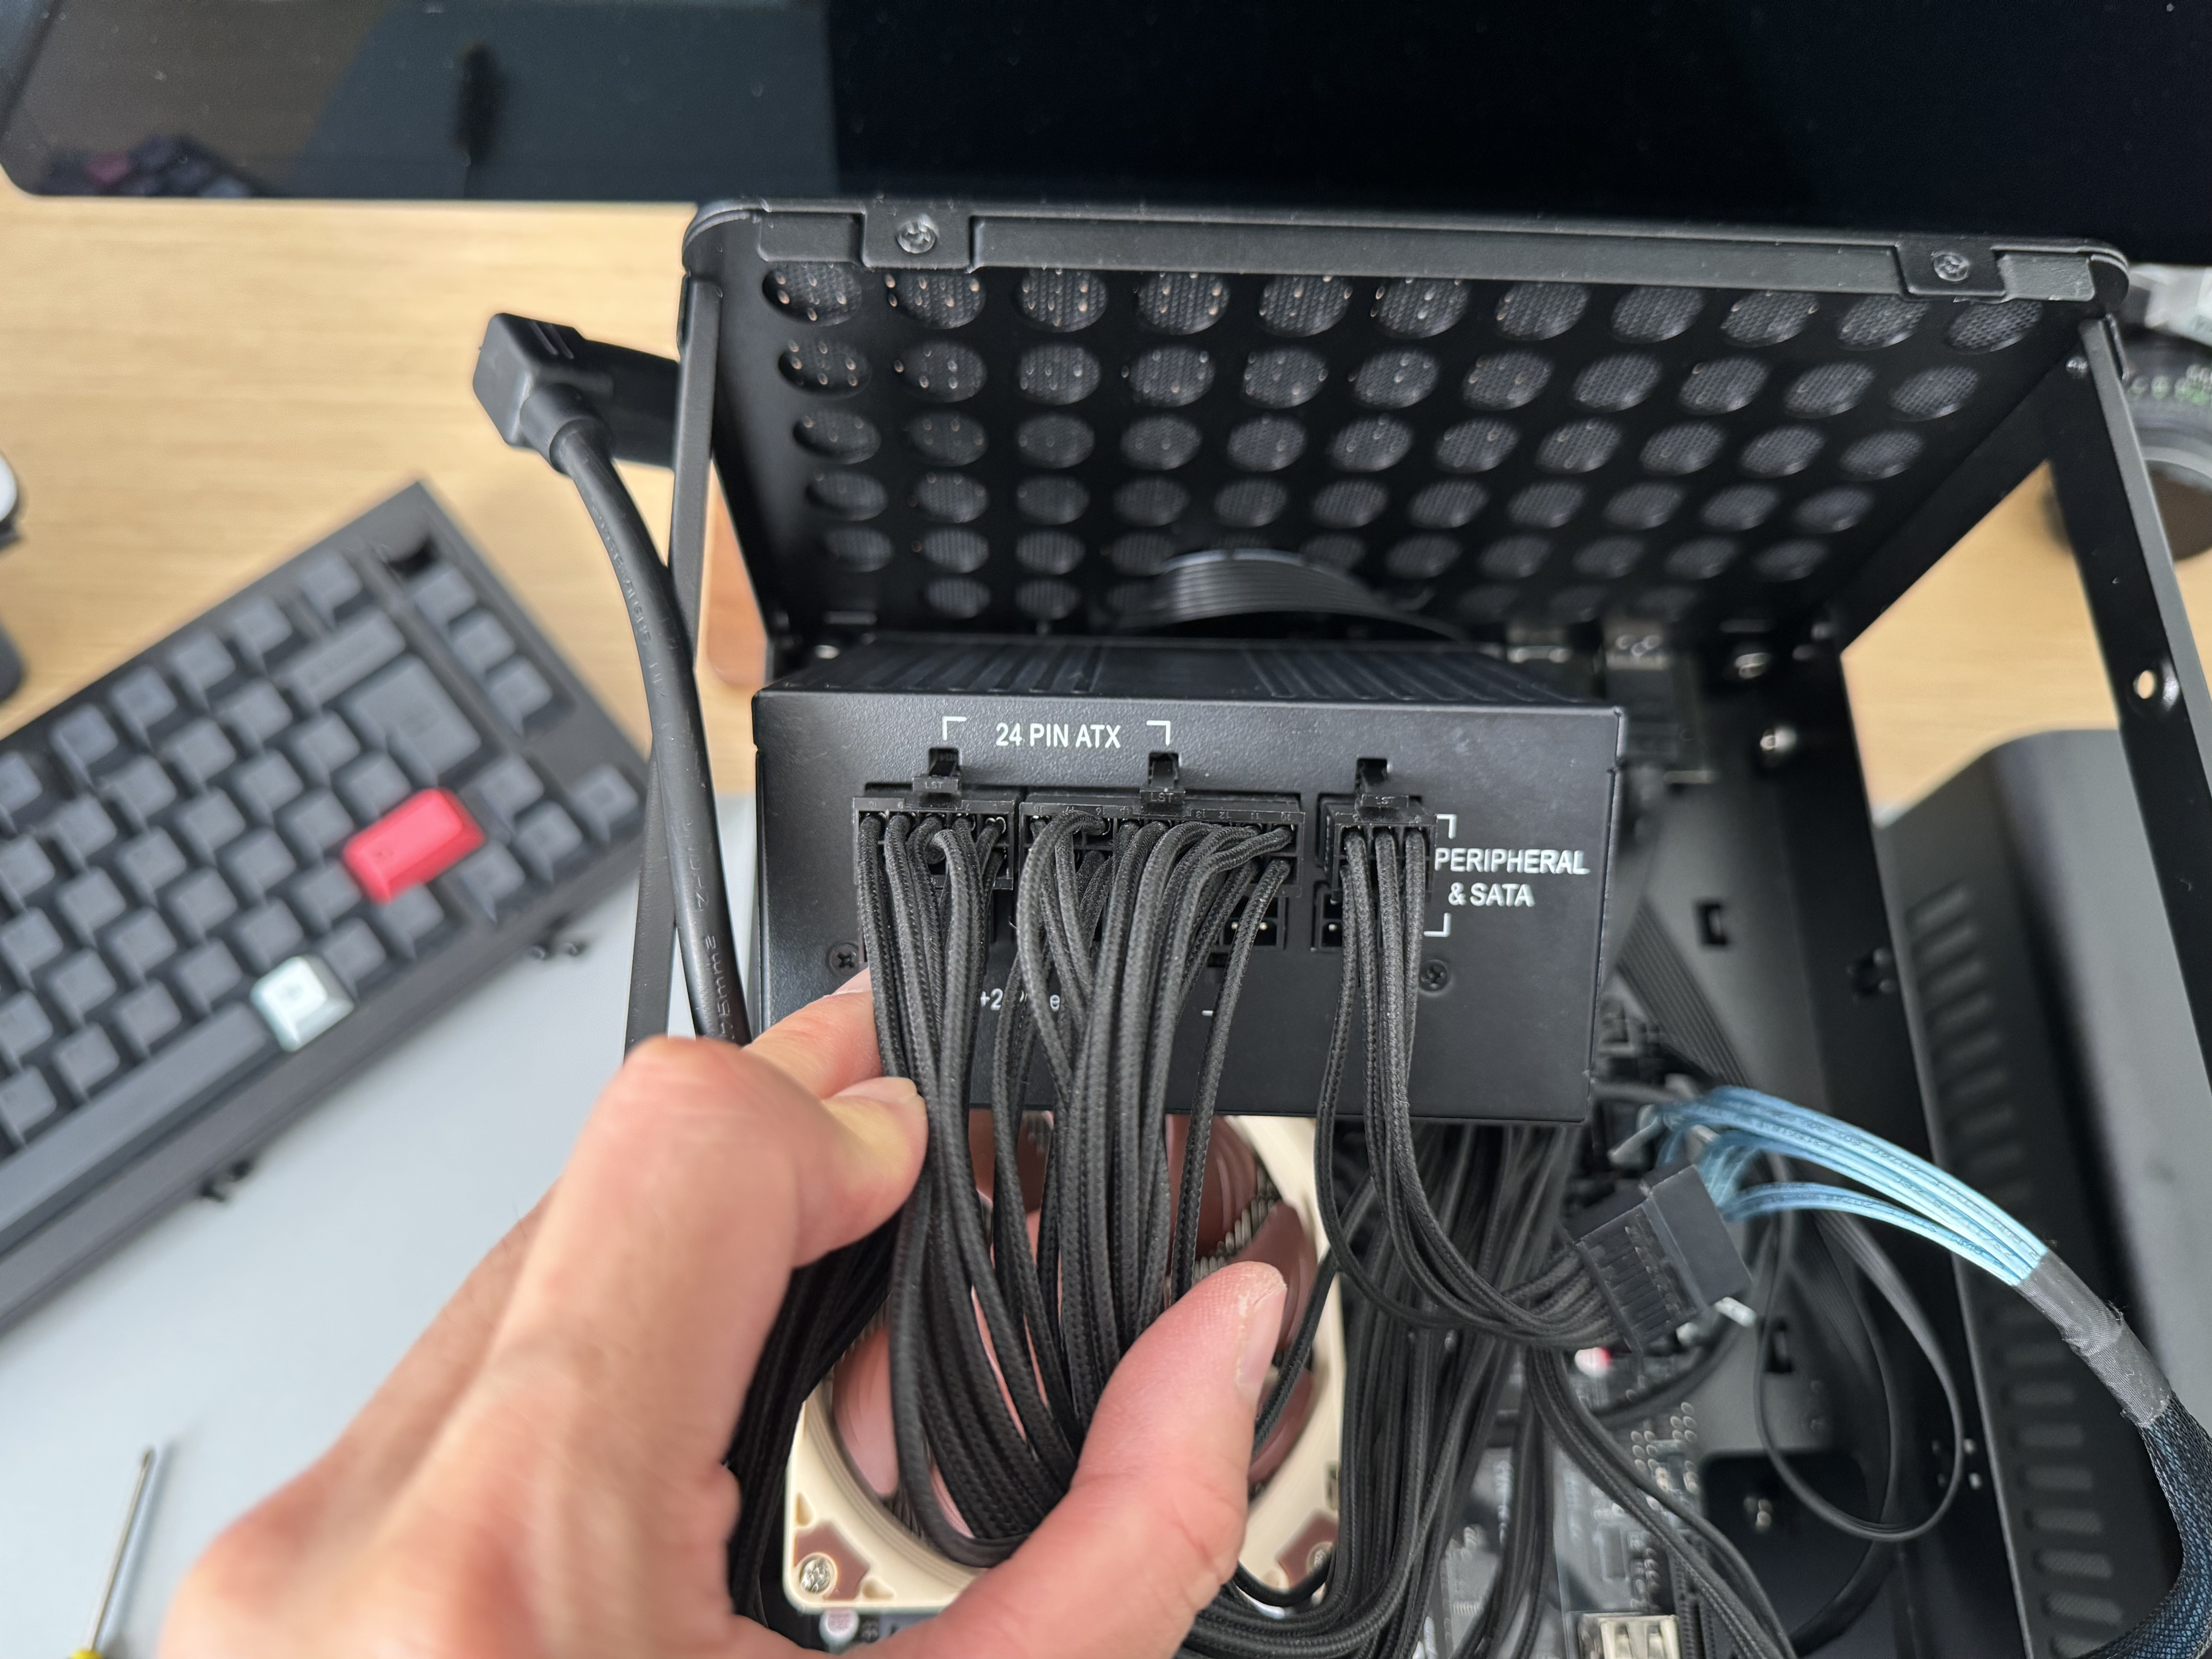
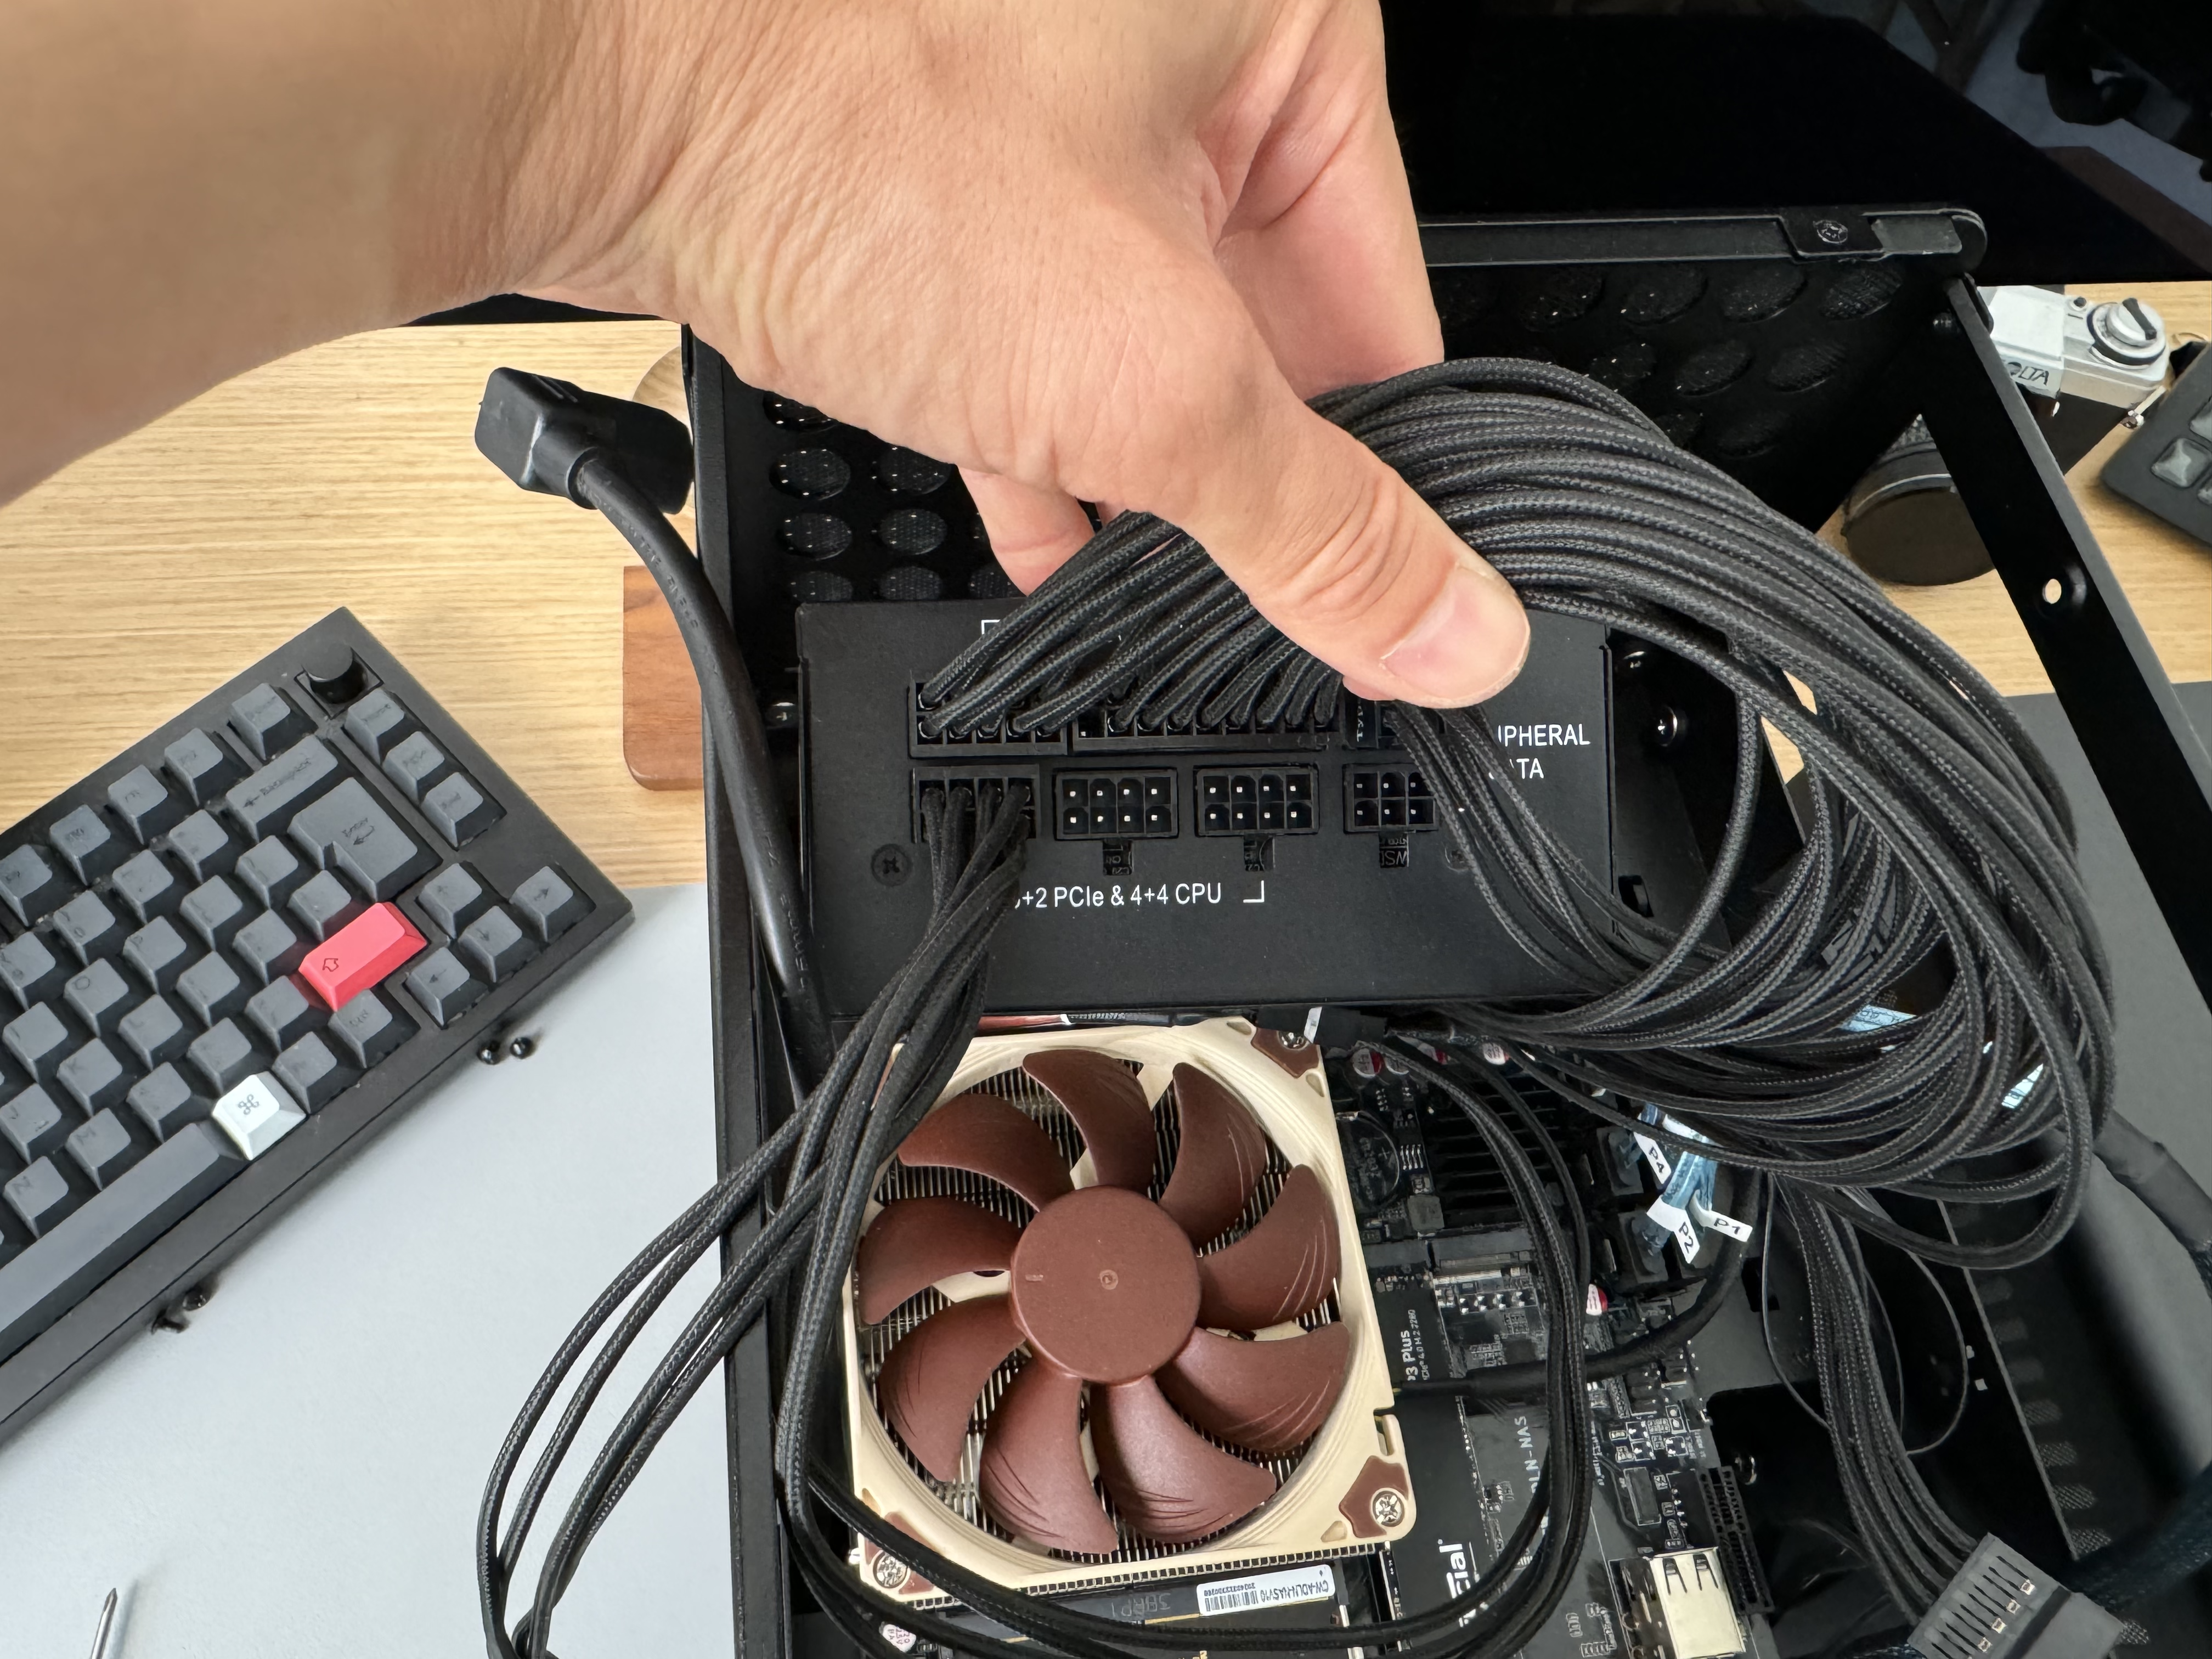
The largest cable goes into the motherboard
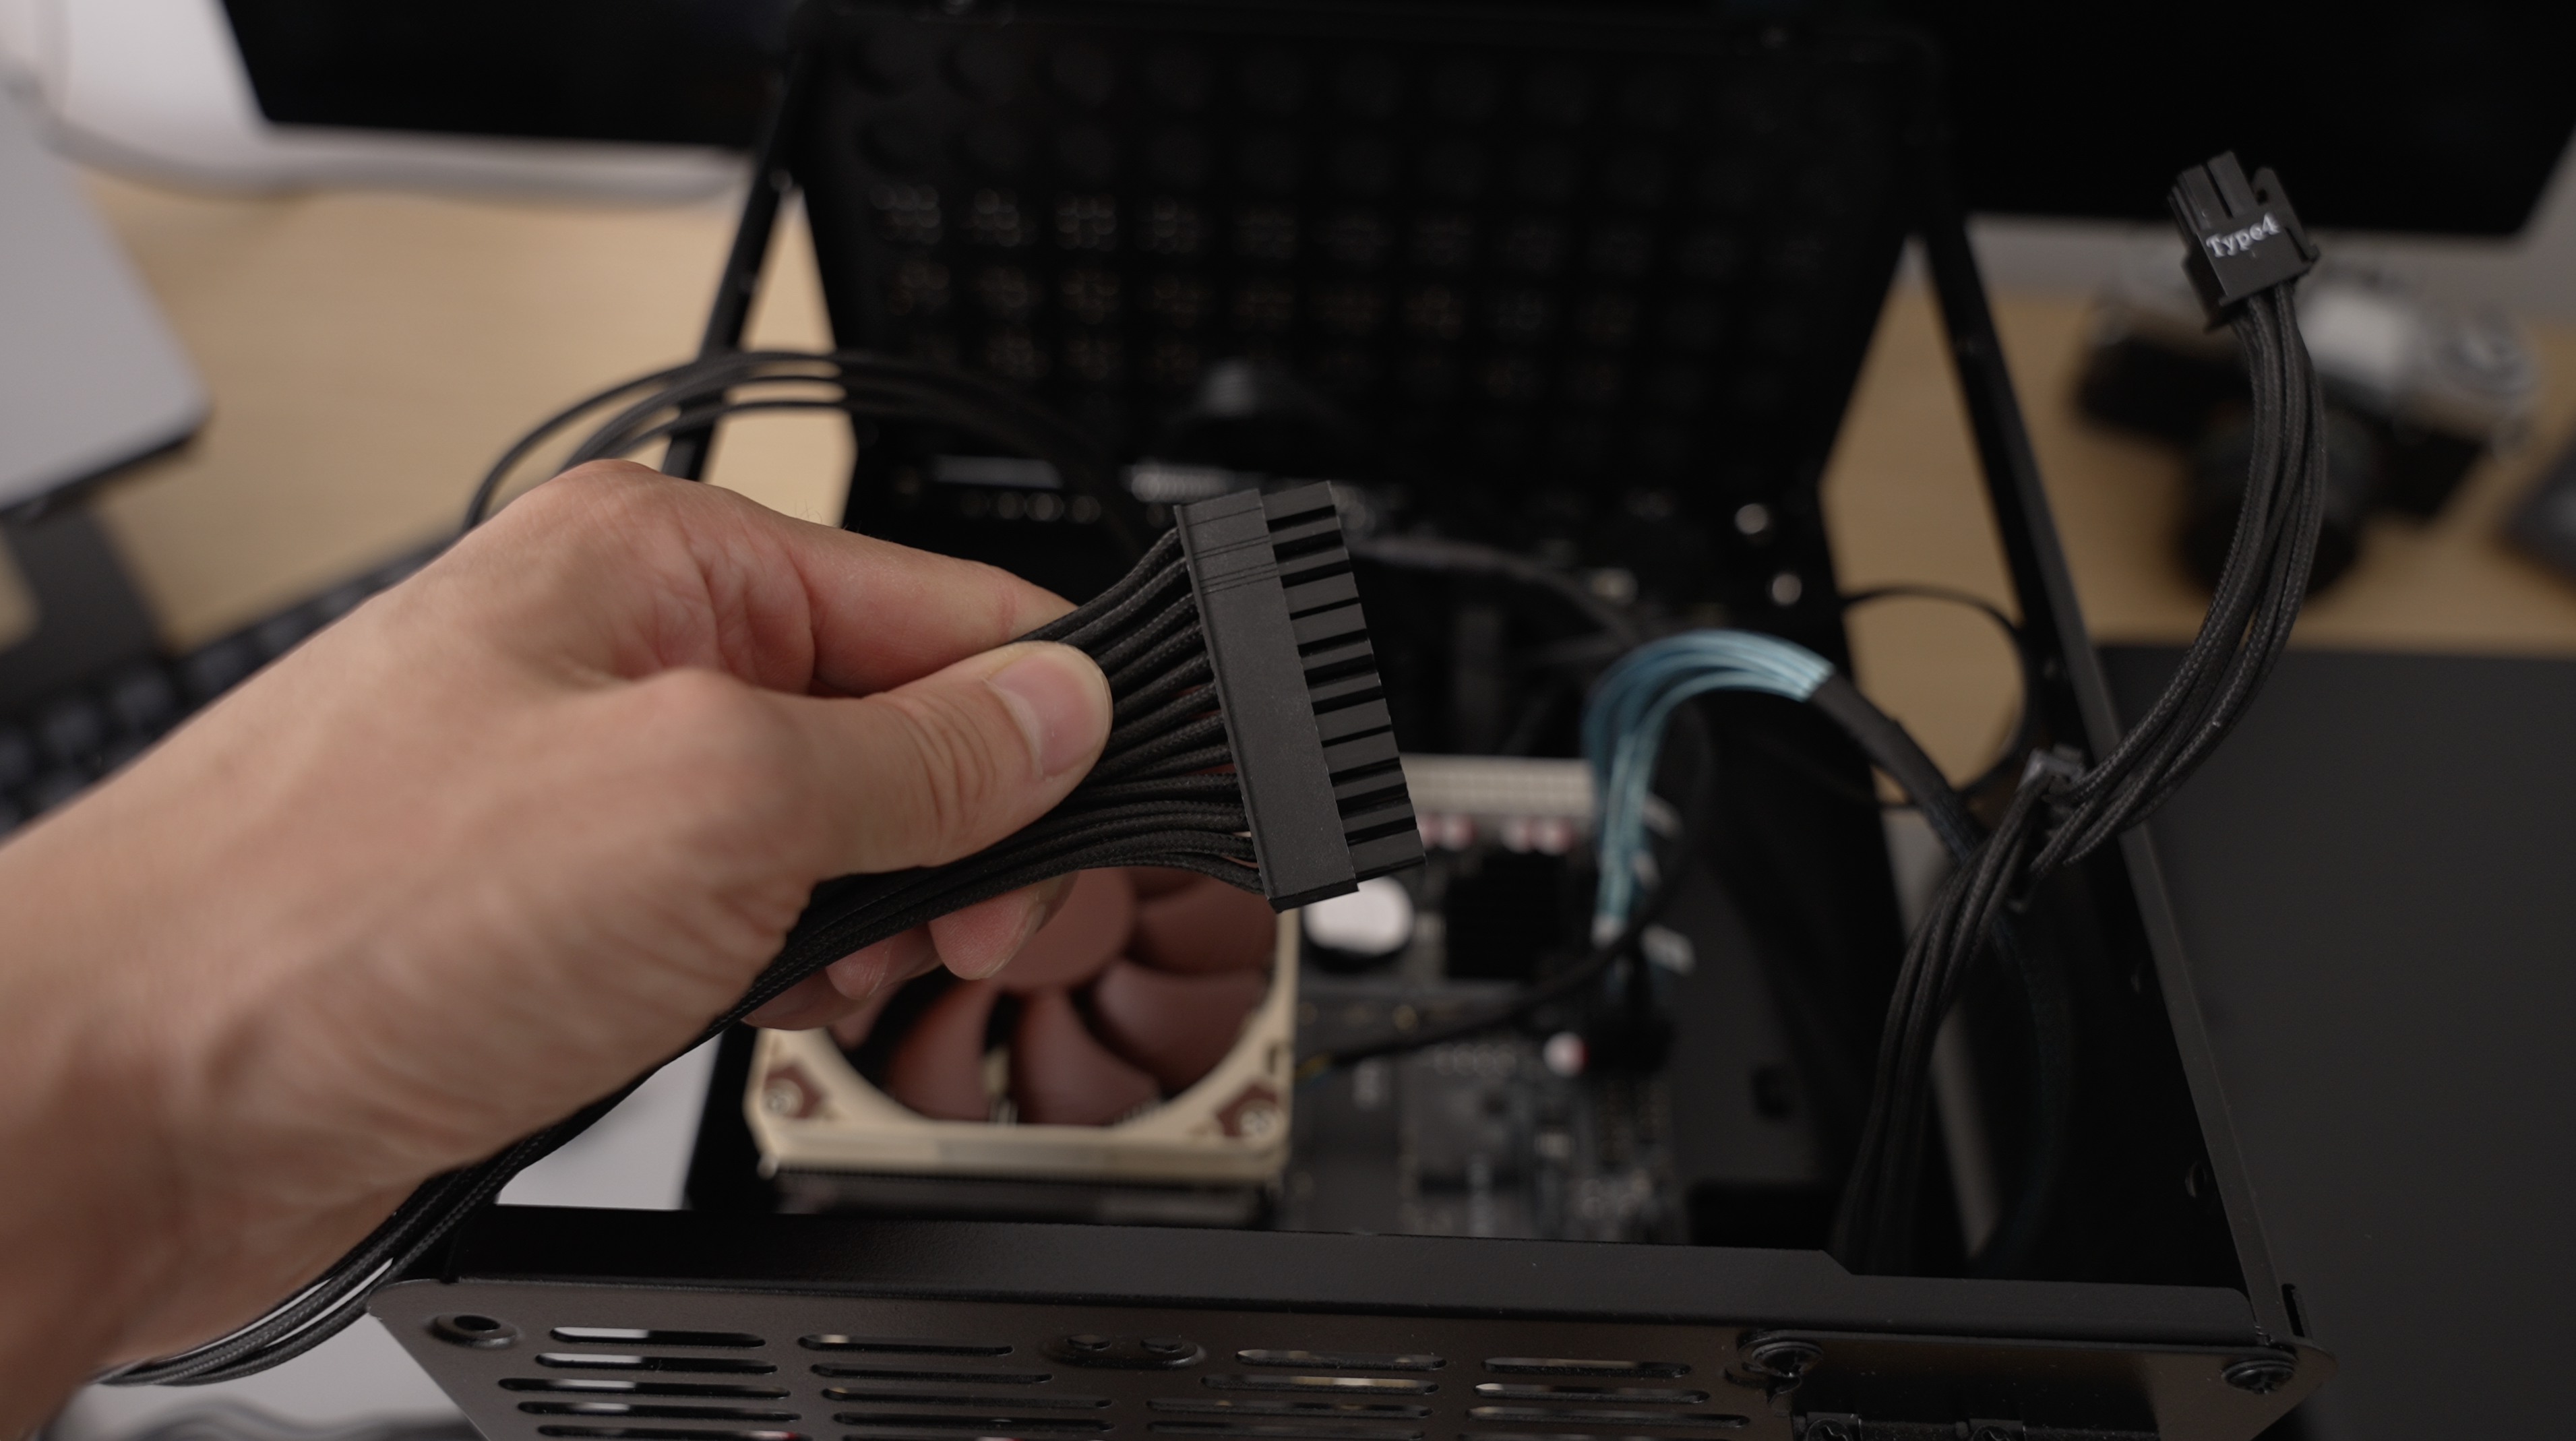
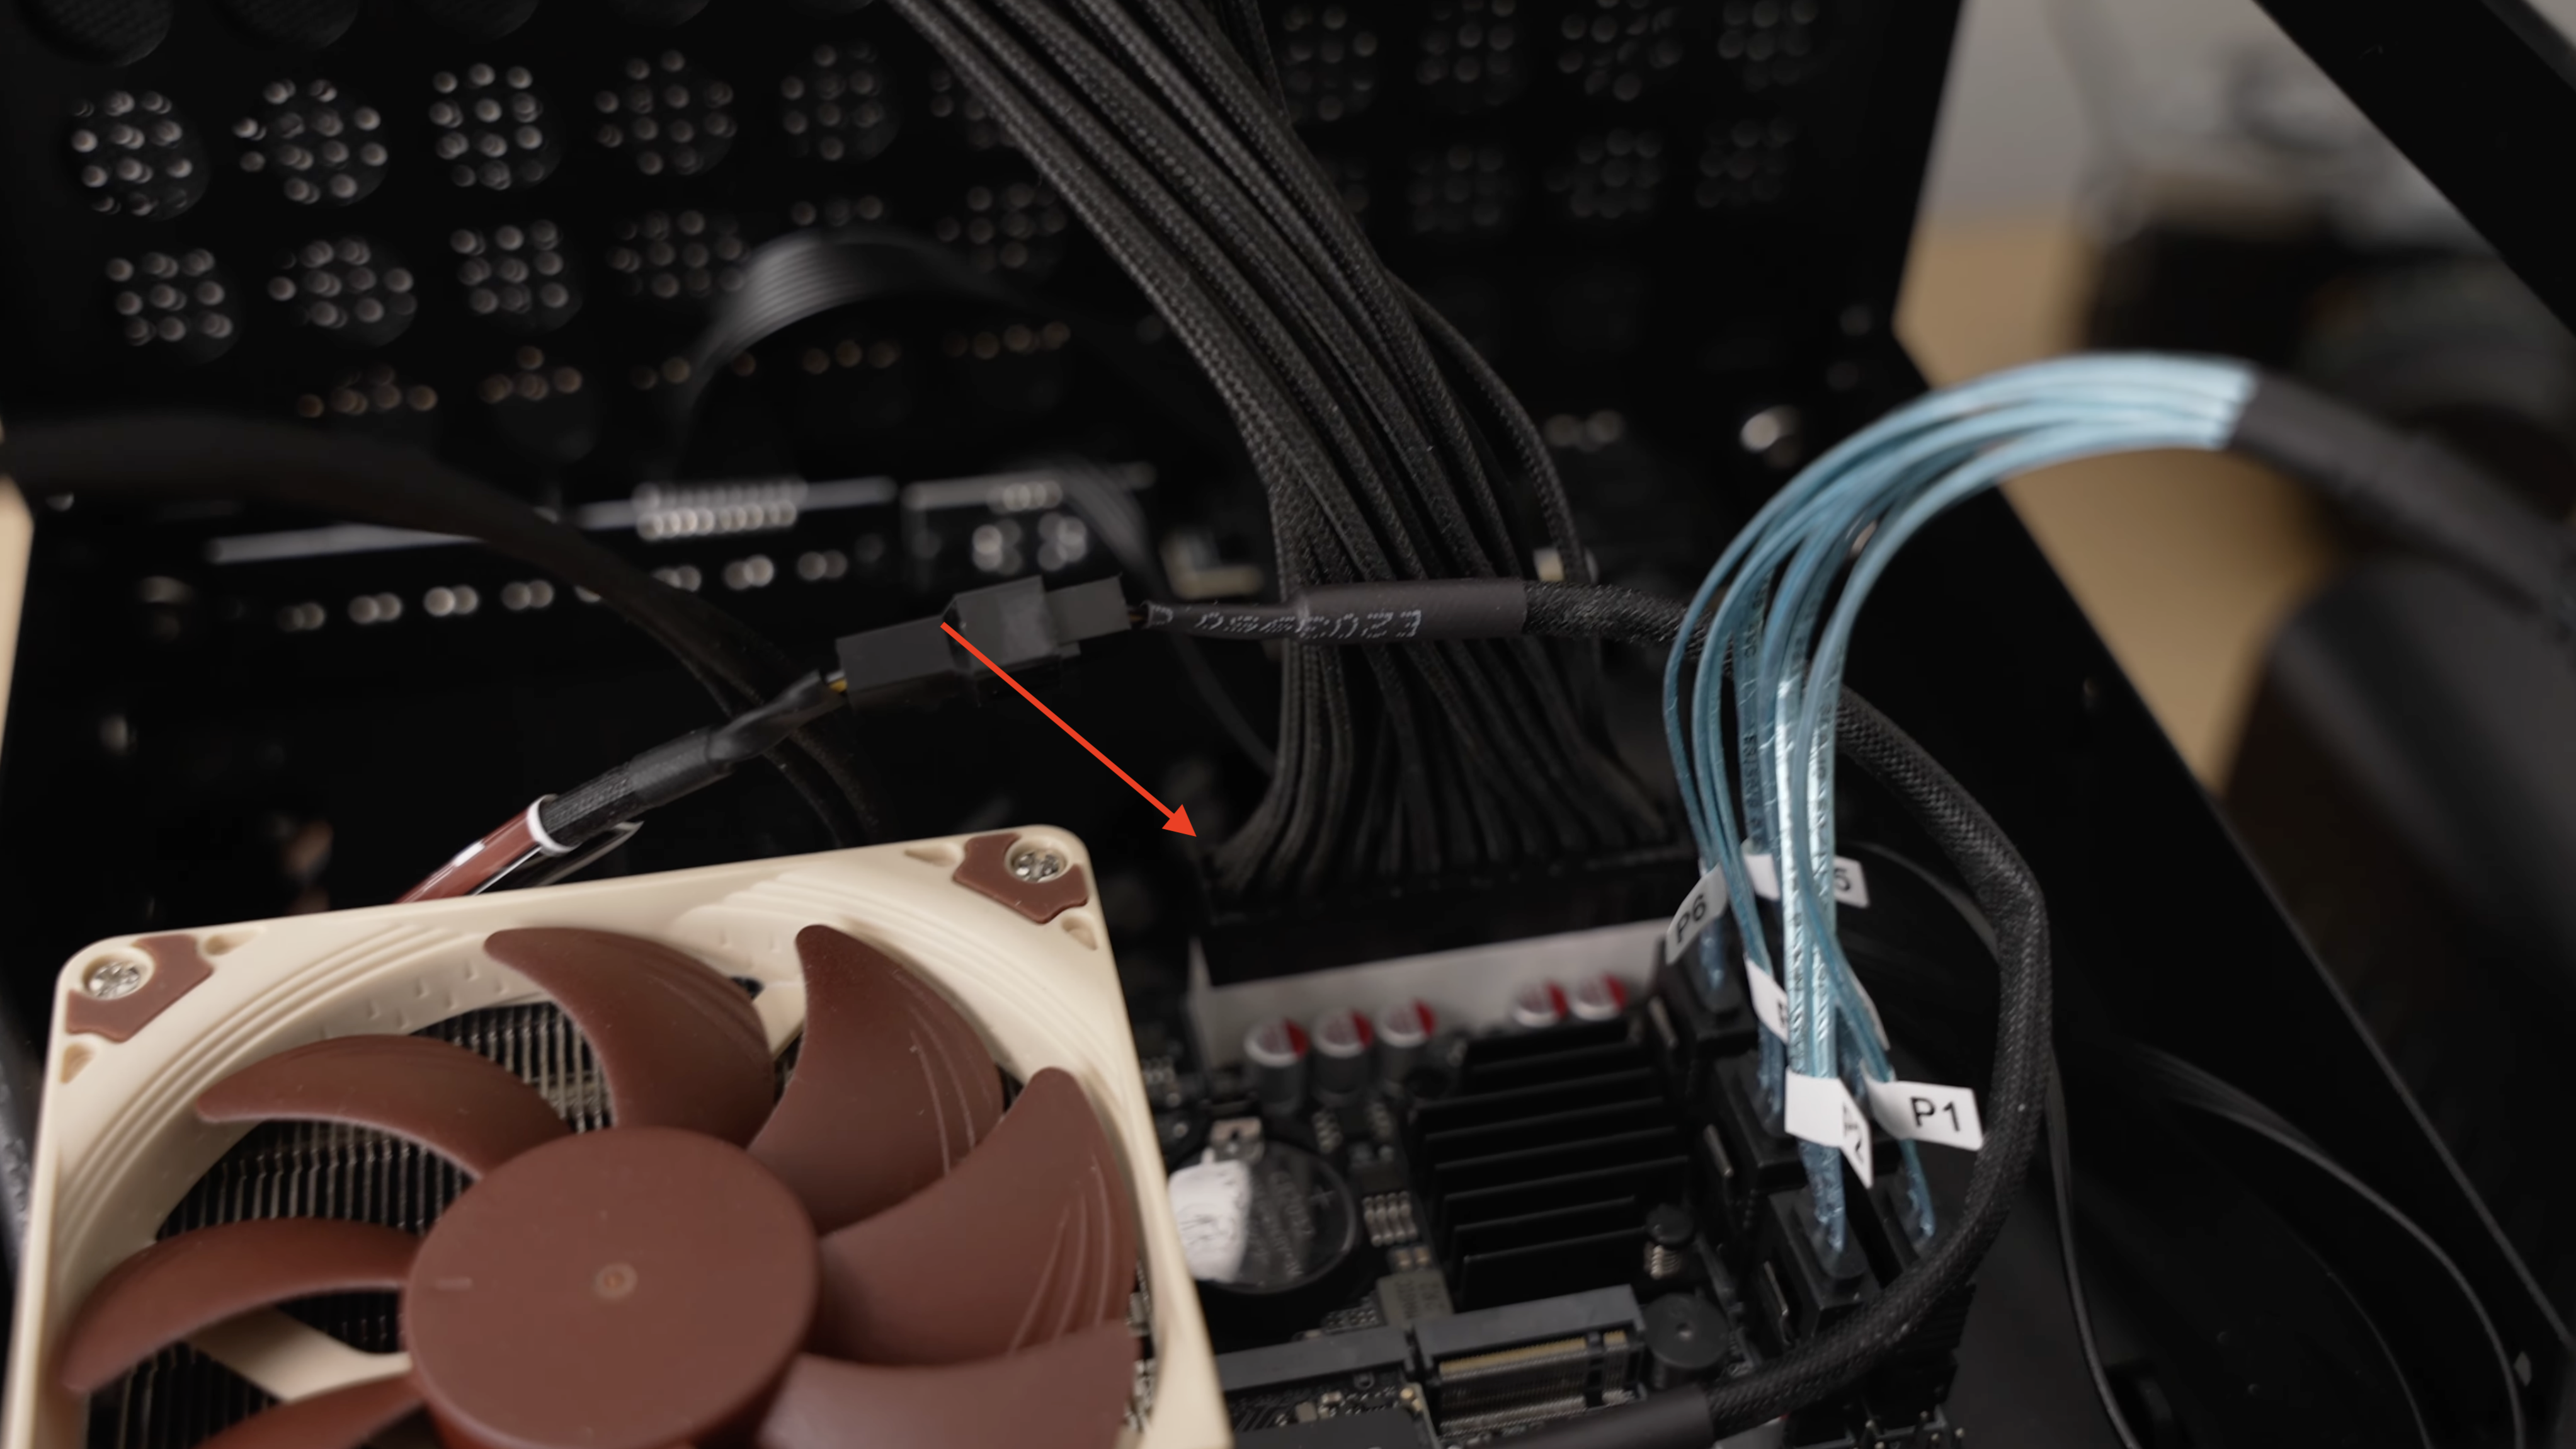
The small plug/socket for the CPU fan
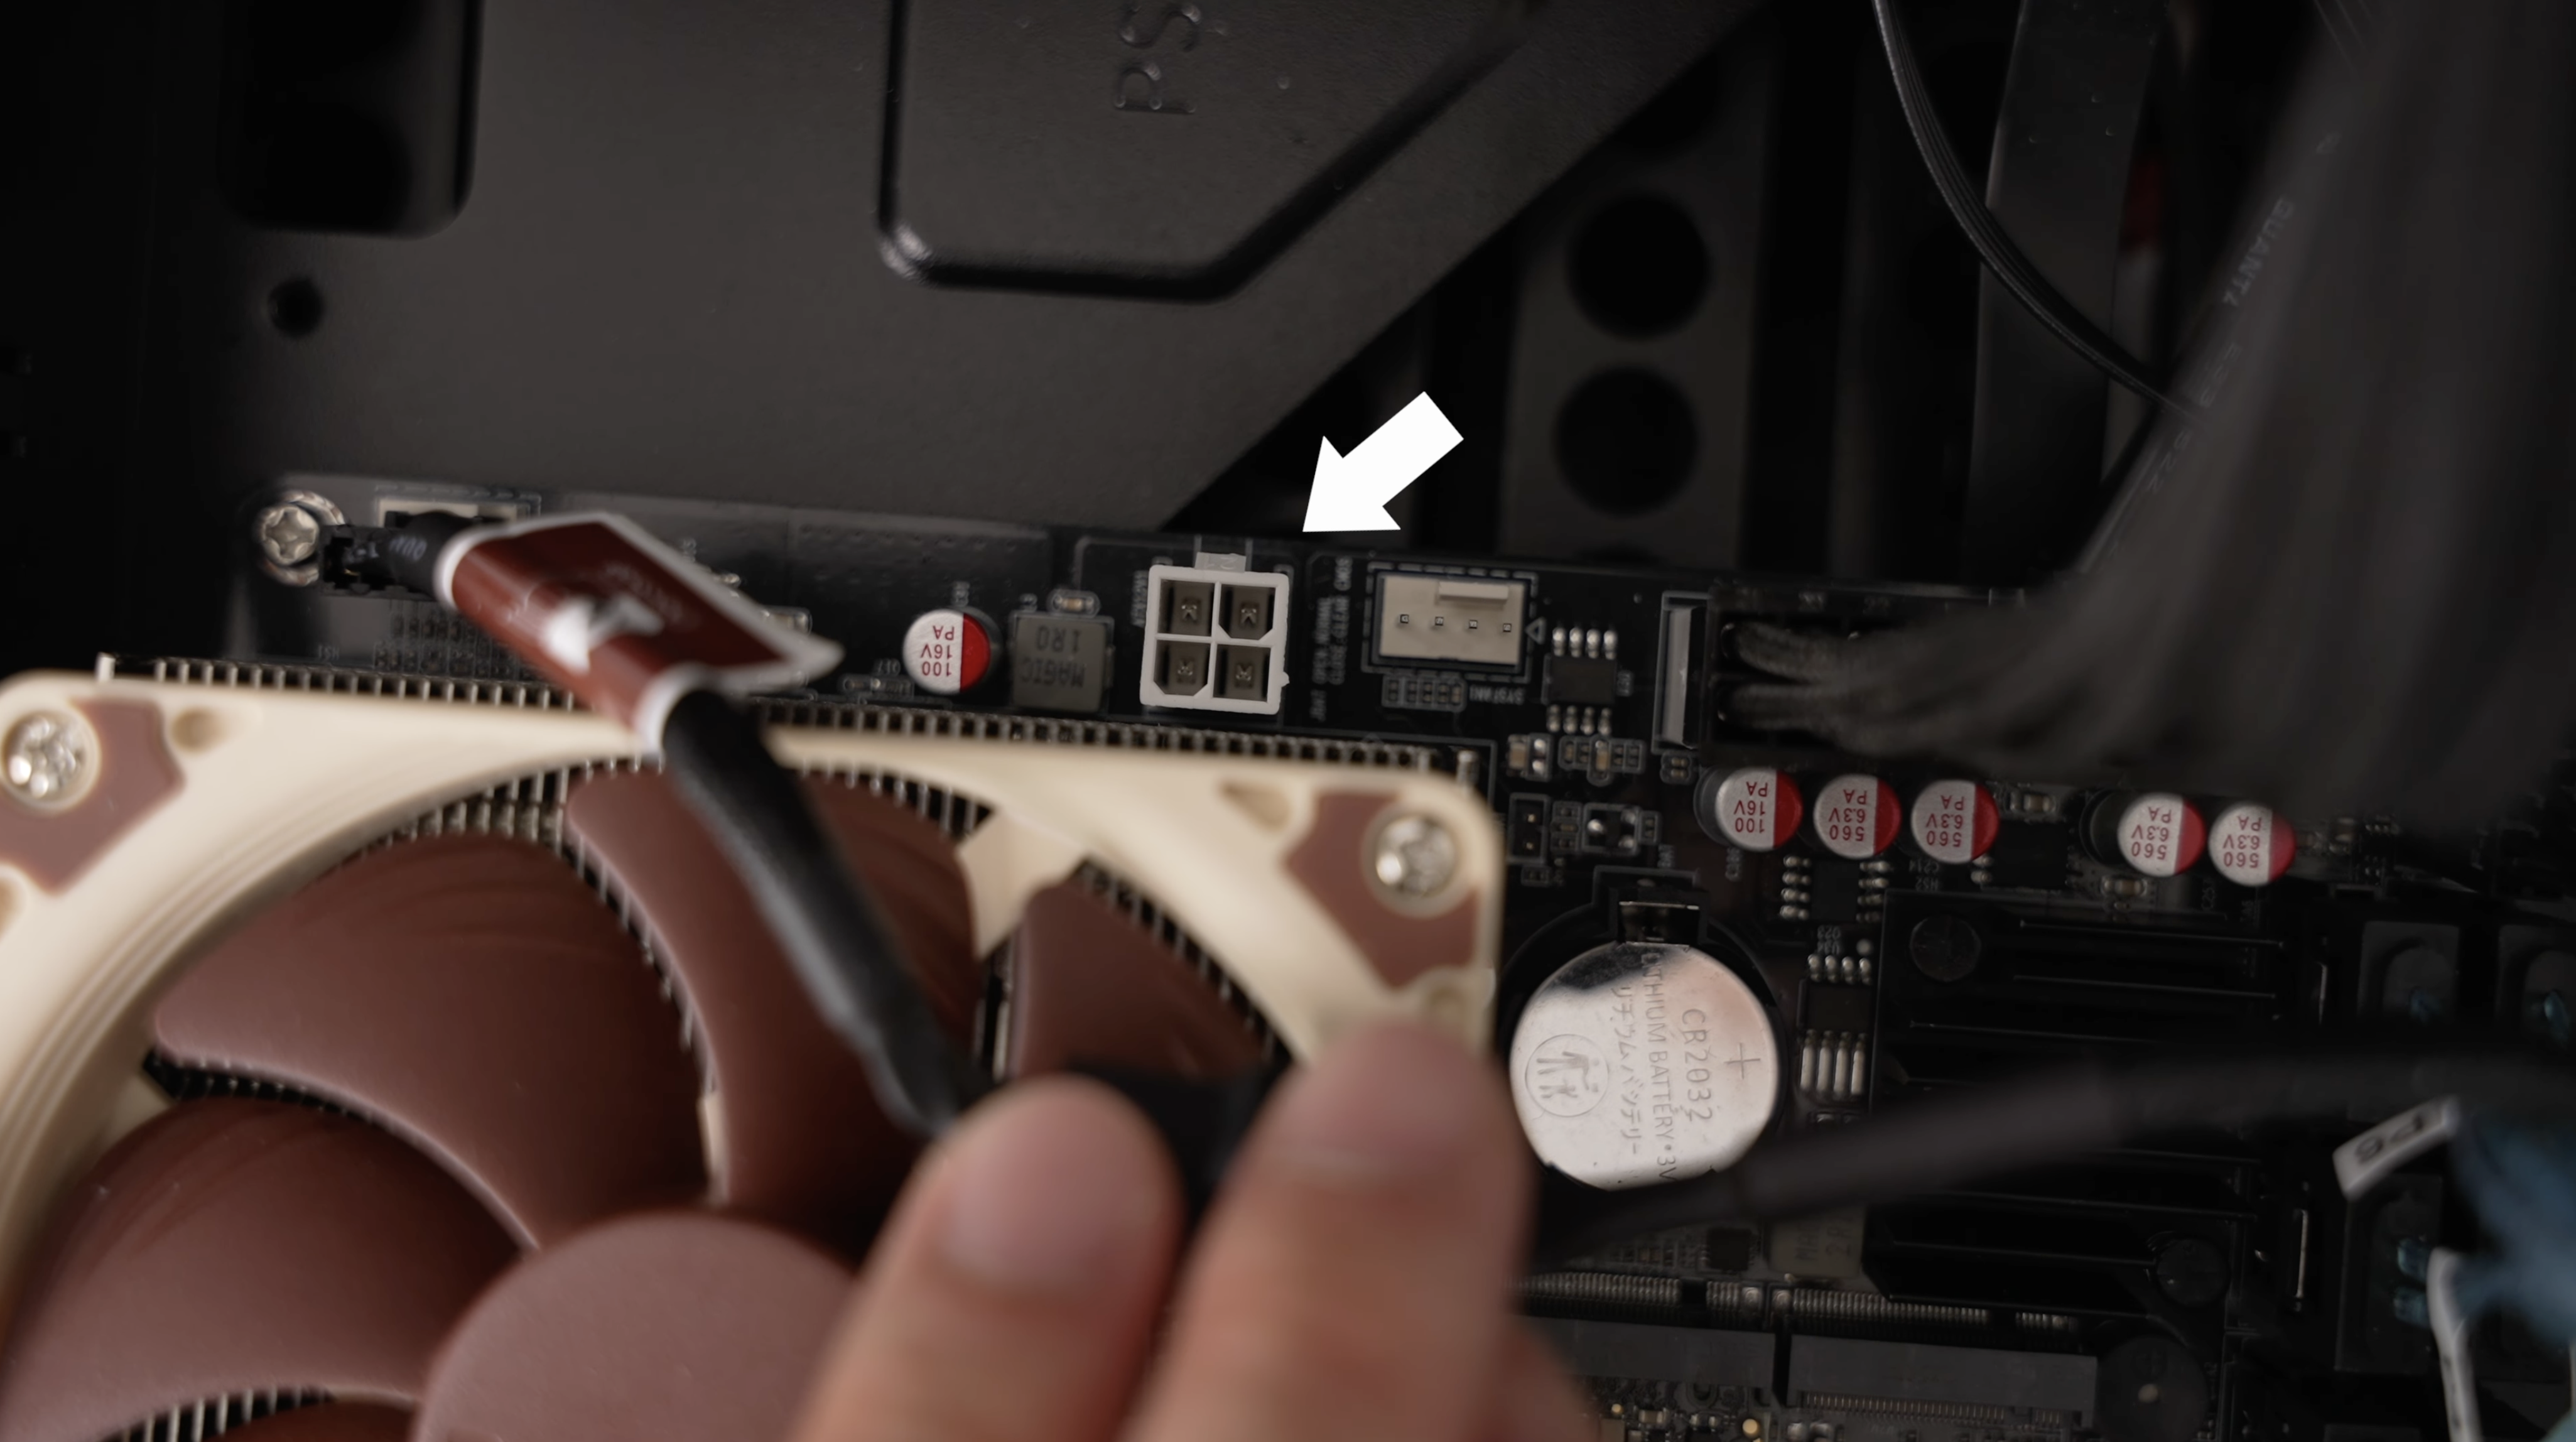
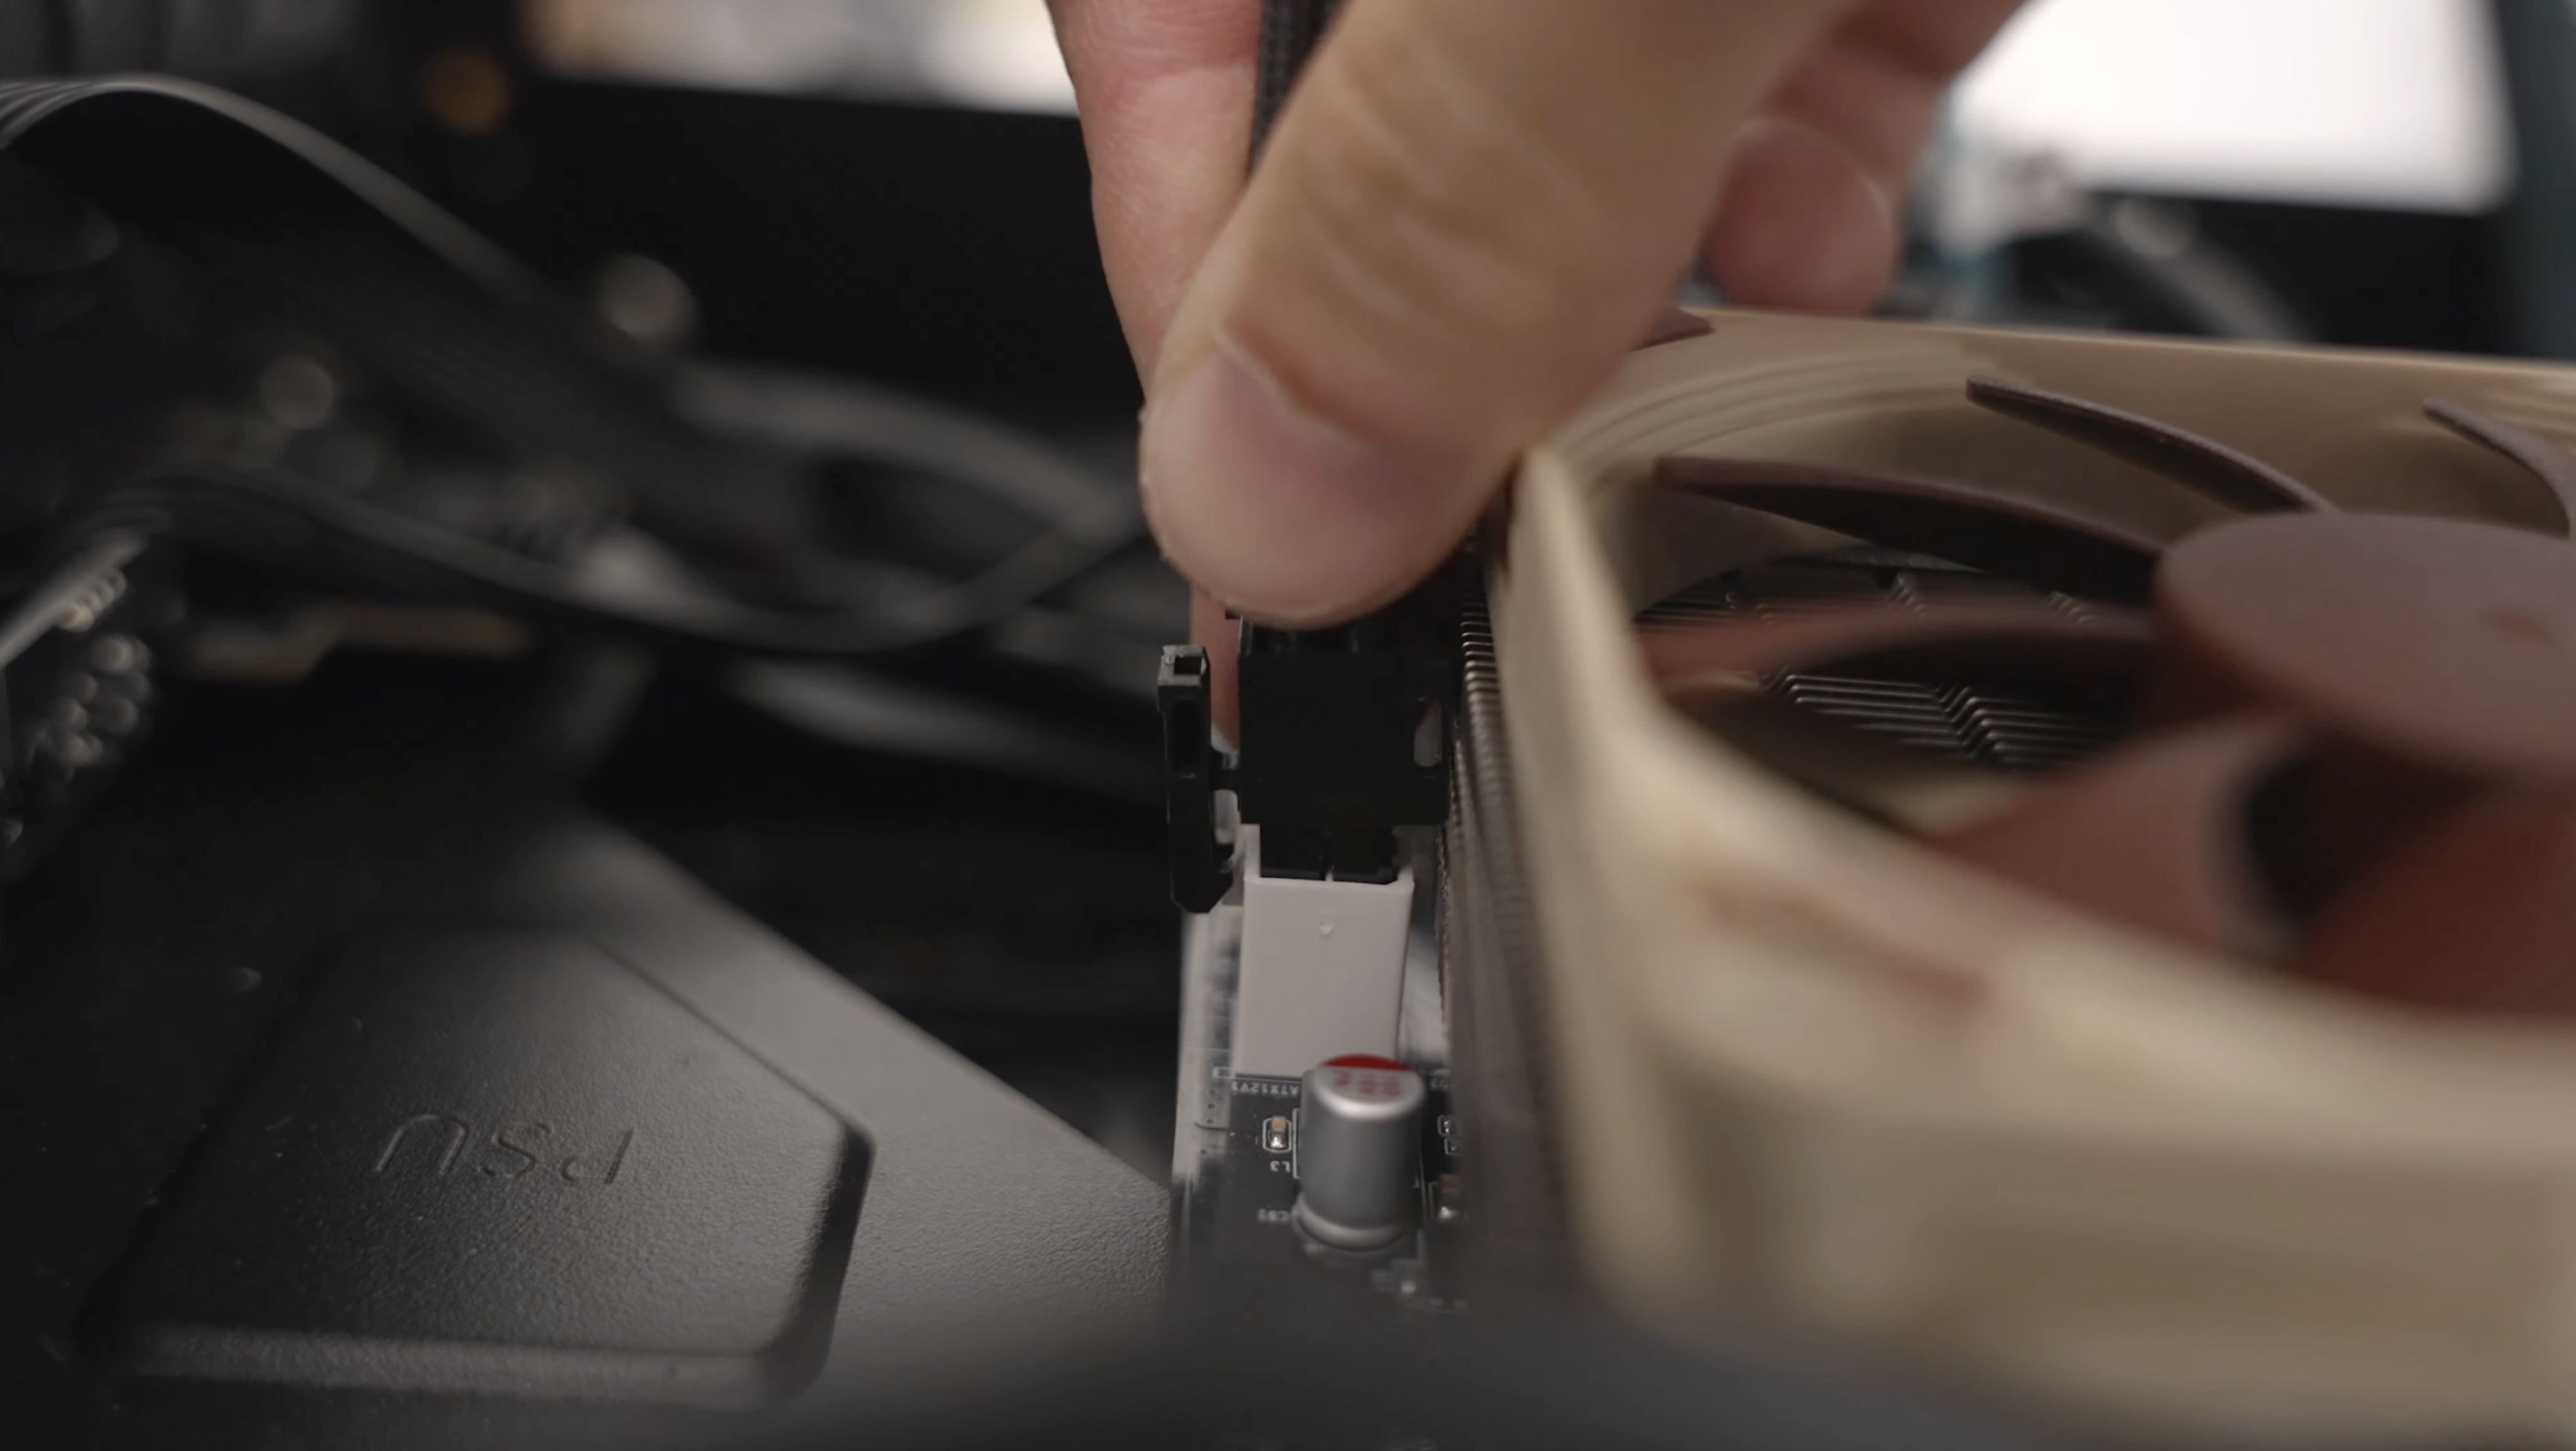
The plug/socket for the case fans and the SATA plug for the HDDs.
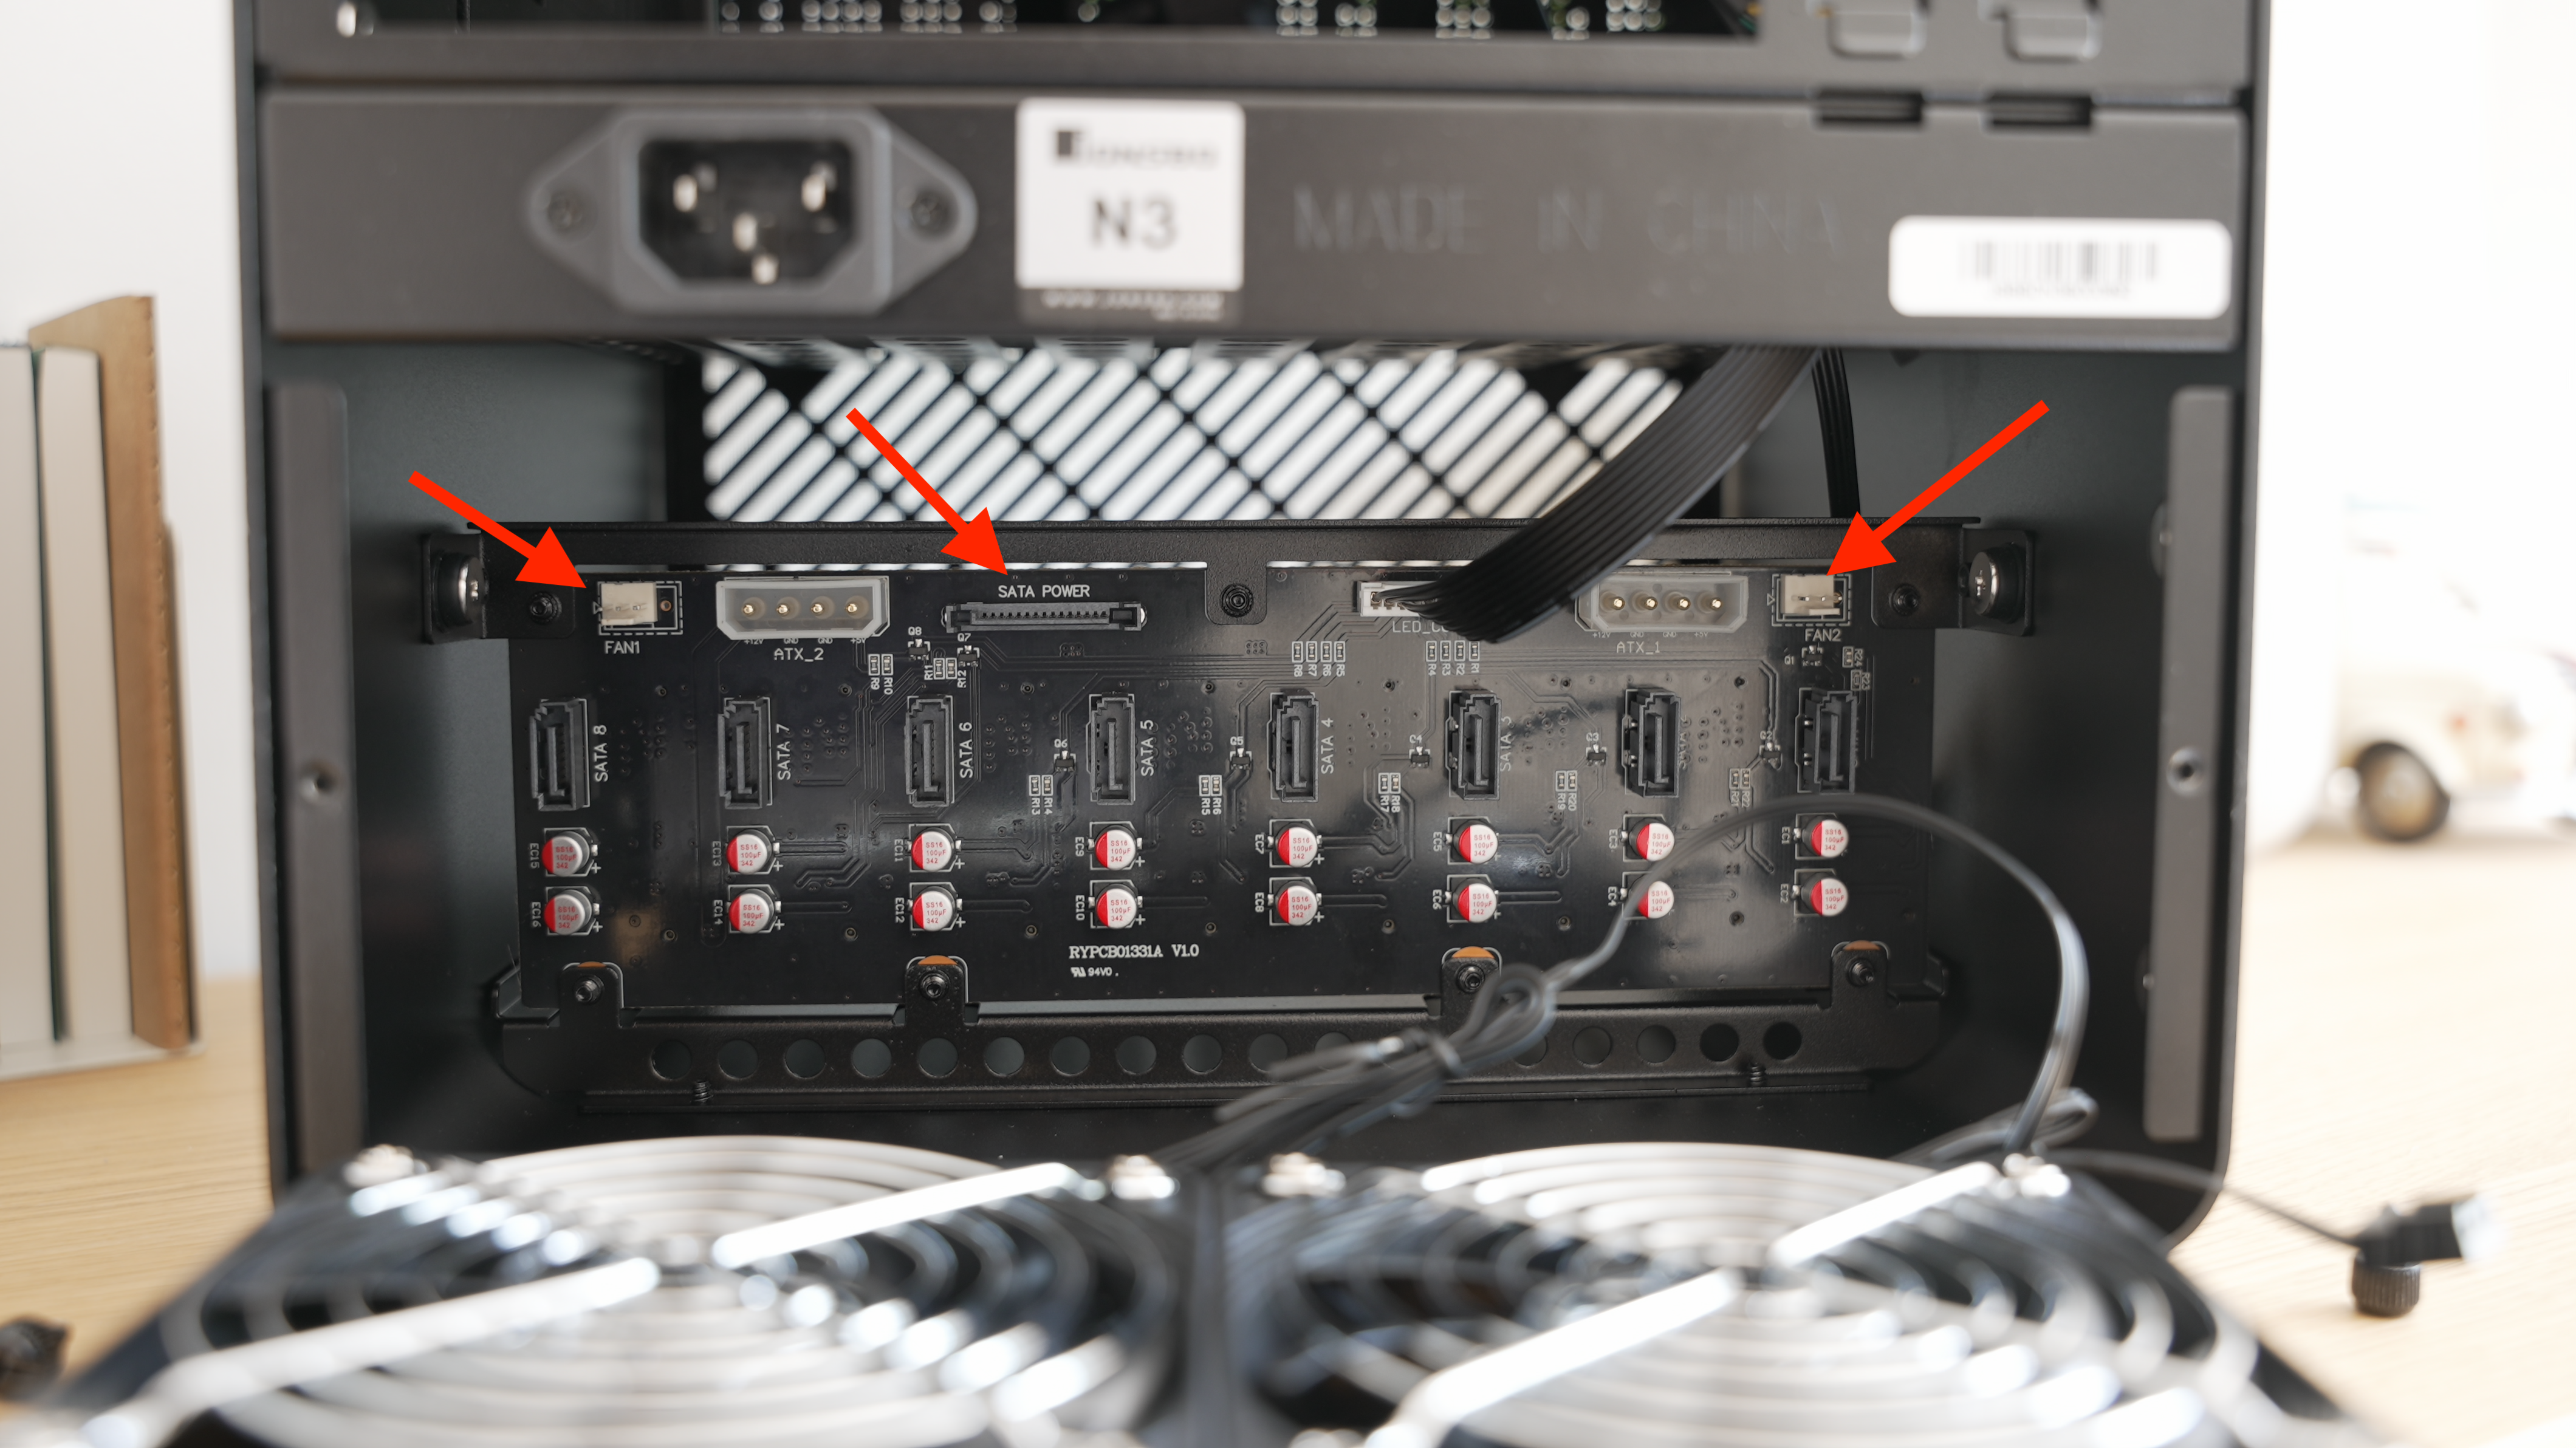
A close up of the socket for powering the HDDs
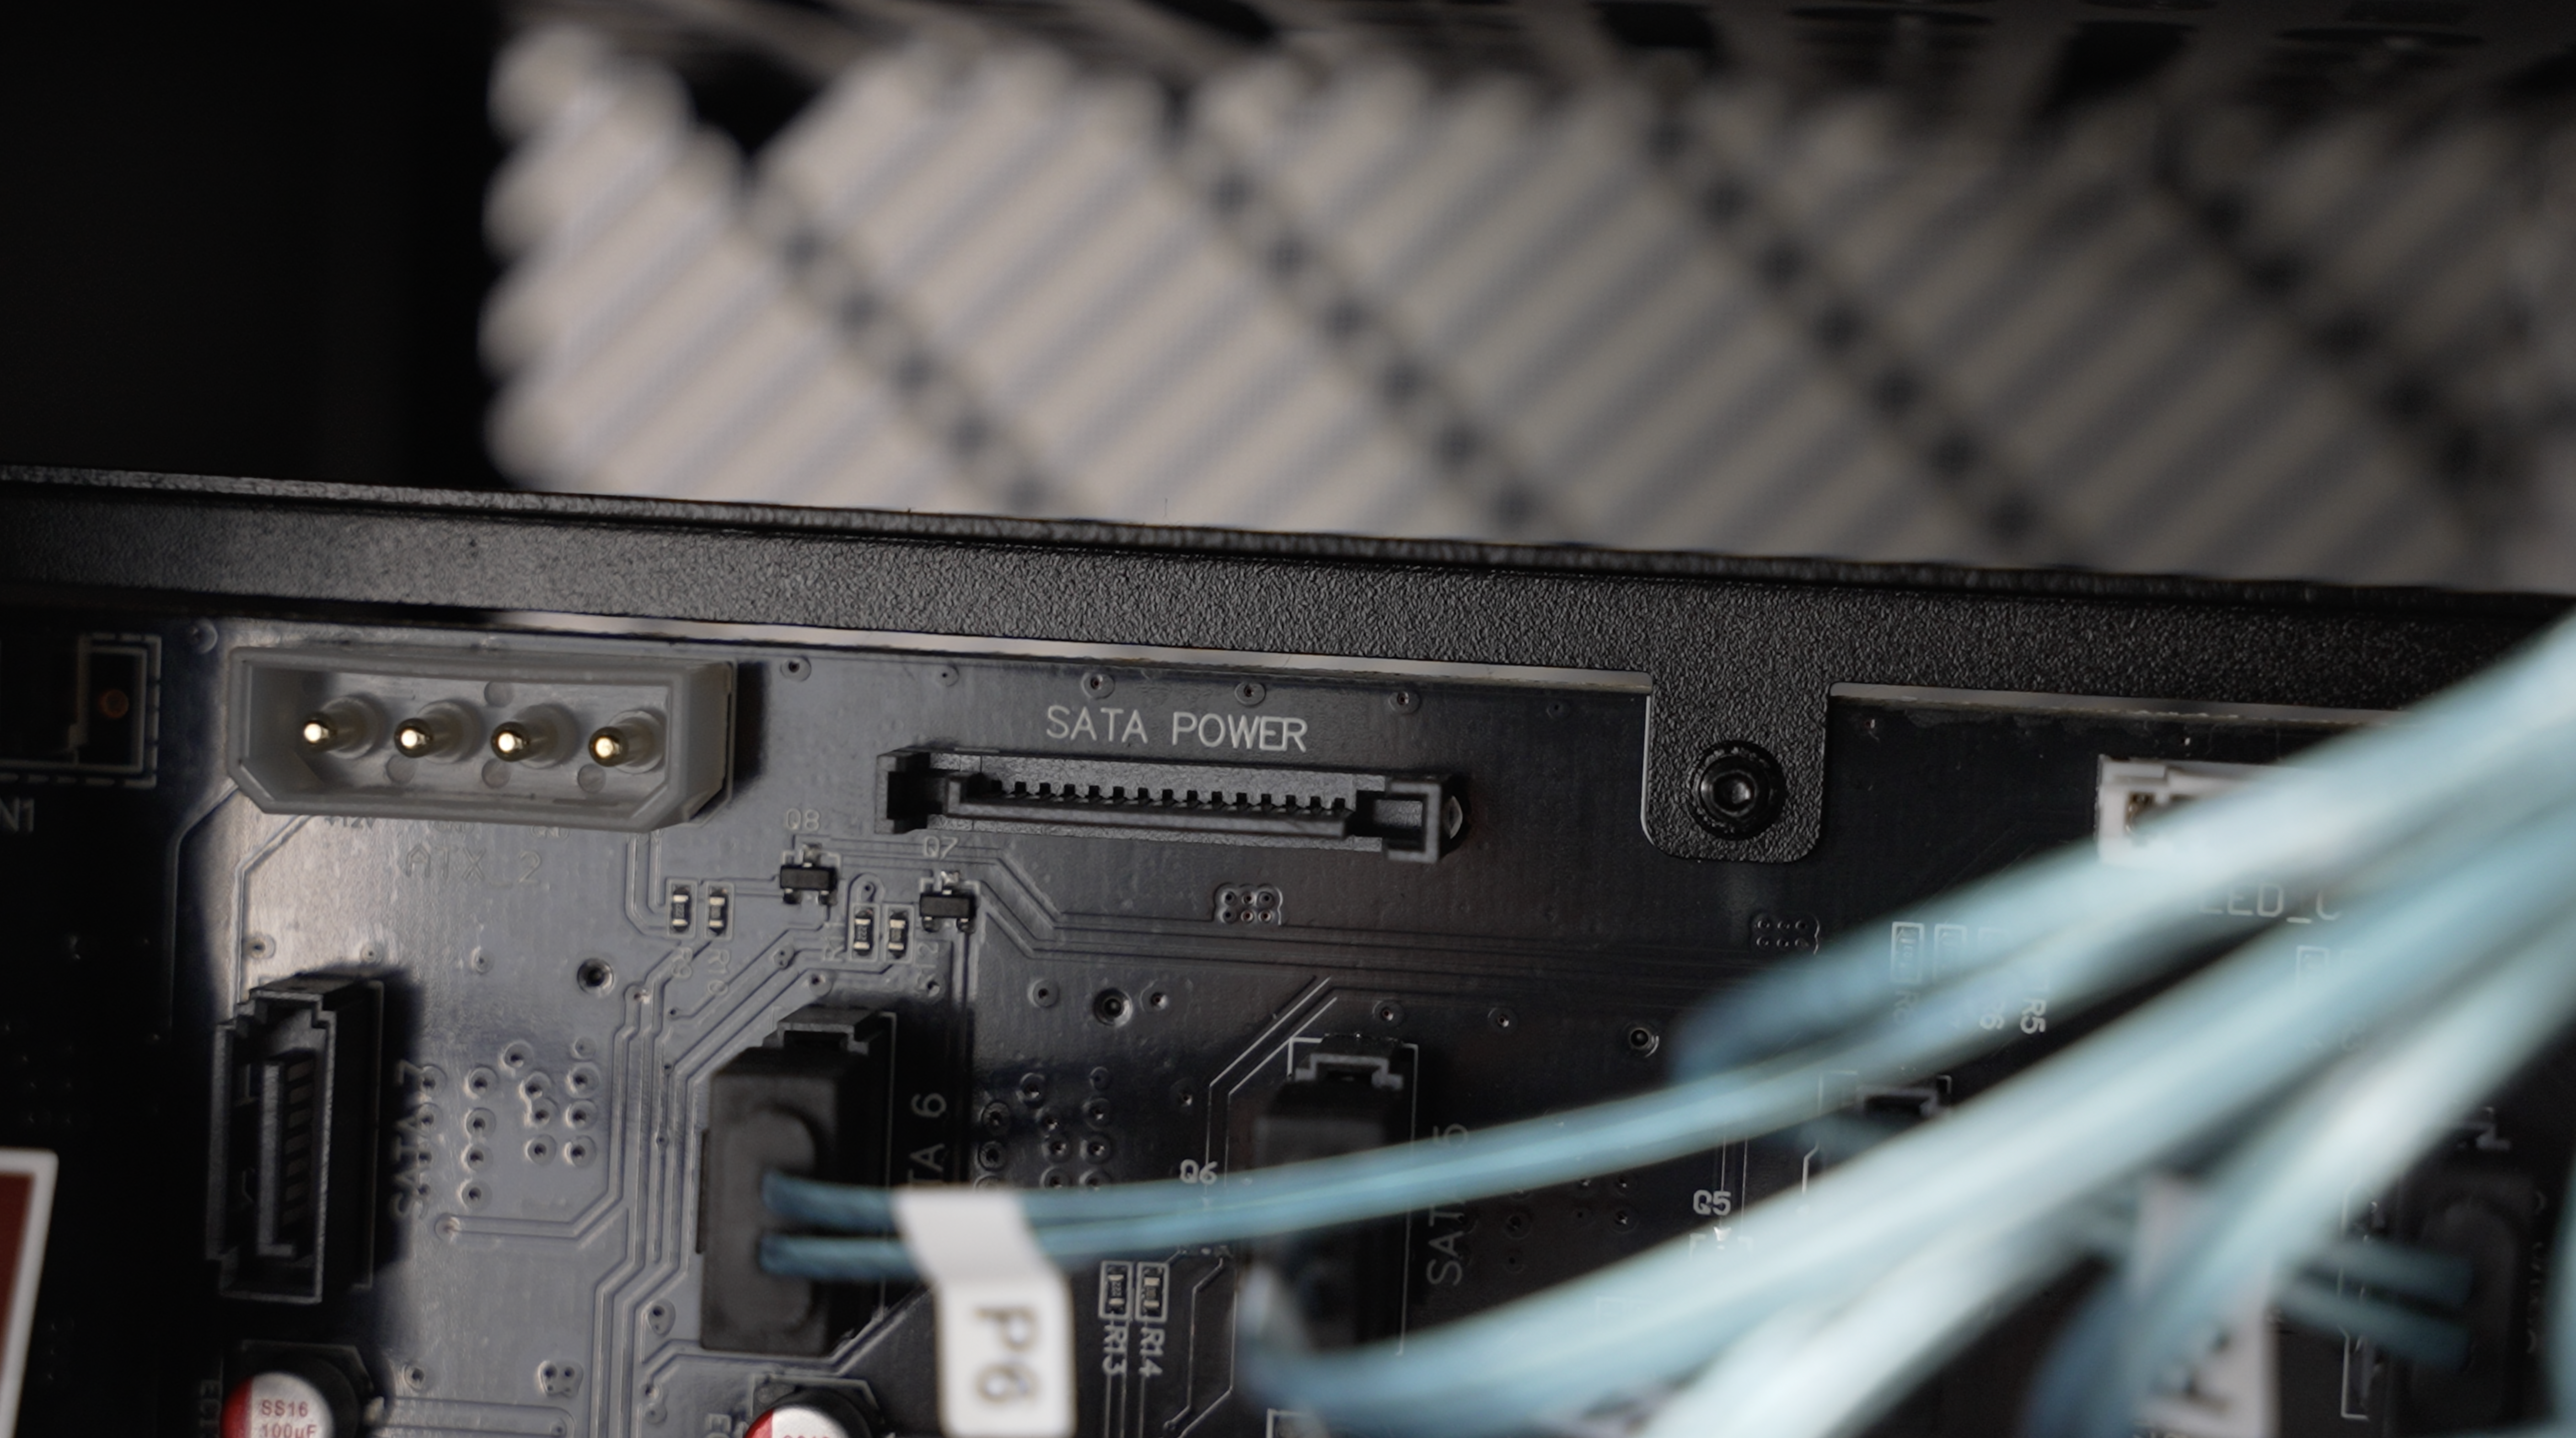
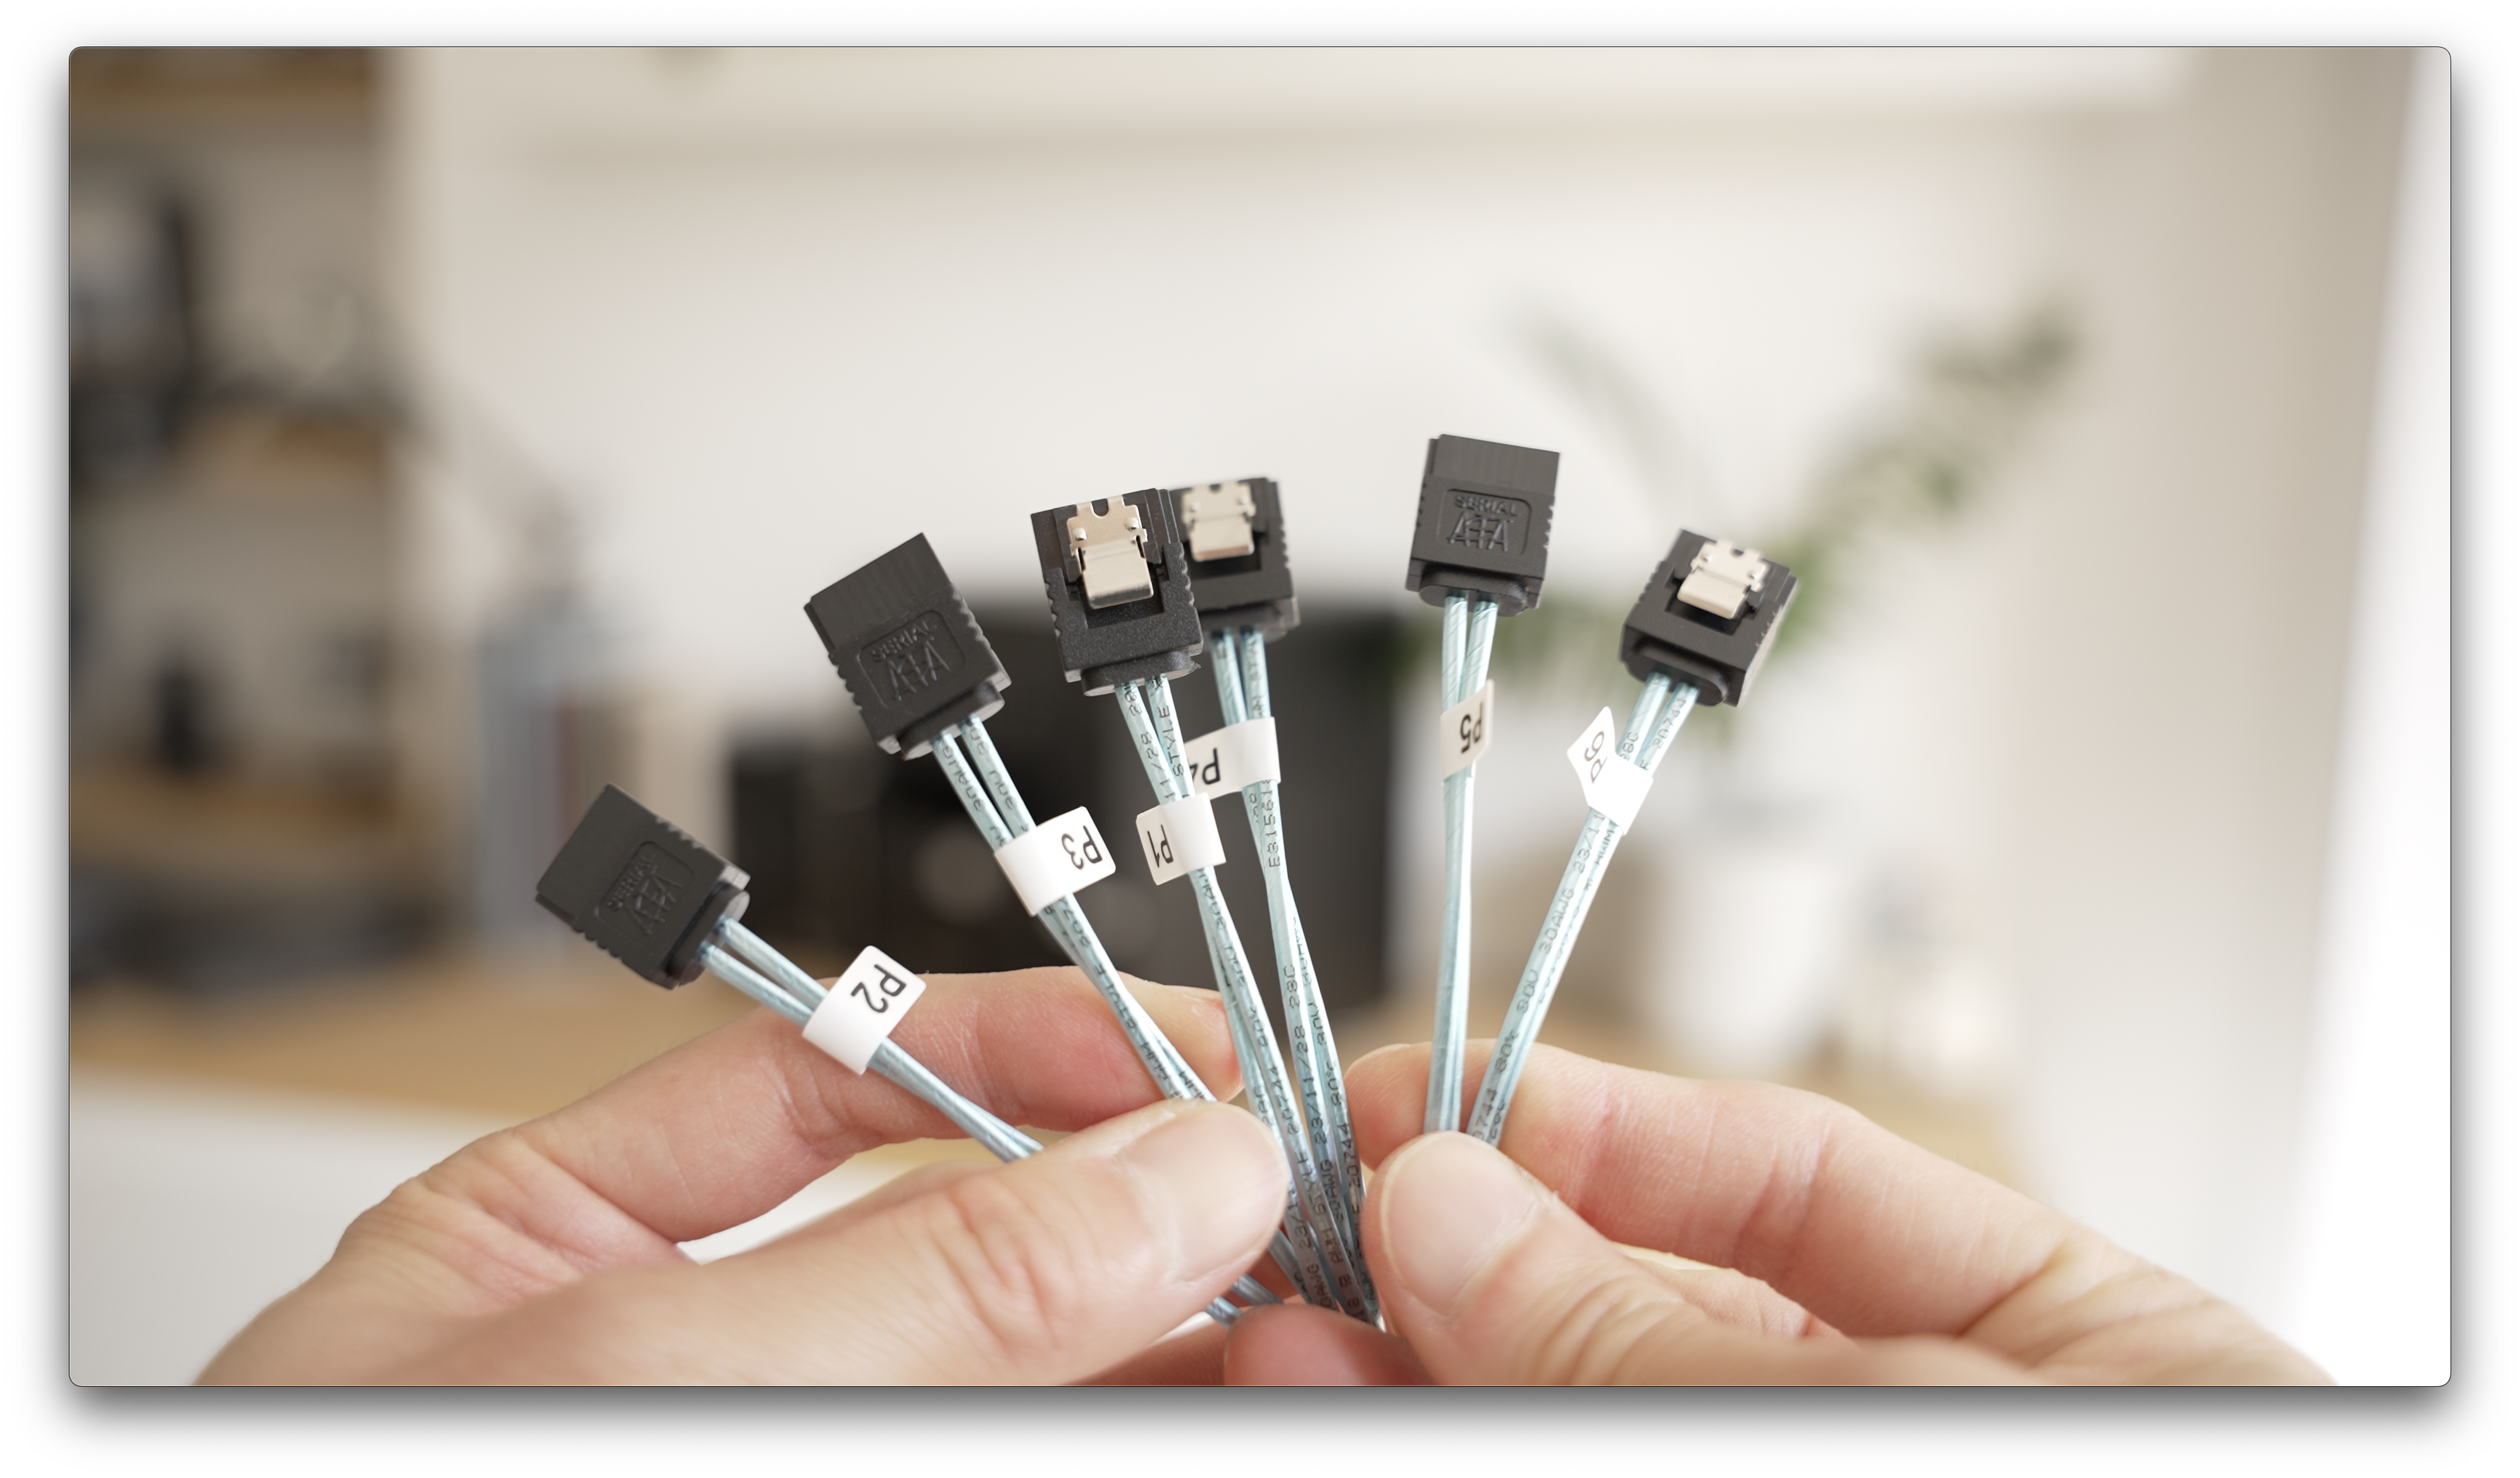
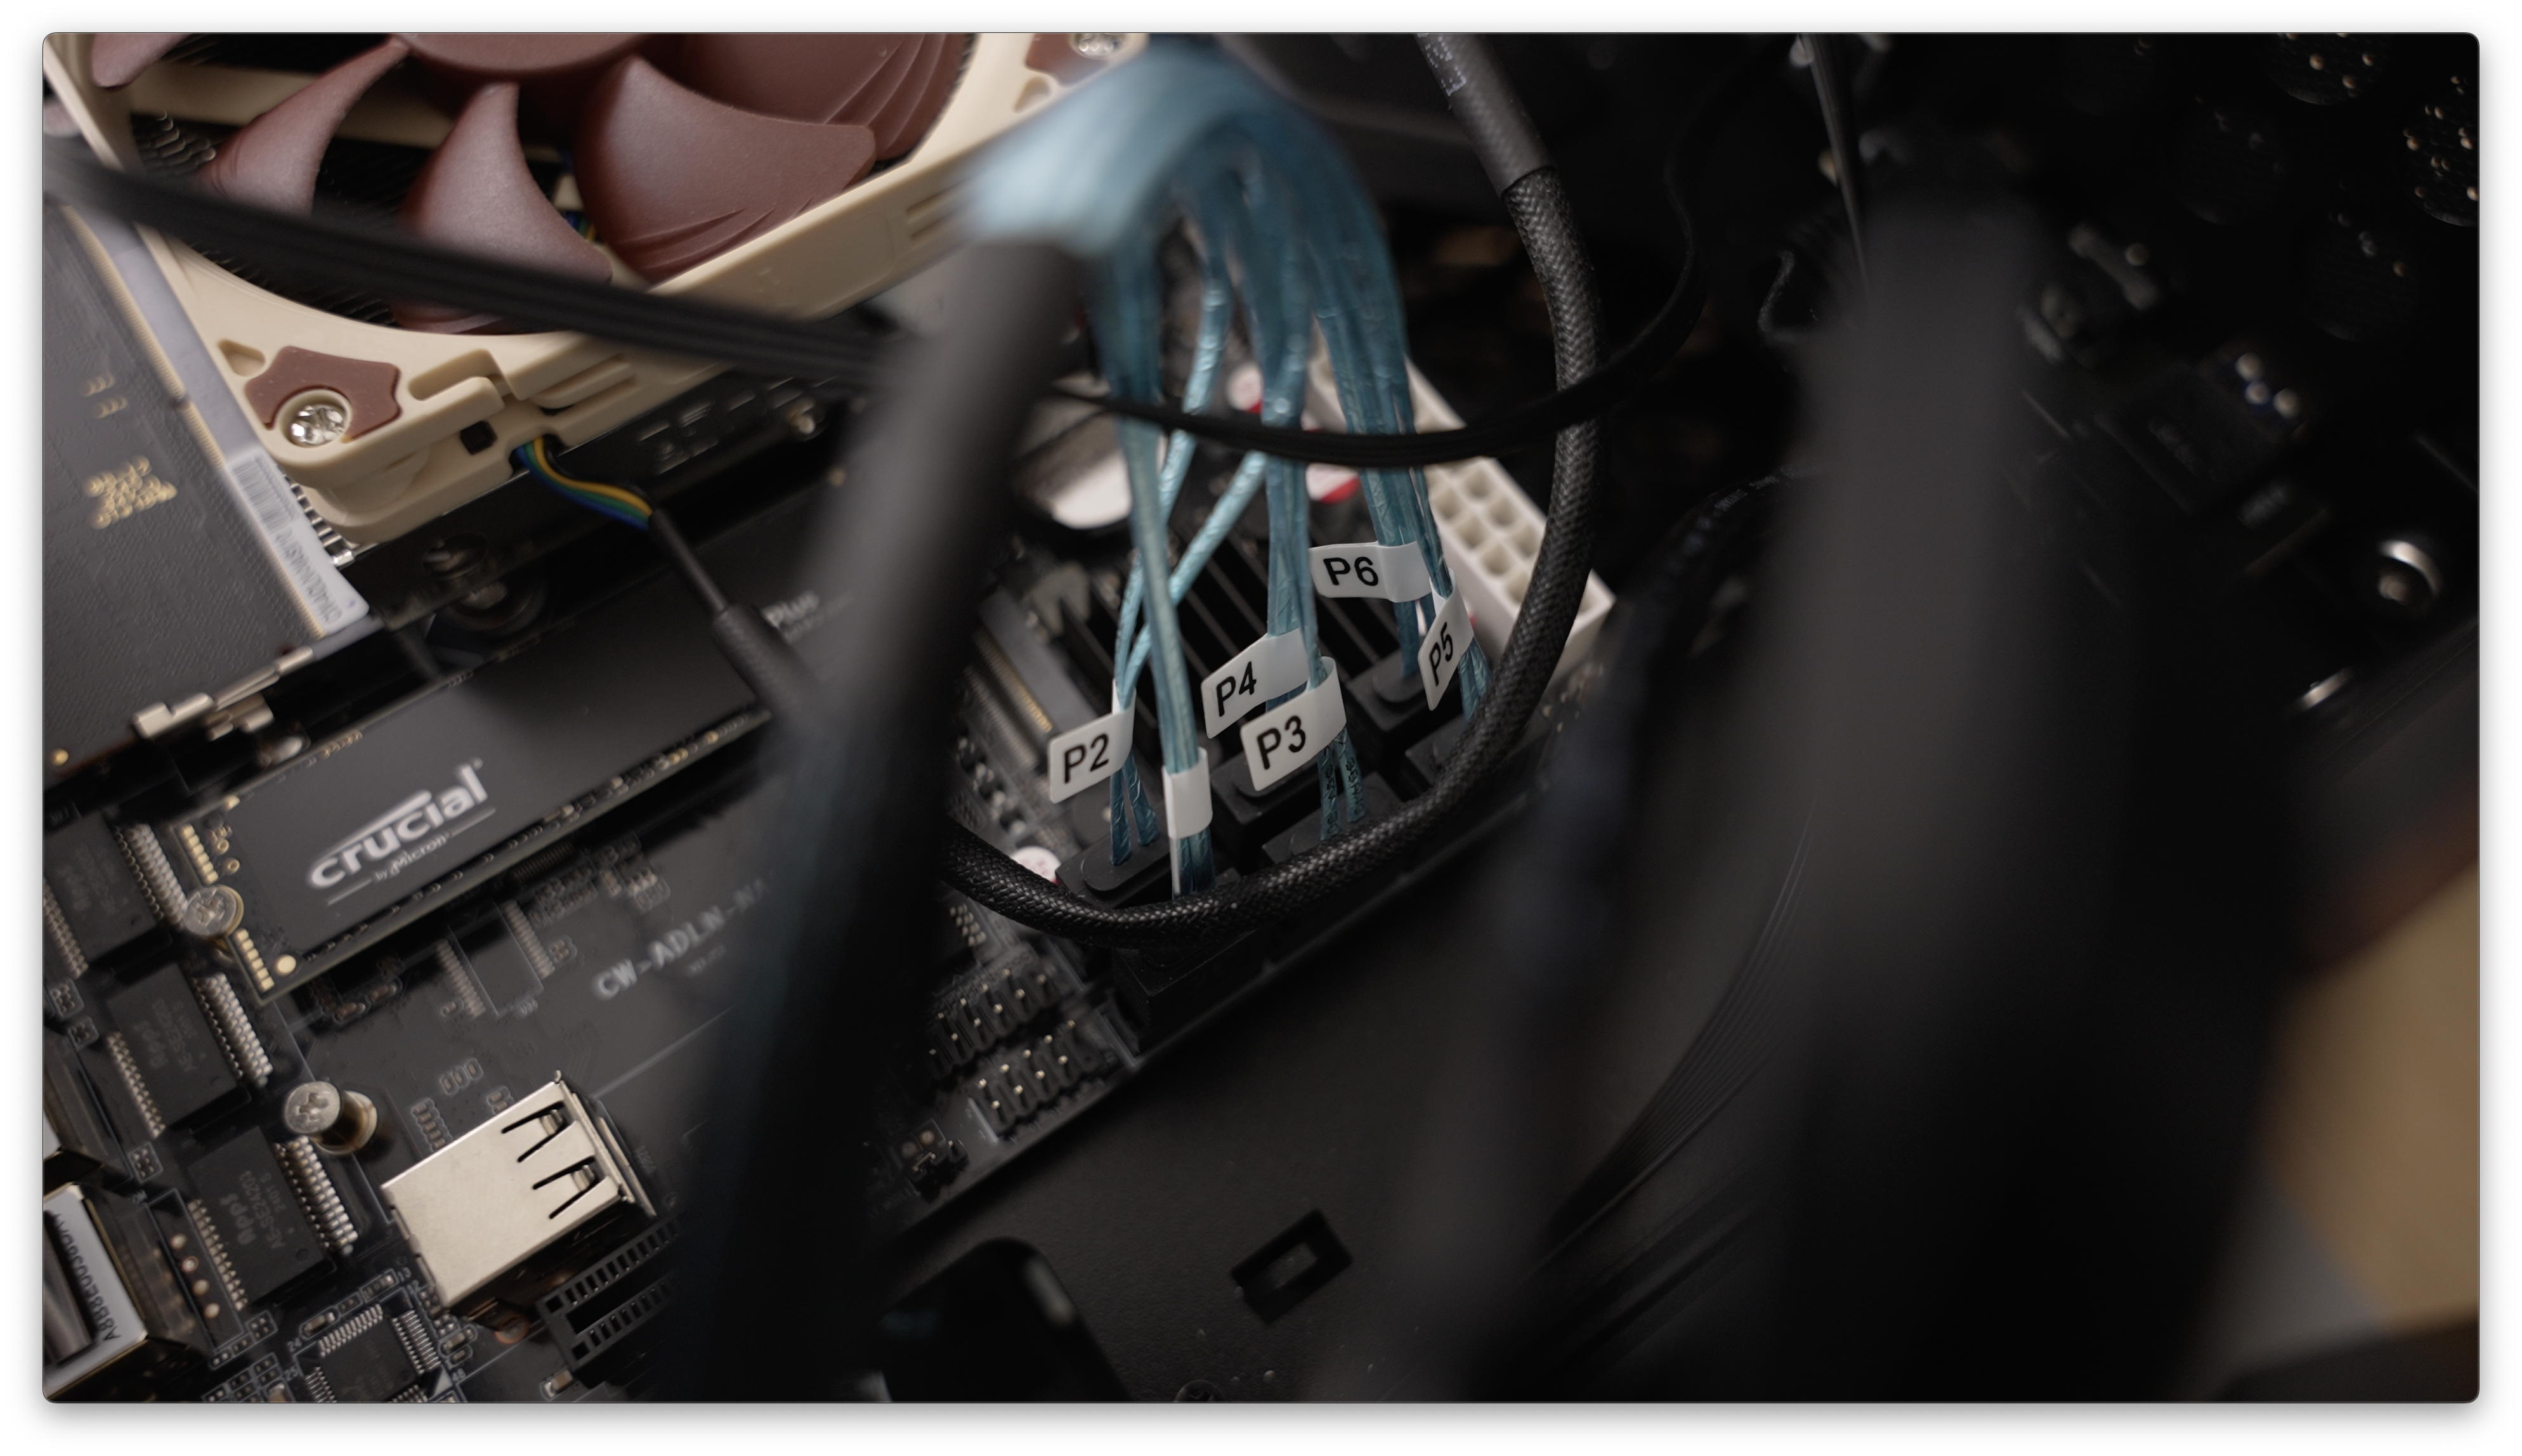
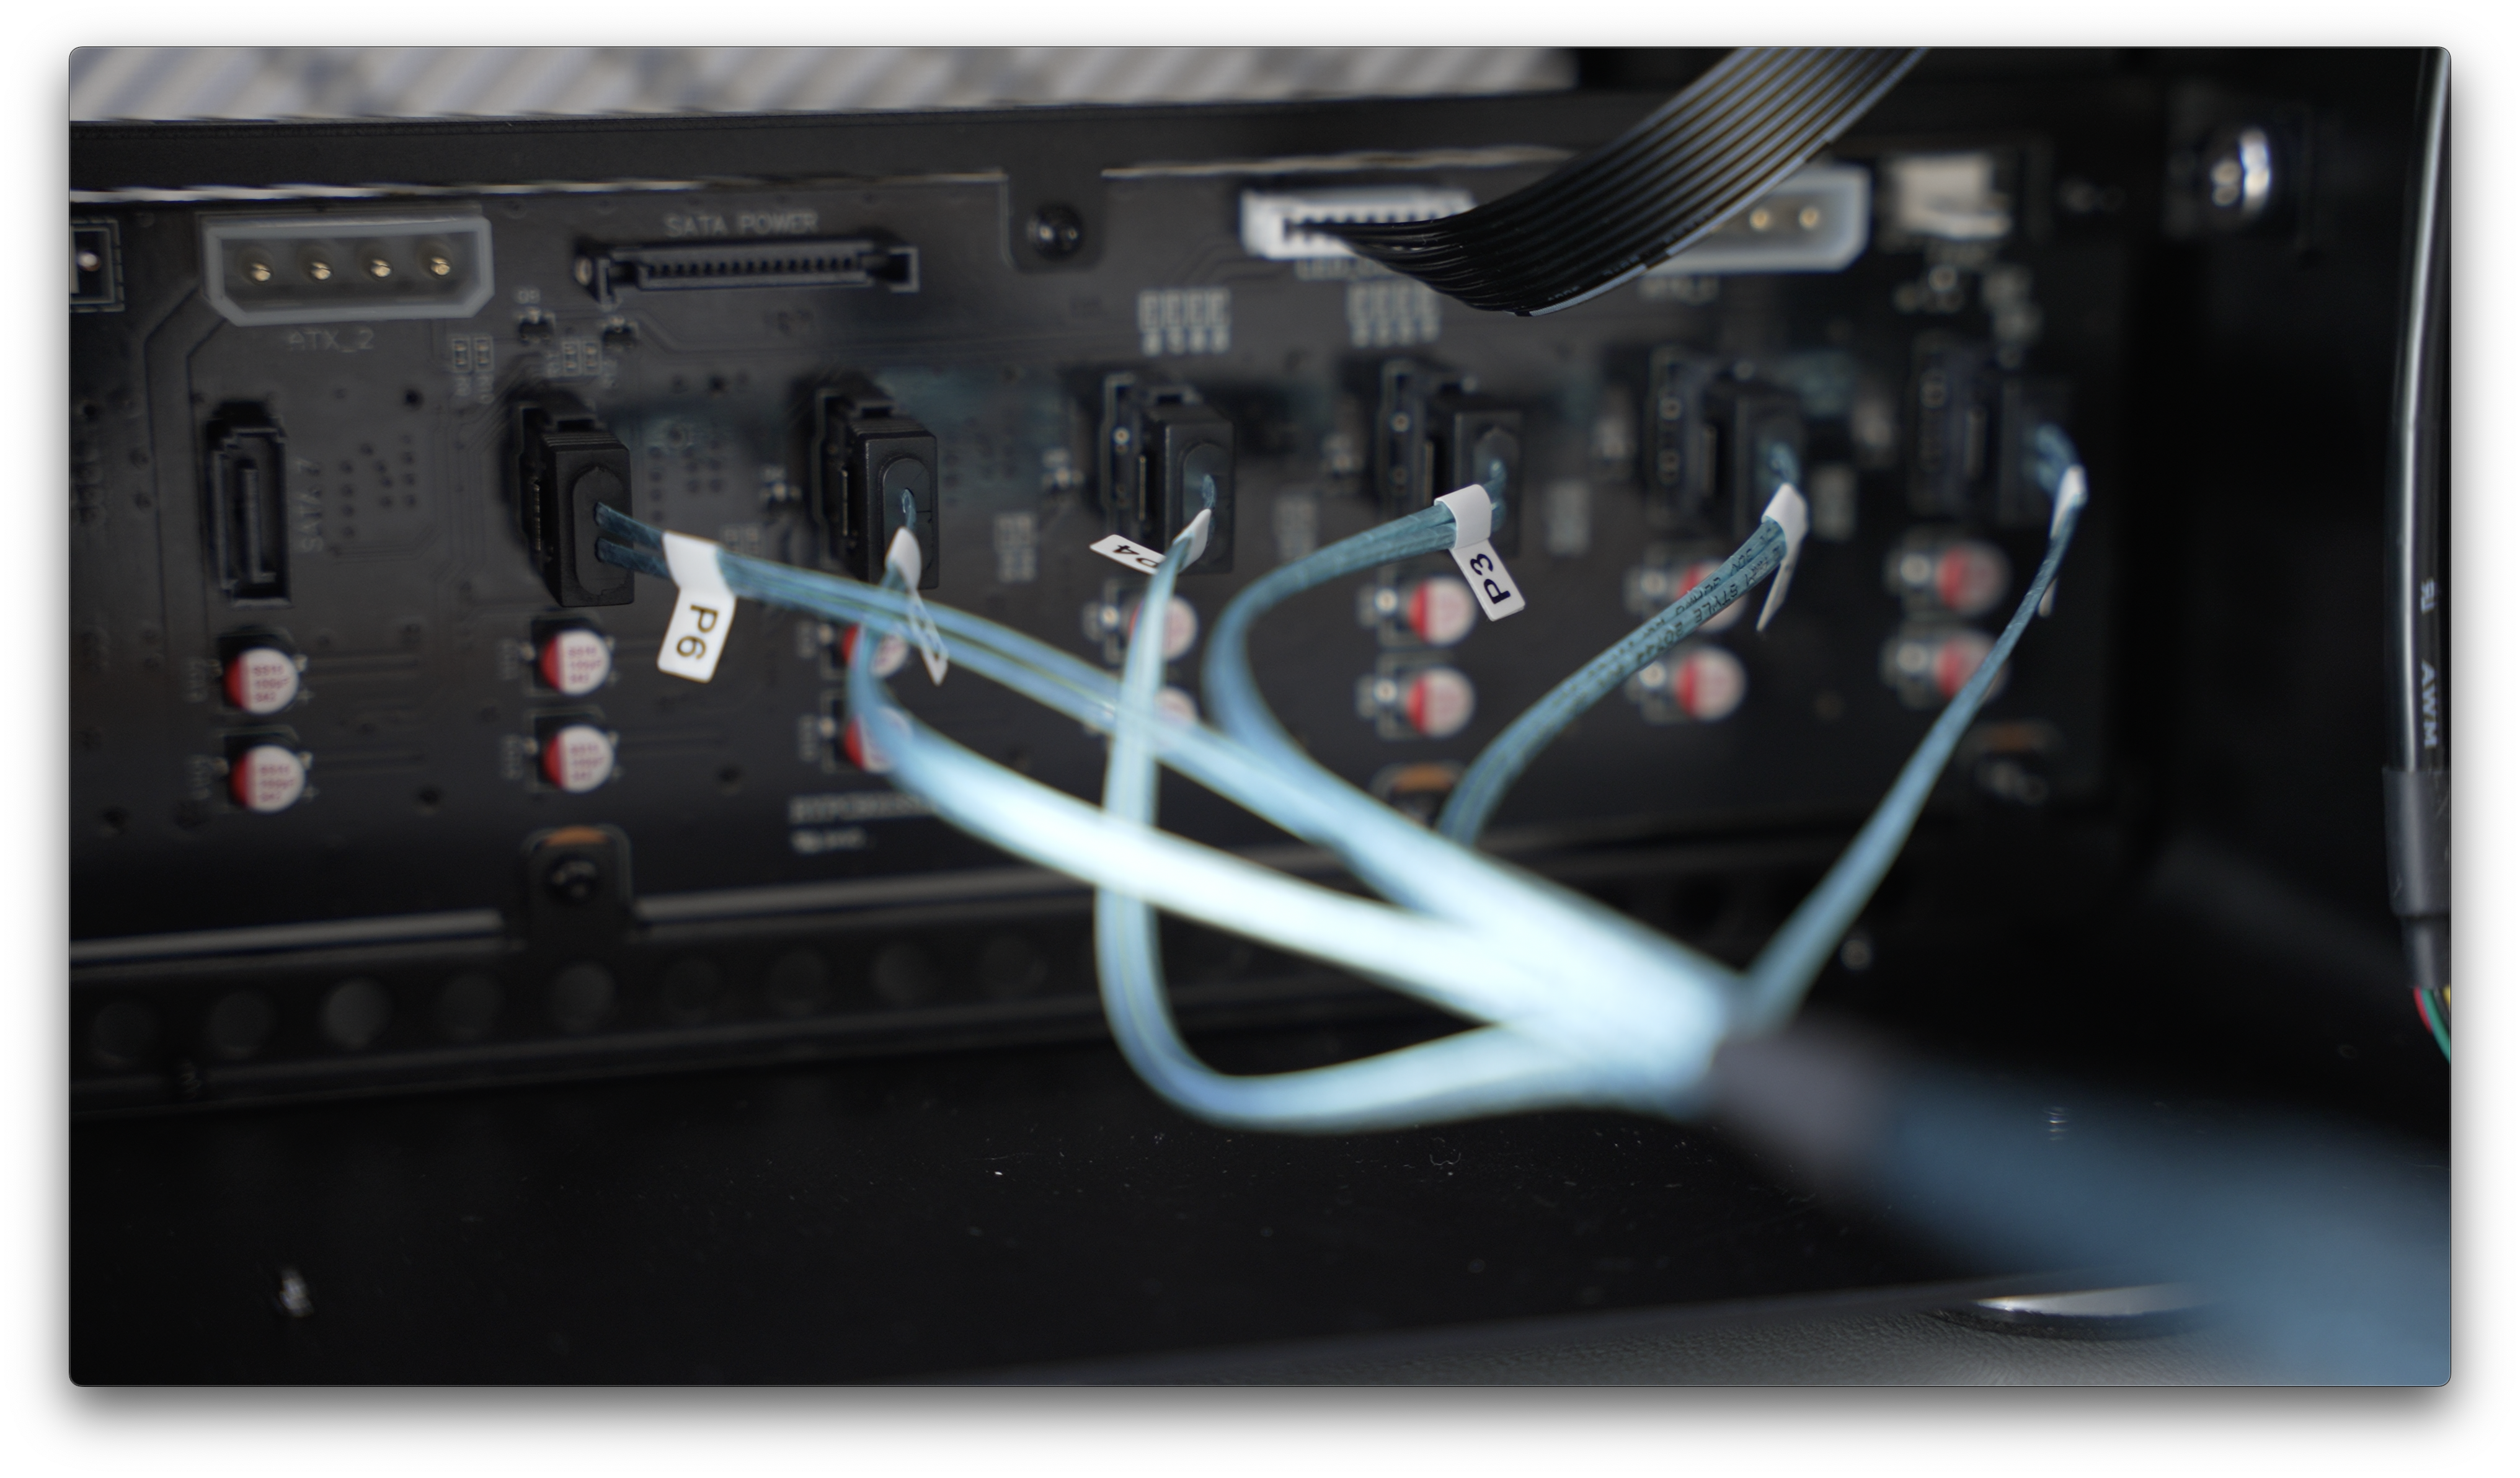
Sata cables
Now with the Sata cables, it was a case of ensuring each number cable was connected to each of the corresponding number on the motherboard and the NAS backplane.
Case fans
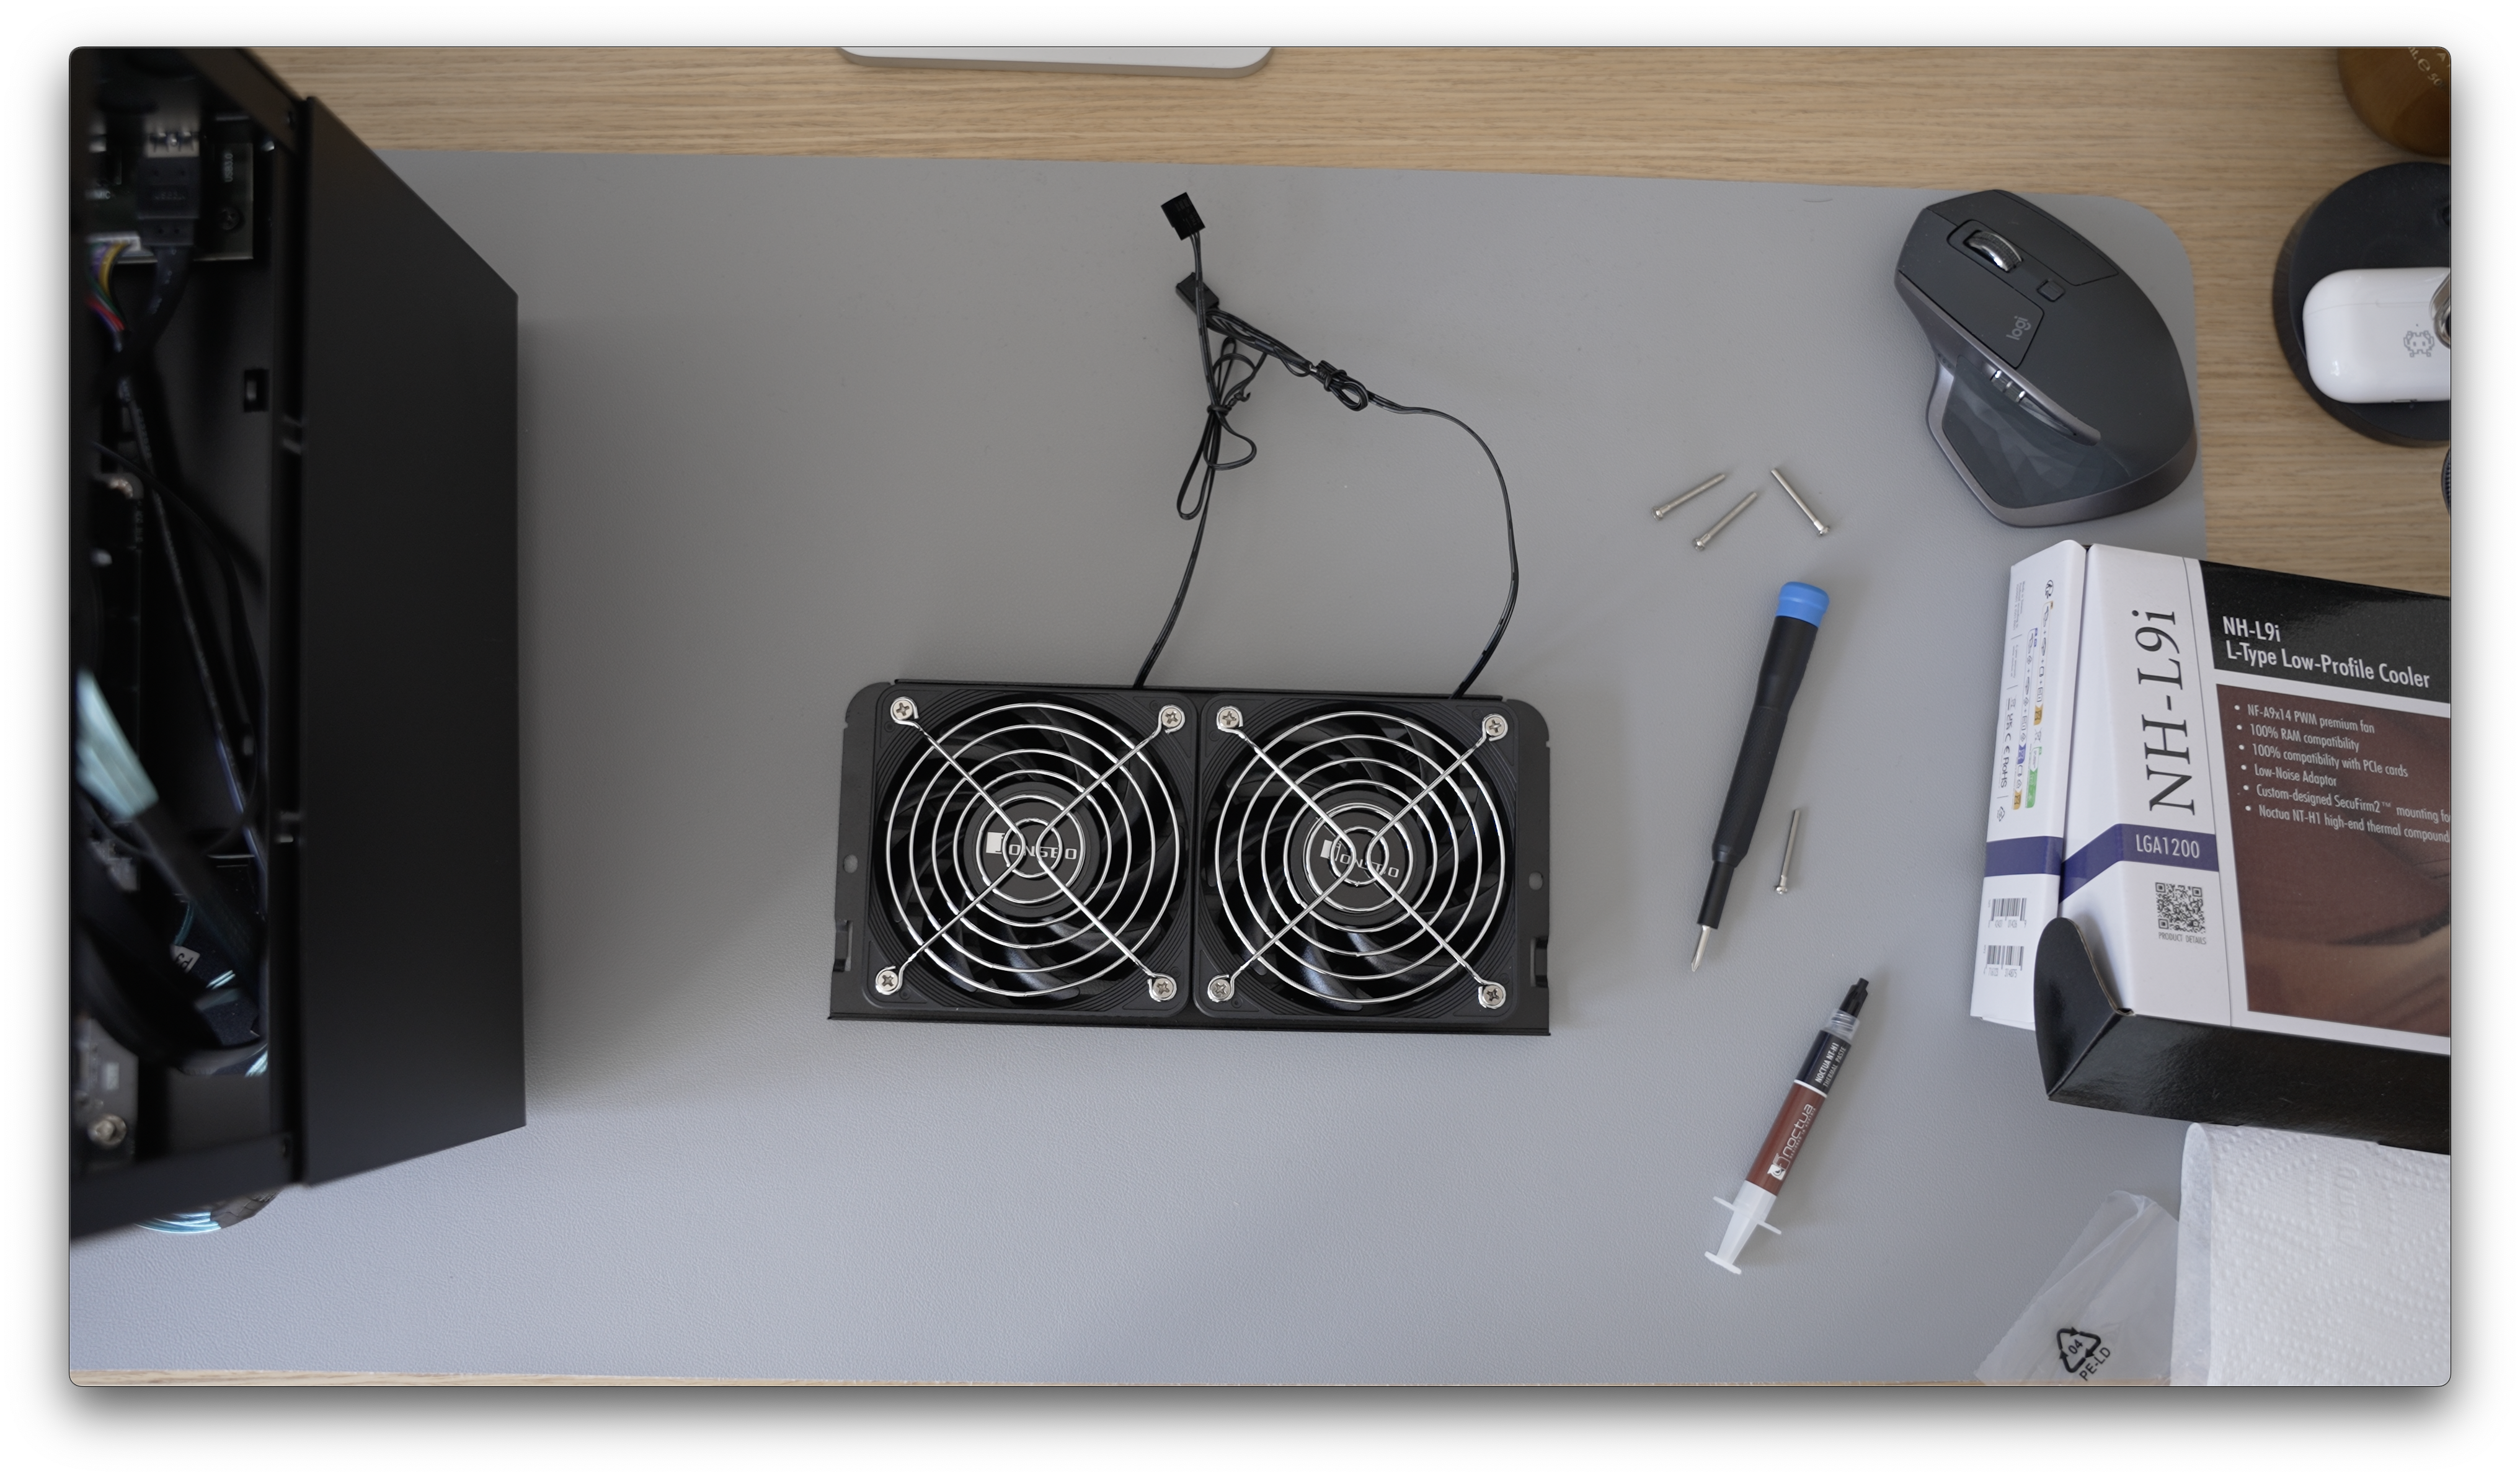
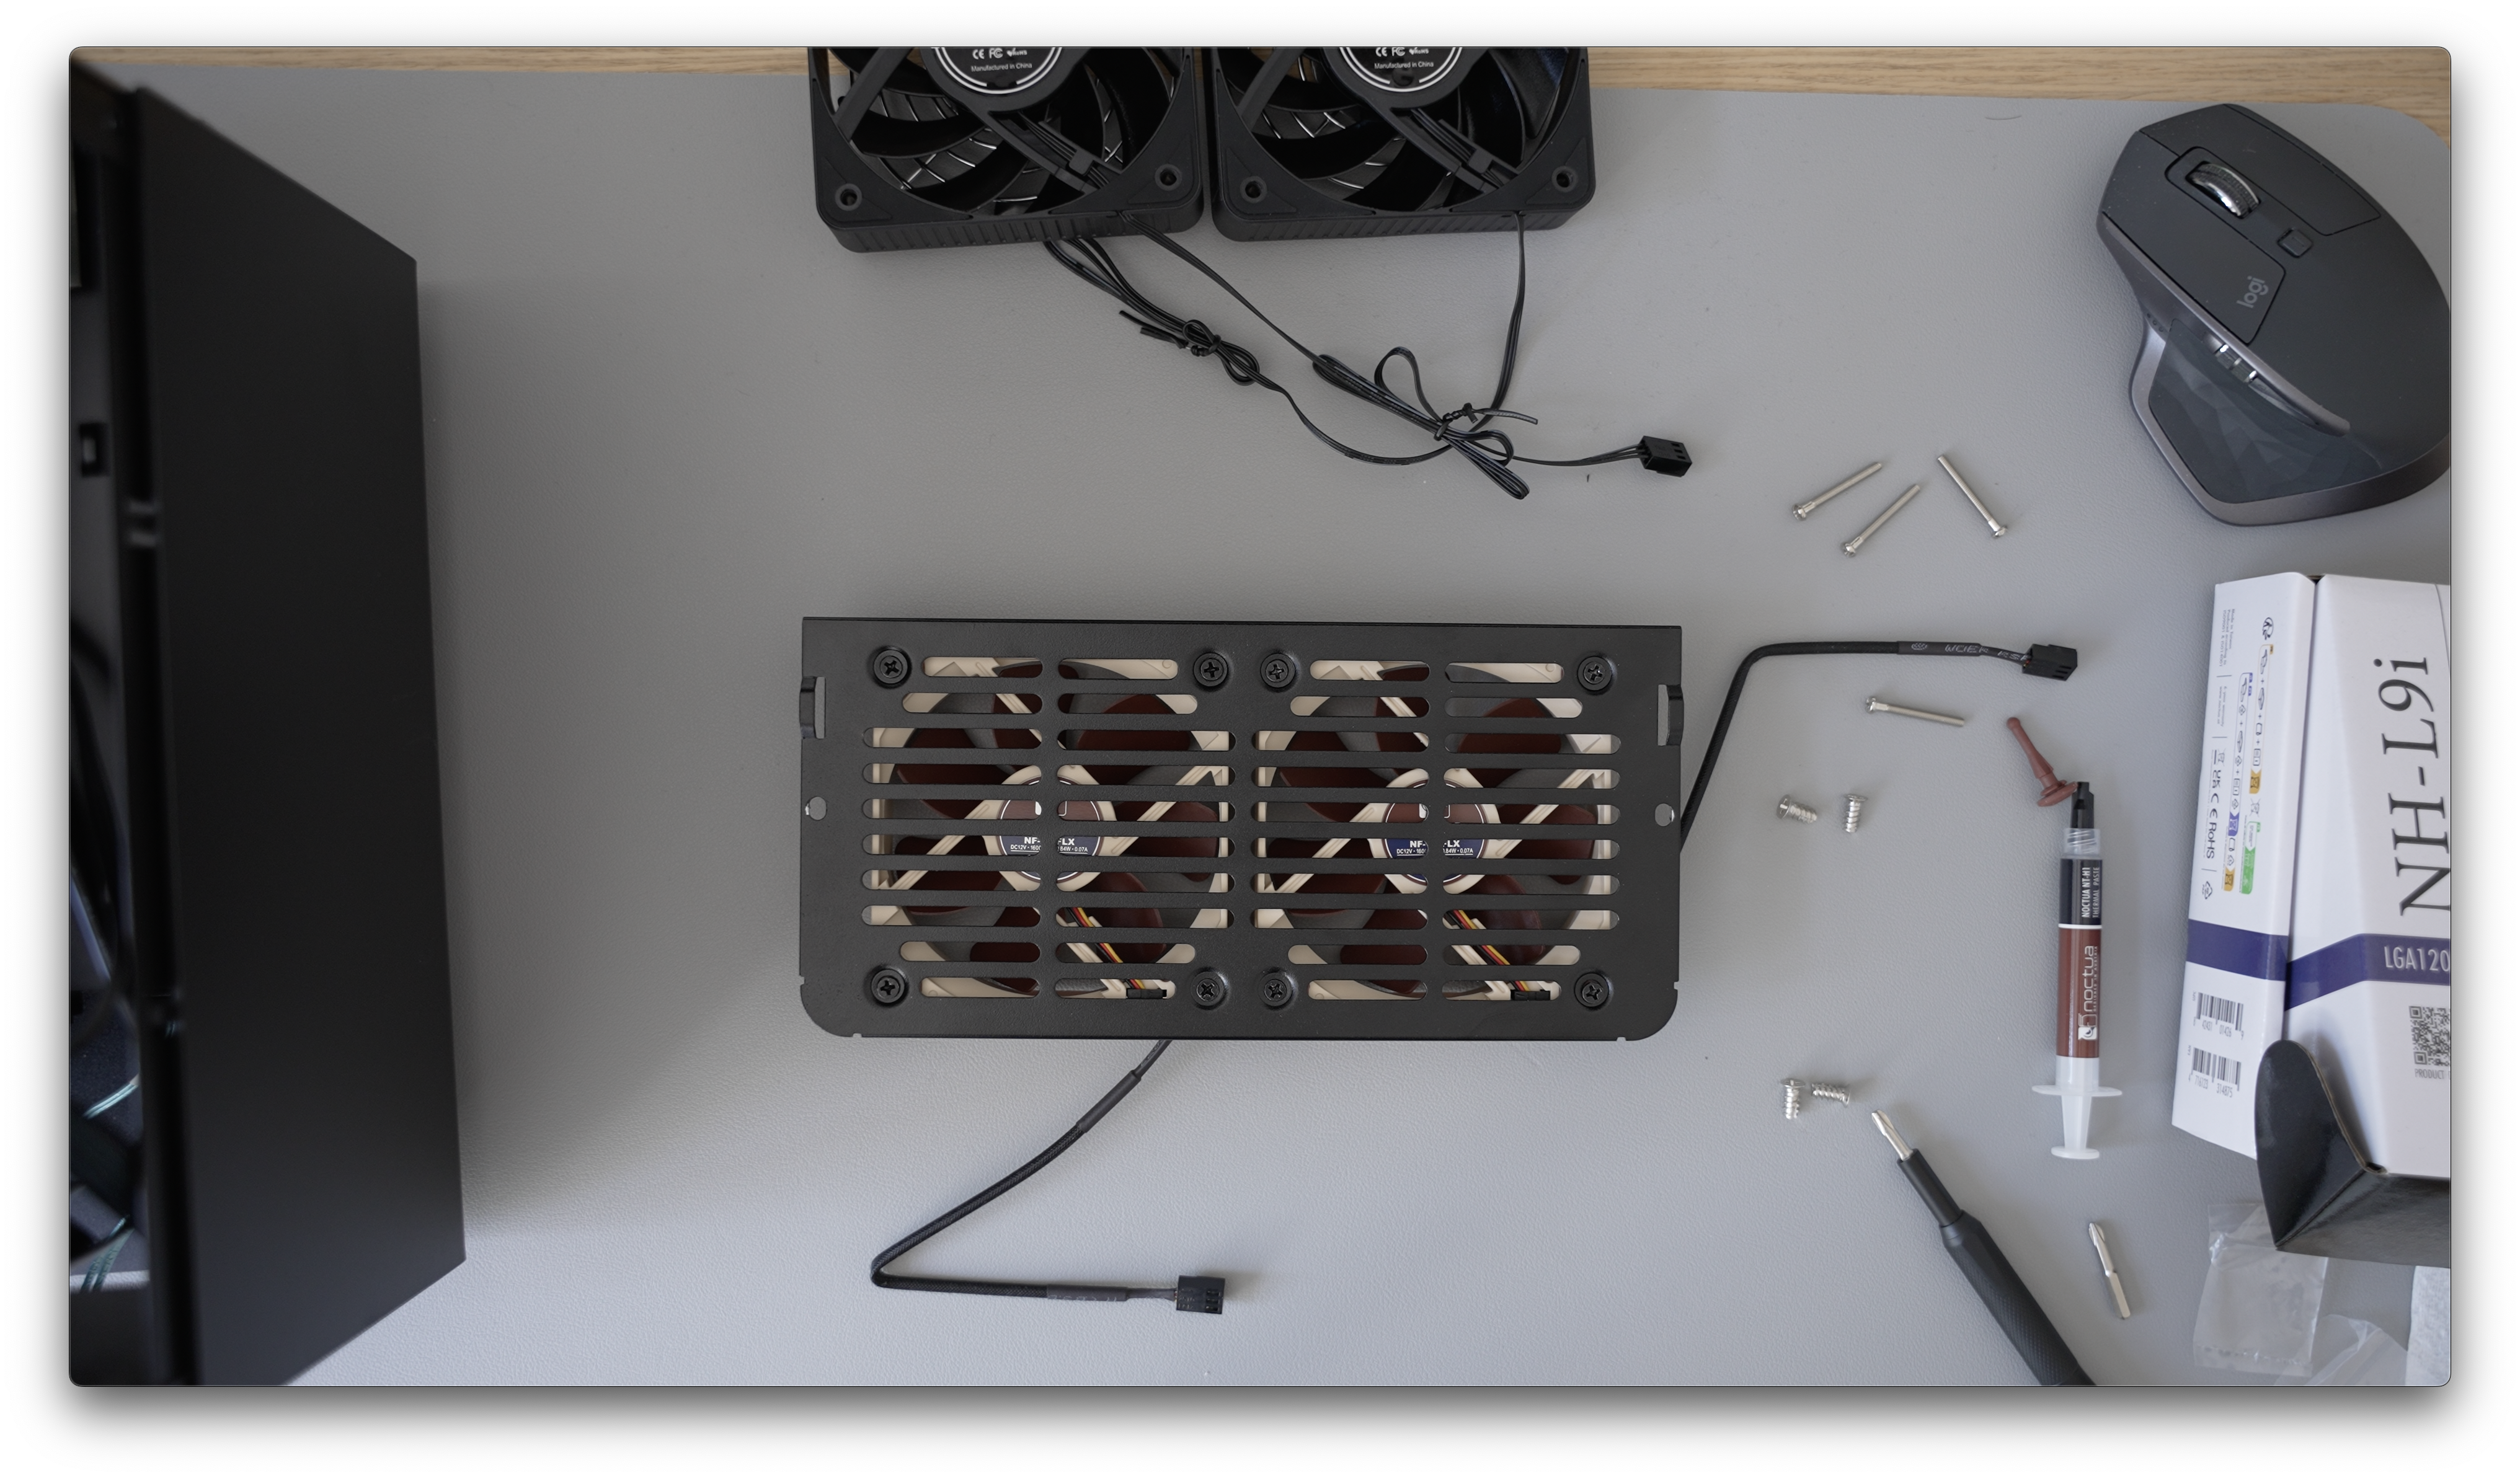
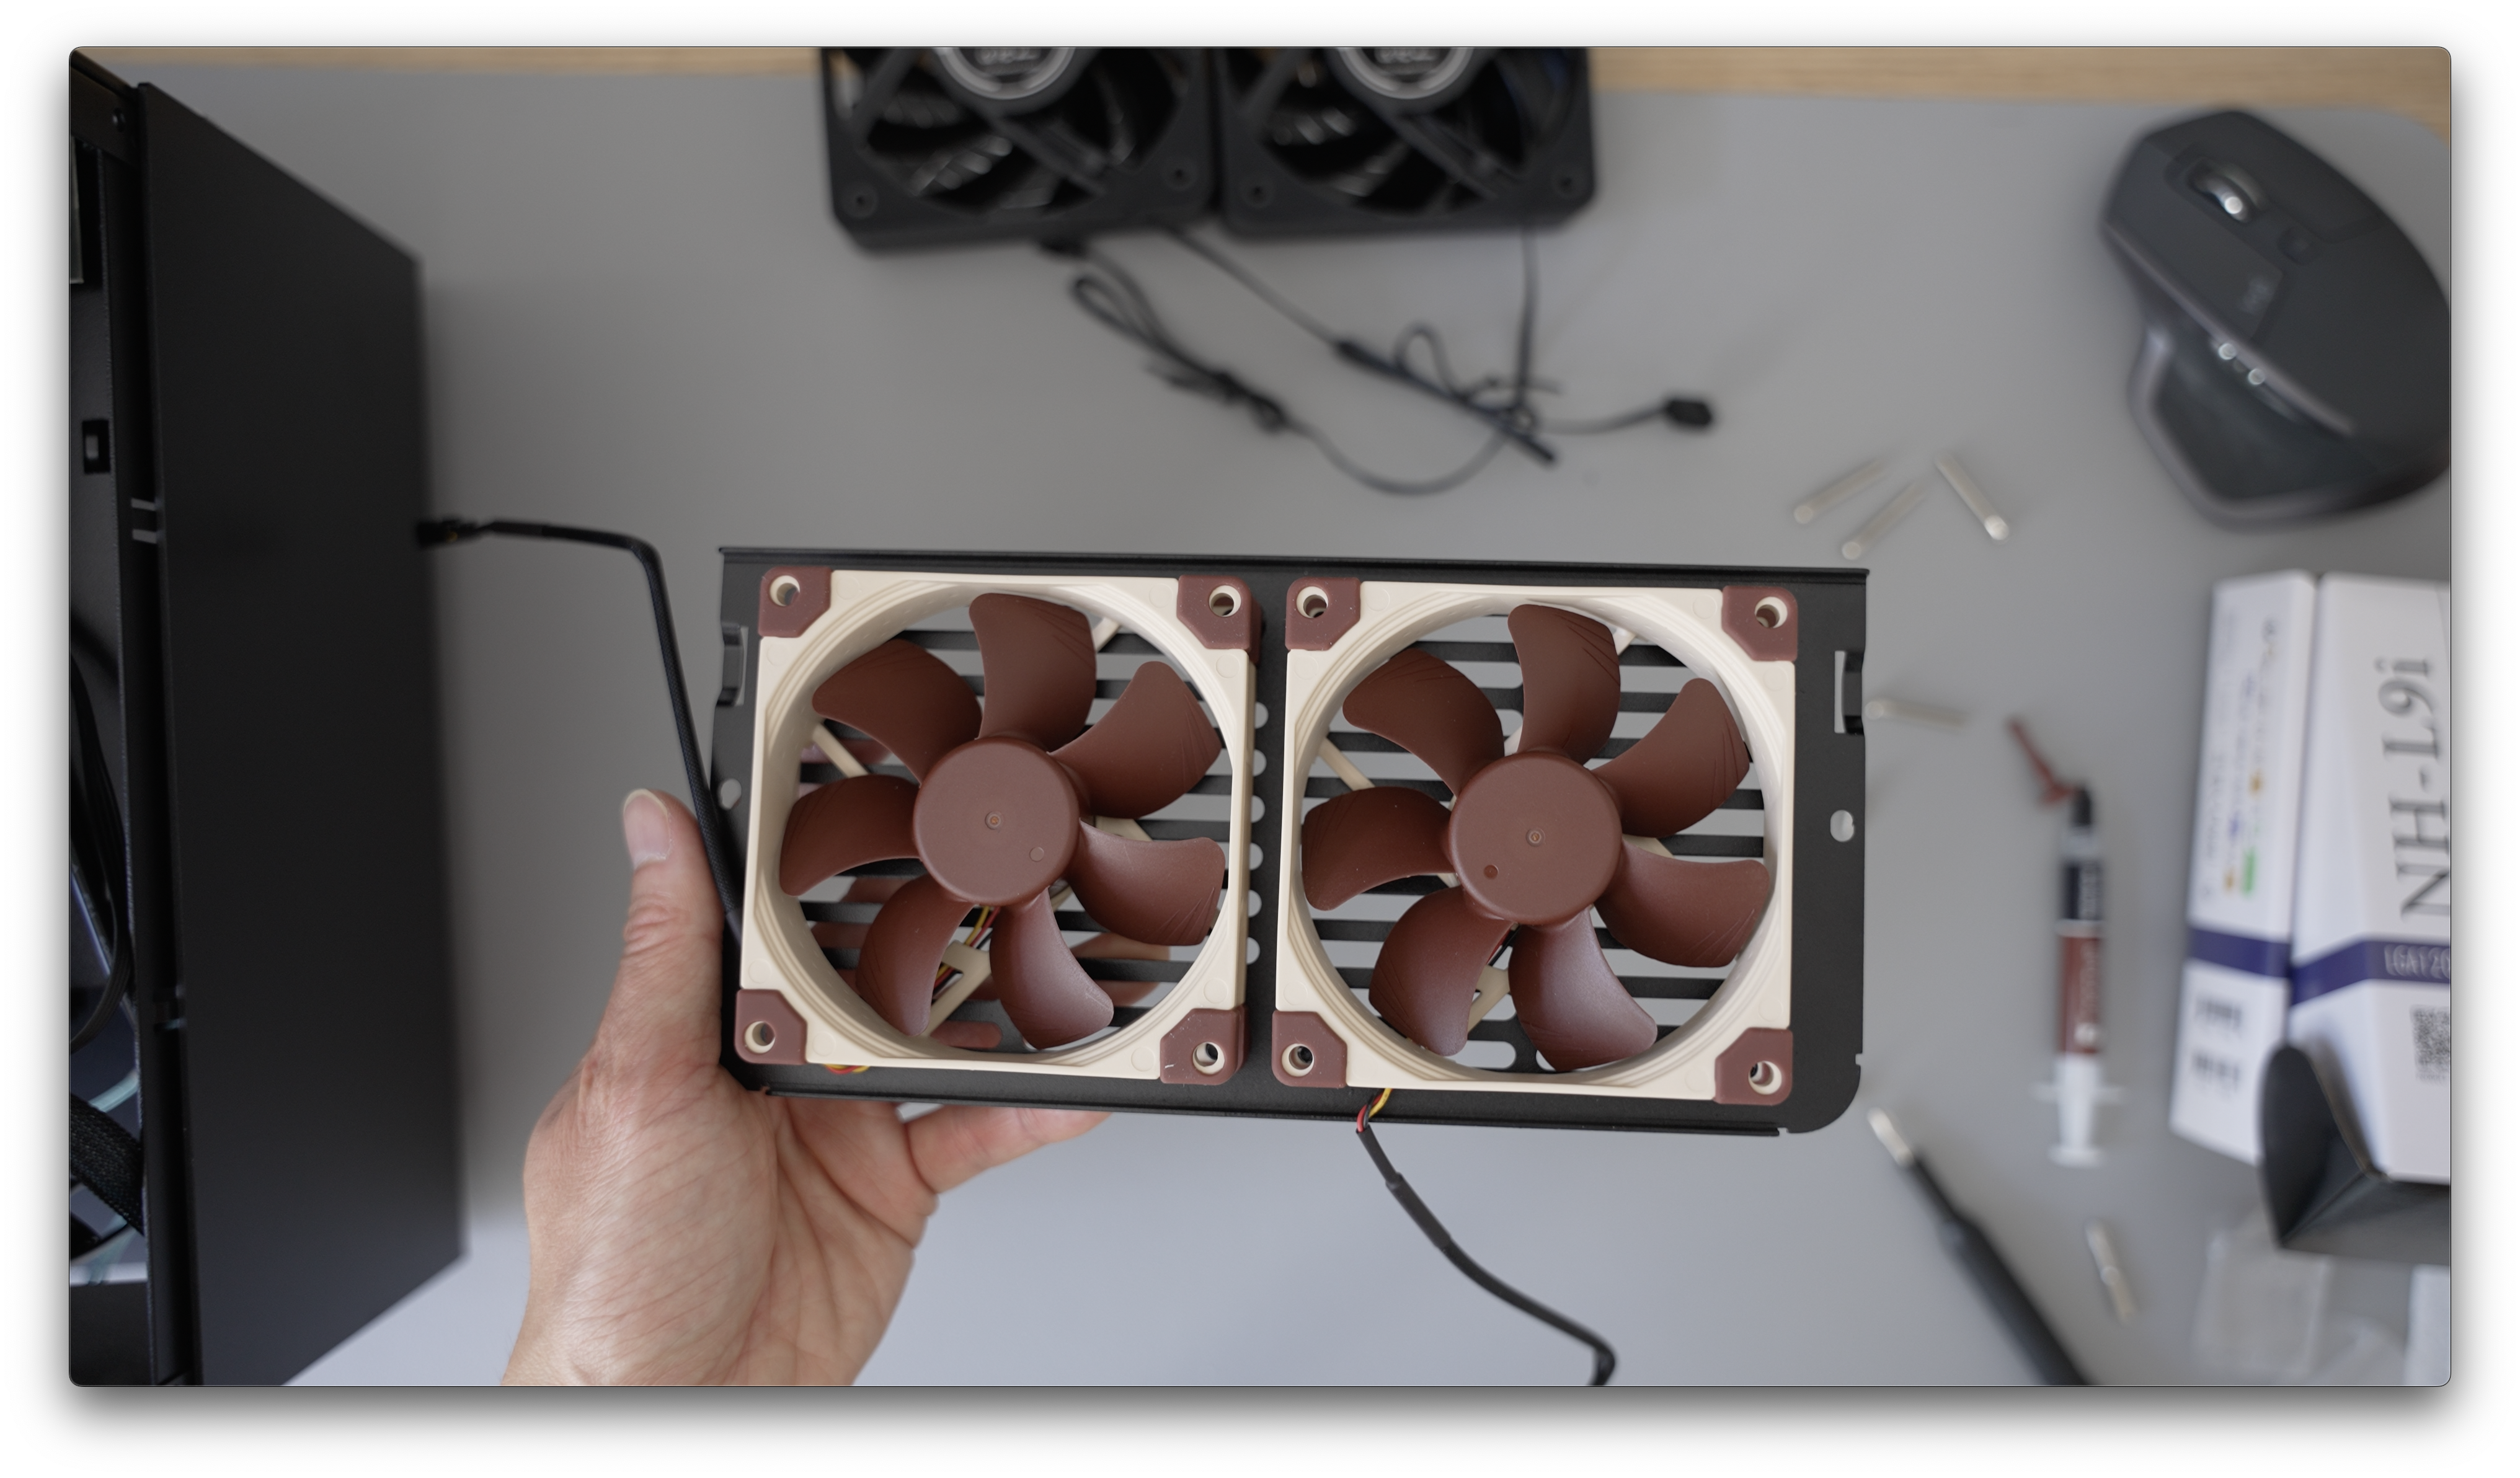
I thought I share a quick before and after installation of the case fans as well.
Nas Software
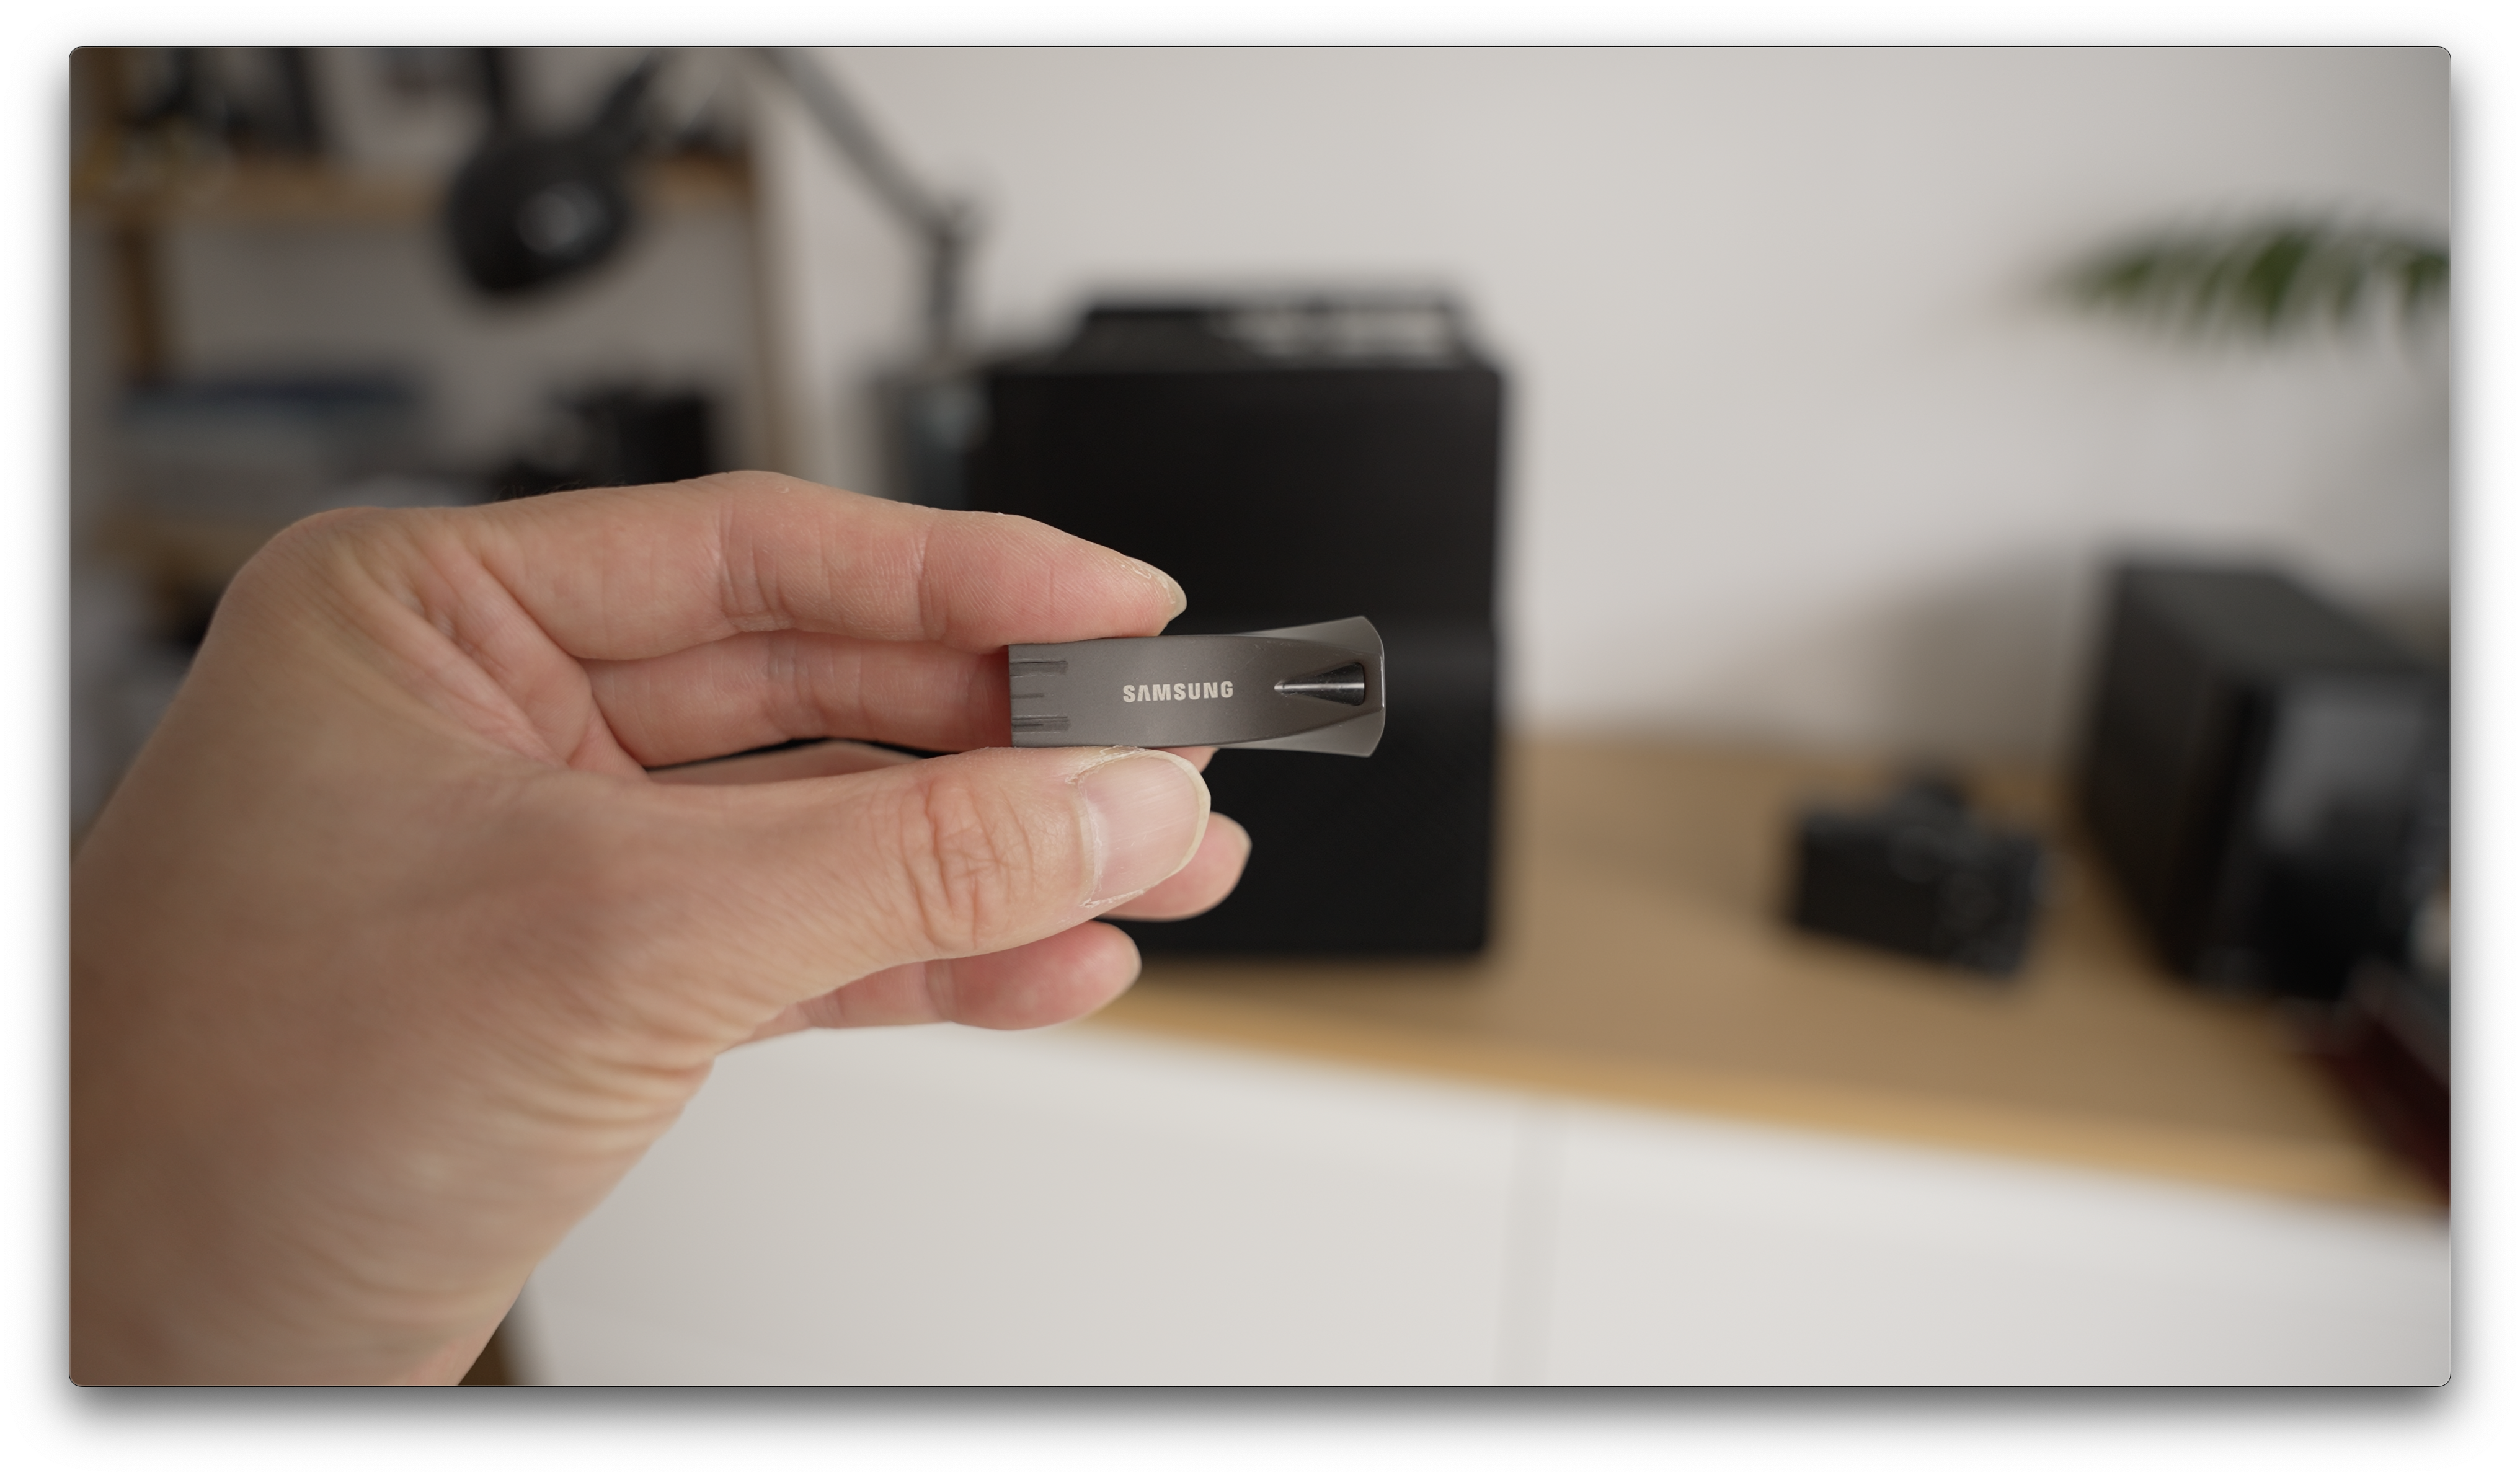
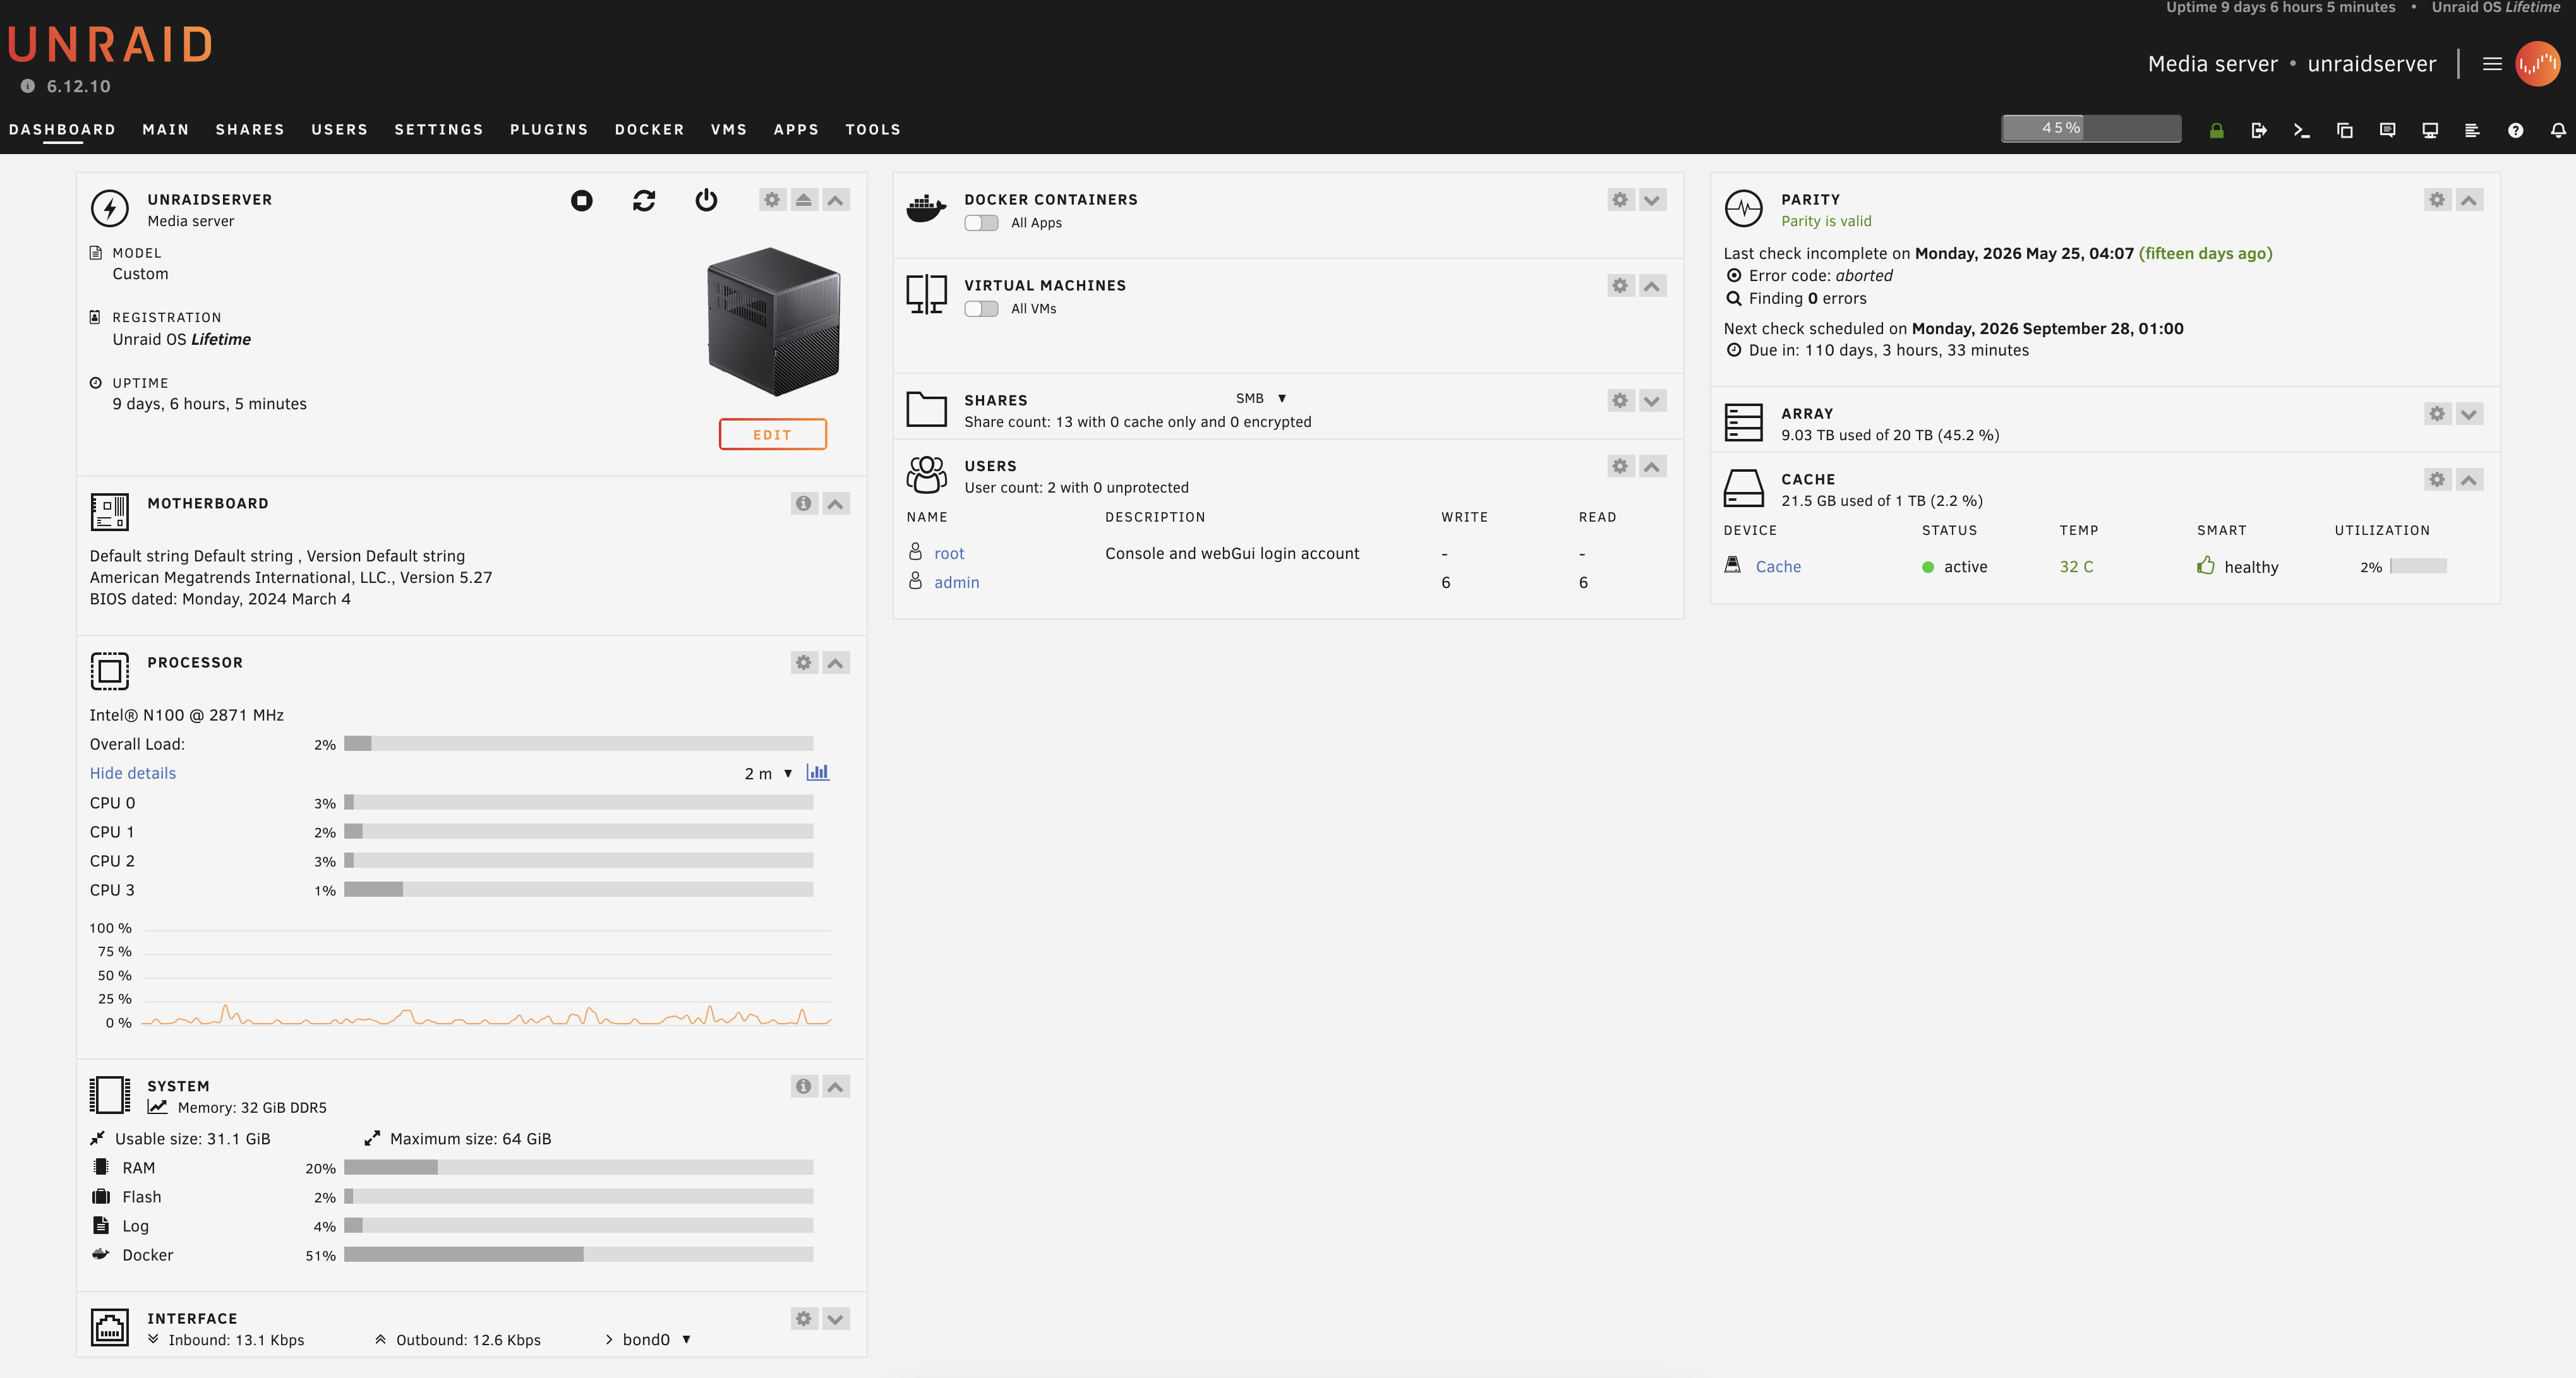
With a handful of NAS options such as TrueNas, Unraid, and ZimaOS. I decided to go with Unraid.
Why? It is one of the few NAS systems where you can mix and match drive sizes - this is a huge advantage.
When you have old 3TB, 1TB drives and want to make use of them, and later in the future you want to purchase 6TB or 8TB - you can.
There is one restriction with Unraid. The parity drive must remain the largest drive. What is a parity drive? In short its the disk that protects the set of drives you install. There is more information on understanding parity on Unraids site as well as HDD principles
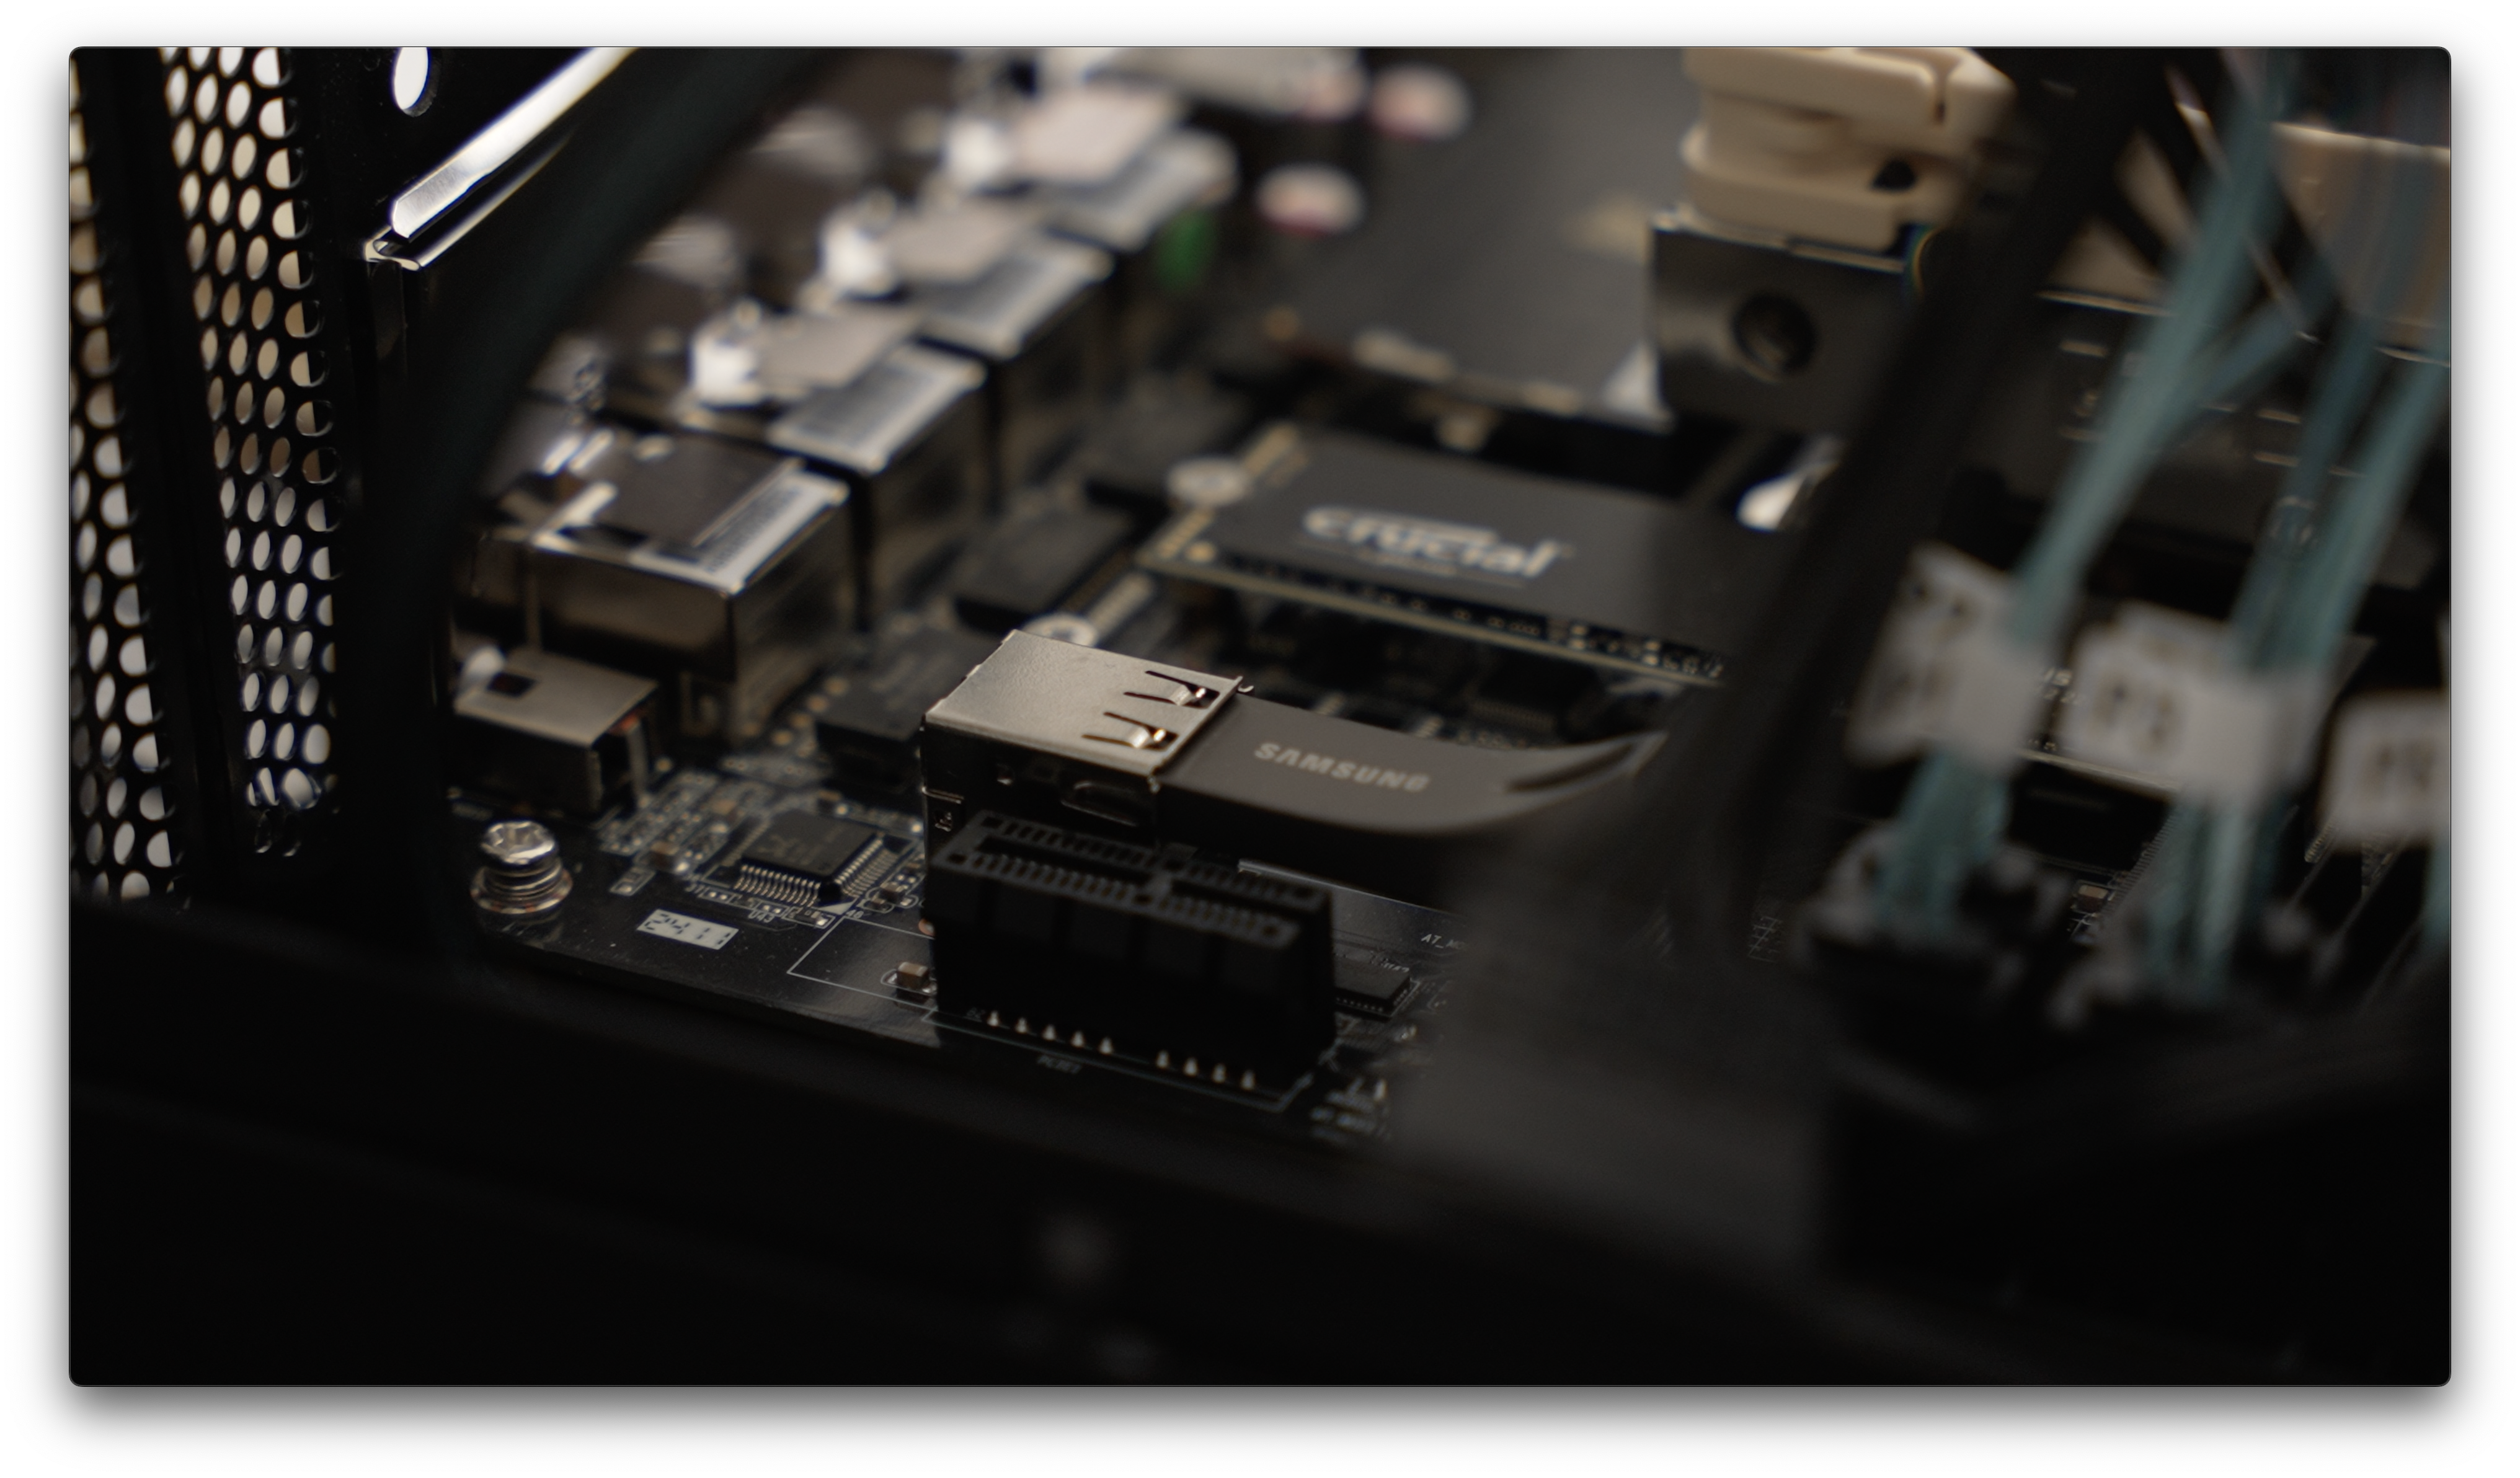
Also the NAS software runs on a USB drive, and conveniently the motherboard has an internal USB port where the drive can sit nicely and protrude out.
I should note three things about Unraid:
- Its not free. But its not a subscription either, its a one-time fee.
- Its not the most user friendly nas system. I can live with that.
- Its a solid NAS OS that has stood the test of time
Unraid also have a very easy to follow guide to setup and get up and running on their getting started guide
If you are interested in a NAS system where you can mix and match drive sizes for a small fee, feel free to checkout Unraid
How quiet is it?
Well, after all the considerations of a quiet CPU fan, quiet case fan and PSU. It’s pretty damn quiet. Noise levels without hard drives are around 25-35 decibels - thats equivalent to rustling leaves and whispering.
Depending on the HDD spinning and type of HDD - this will of course contribute to the noise level.
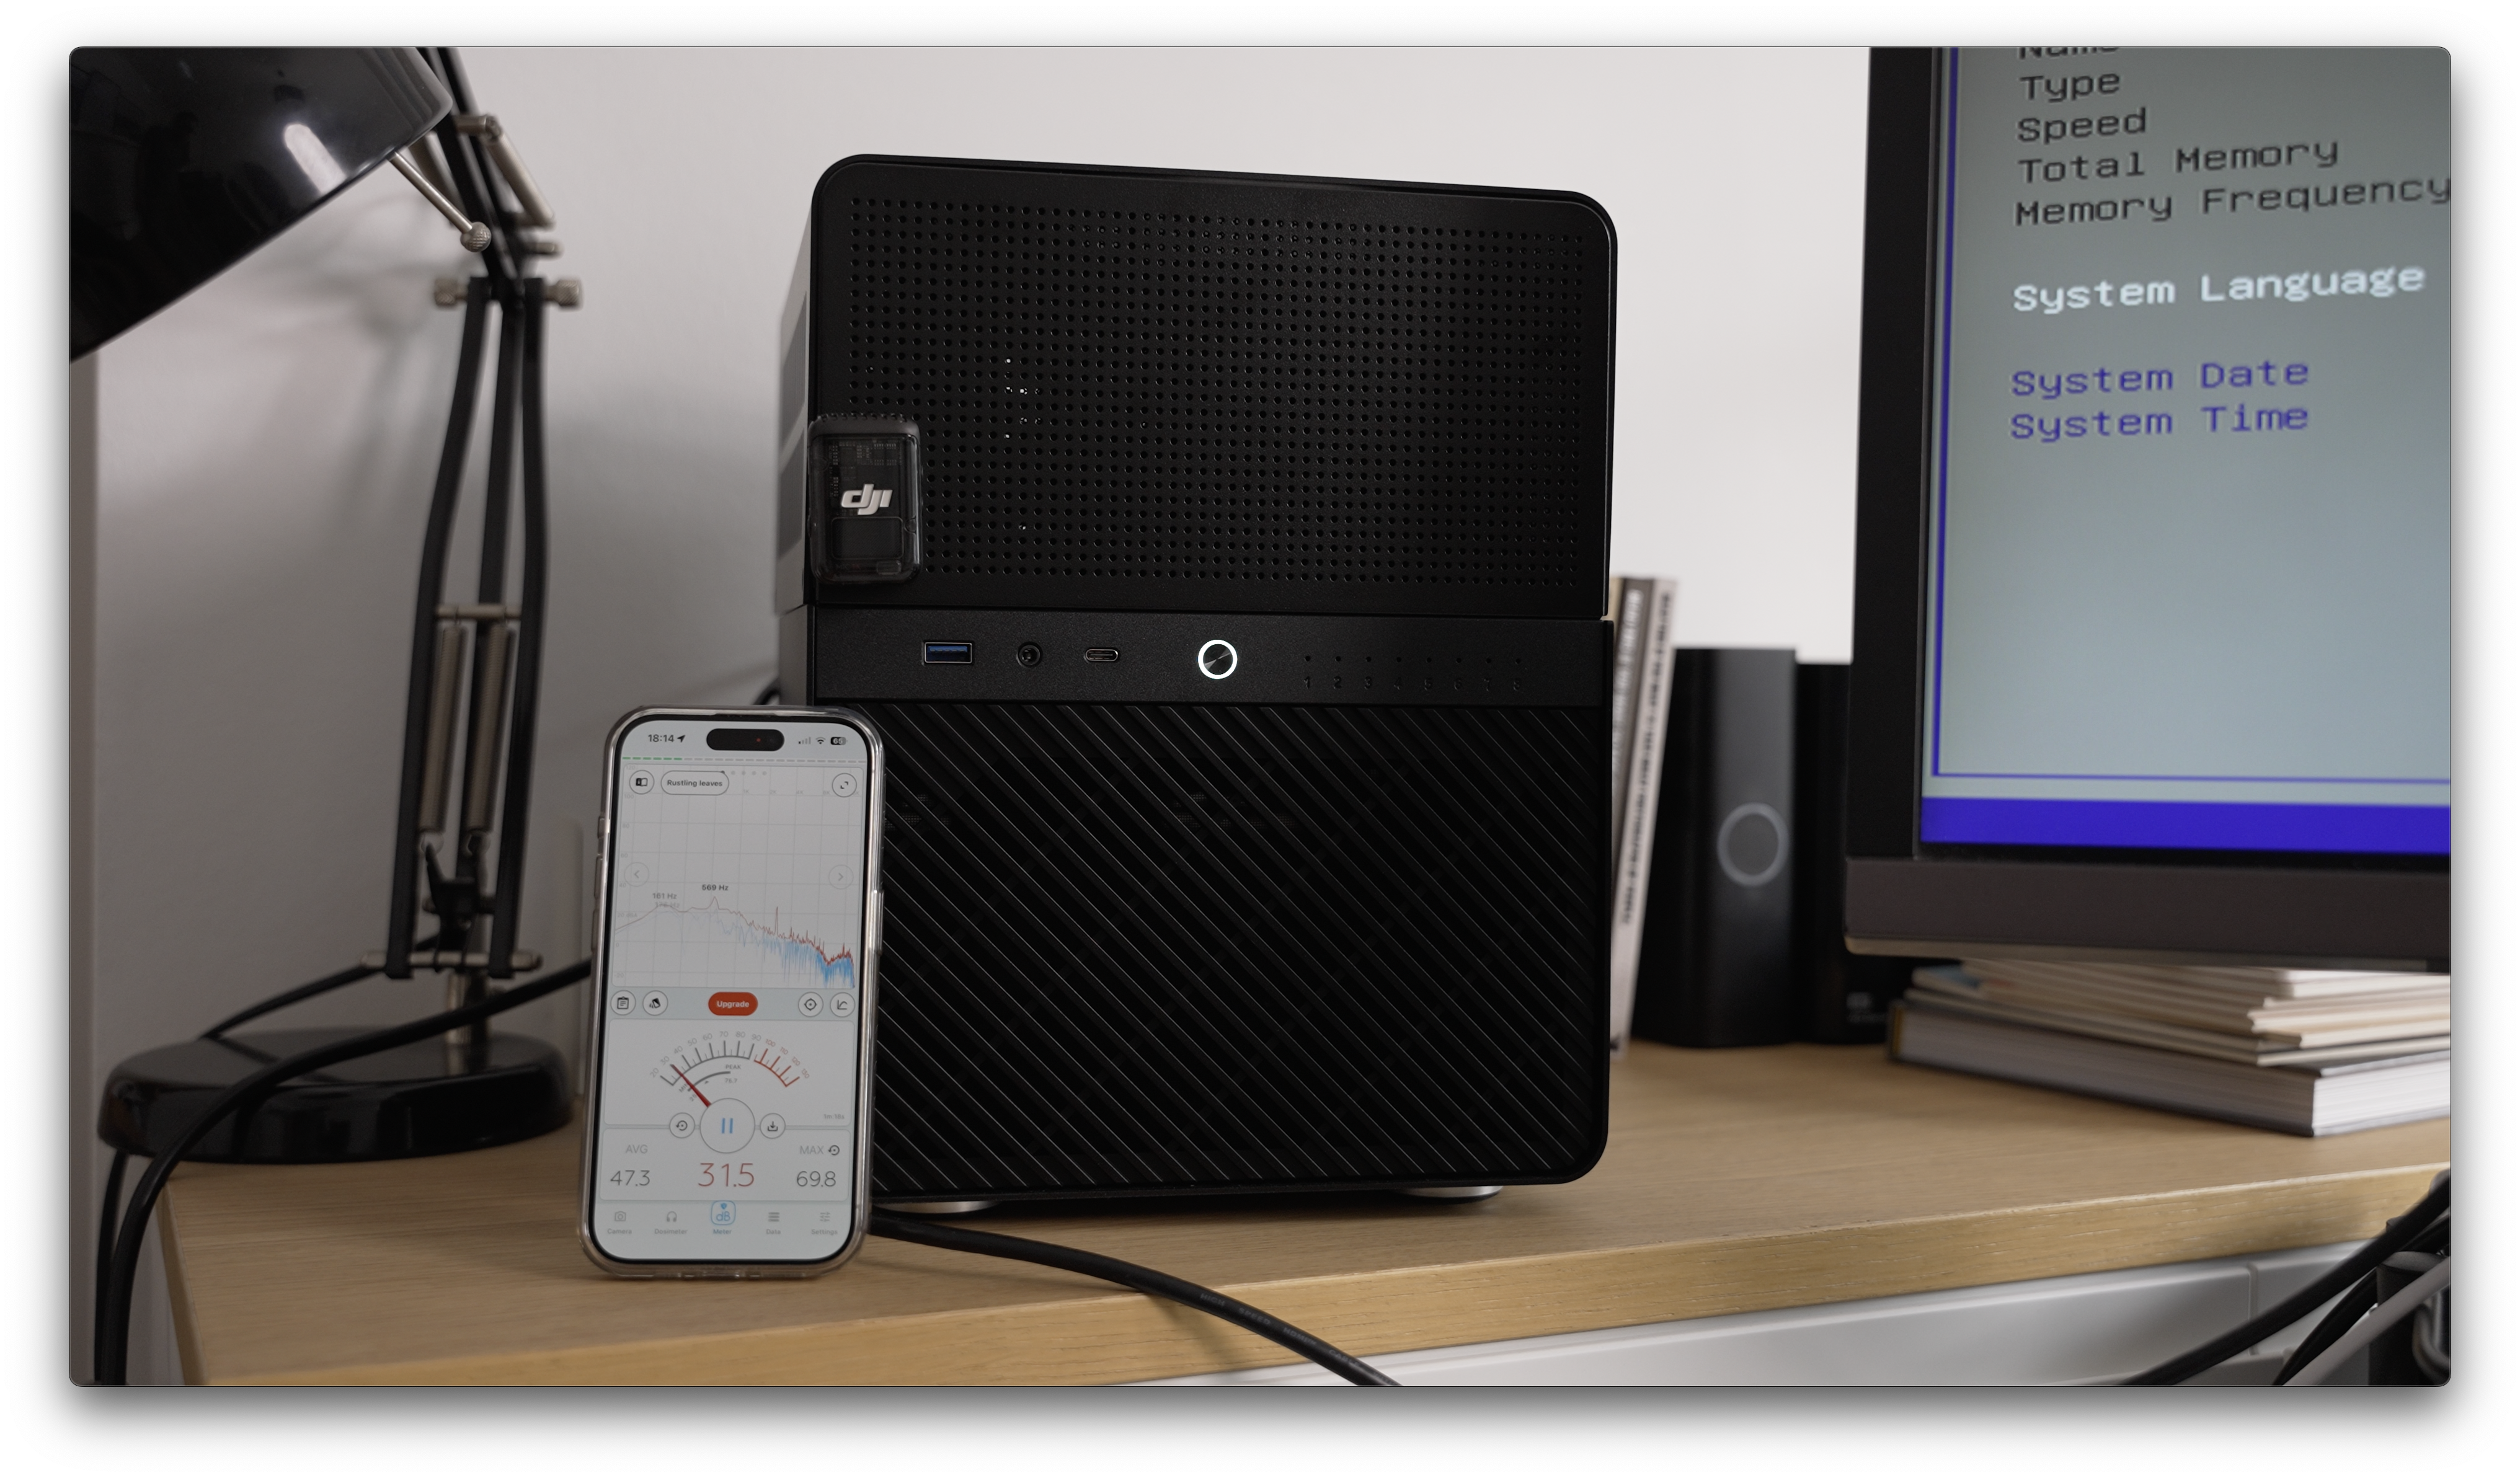
But from a case standpoint, I’m pretty pleased with the noise level.
Was it worth it?
Yes and no. It took a lot of research to find the right motherboard, and PSU as I wanted a motherboard that had a lot of HDD expandability and a quiet PSU all whilst being affordable.
Also finding a NAS case which had easy access to HDD similar to Synology NAS designs that looked good and in a reasonable small factor added to the challenge.
But, if you enjoy research, and sourcing products, then its different.
I did enjoy the building and assembling it all together. There is a sense of satisfaction and also the “ikea effect” that comes into play.
If you are looking for a DIY NAS build, then I hope this guide has helped in some way.